Arducam qb.R-OwlSight
Device Connection(External Network):
Device List
| Item | Quantity(PCS) |
|---|---|
| PoE Injector/USB-Type-C power supply (27W~30W) | 1 |
| Router | 1 |
| Arducam qb.R-OwlSight 64MP AF Camera All-in-one Kit | 1 |
| Laptop/PC | 1 |
| Network Cable | 2~3 |

Power Supply
| PoE Injector Power Supply | USB-Type-C Power Supply (27W~30W) |
|---|---|
 |
  |
Device Connection
The router needs to be connected to an external network.
| Connect to the router via USB-Type-C power supply (Yellow network cable is for external network access). |
Connect to the router via PoE power supply (Yellow network cable is for external network access.) |
|---|---|
 |
 |
Device Connection(Host Networking):
Device List
| Item | Quantity(PCS) |
|---|---|
| PoE Injector/USB-Type-C power supply (27W~30W) | 1 |
| Arducam qb.R-OwlSight 64MP AF Camera All-in-one Kit | 1 |
| Laptop/PC | 1 |
| Network Cable | 2 |

Power Supply
| PoE Injector Power Supply | USB-Type-C Power Supply(27W~30W) |
|---|---|
|
|
Device Connection
| Connect to the host via USB-Type-C power supply | Connect to the host via PoE power supply |
|---|---|
 |
 |
Shared Network Configuration
→ Please refer to the following doc for the shared network configuration tutorial:
Obtain Device IP Address:
Recommended Methods:
Method 1: Install Arducam_Discovery: Arducam Discovery Tool
Method 2: Install Advanced IP Scanner to scan IPs (Windows only): Advanced IP Scanner Tool
Login the Device
Method 1: Login the Device via VNC: VNC remote desktop login tool
Method 2: Login via USB Serial Device: USB Serial Device Login Tool
Run the Camera
Method 1. Log in to the device using VNC
Example - Open the terminal and enter:
rpicam-still -t 0
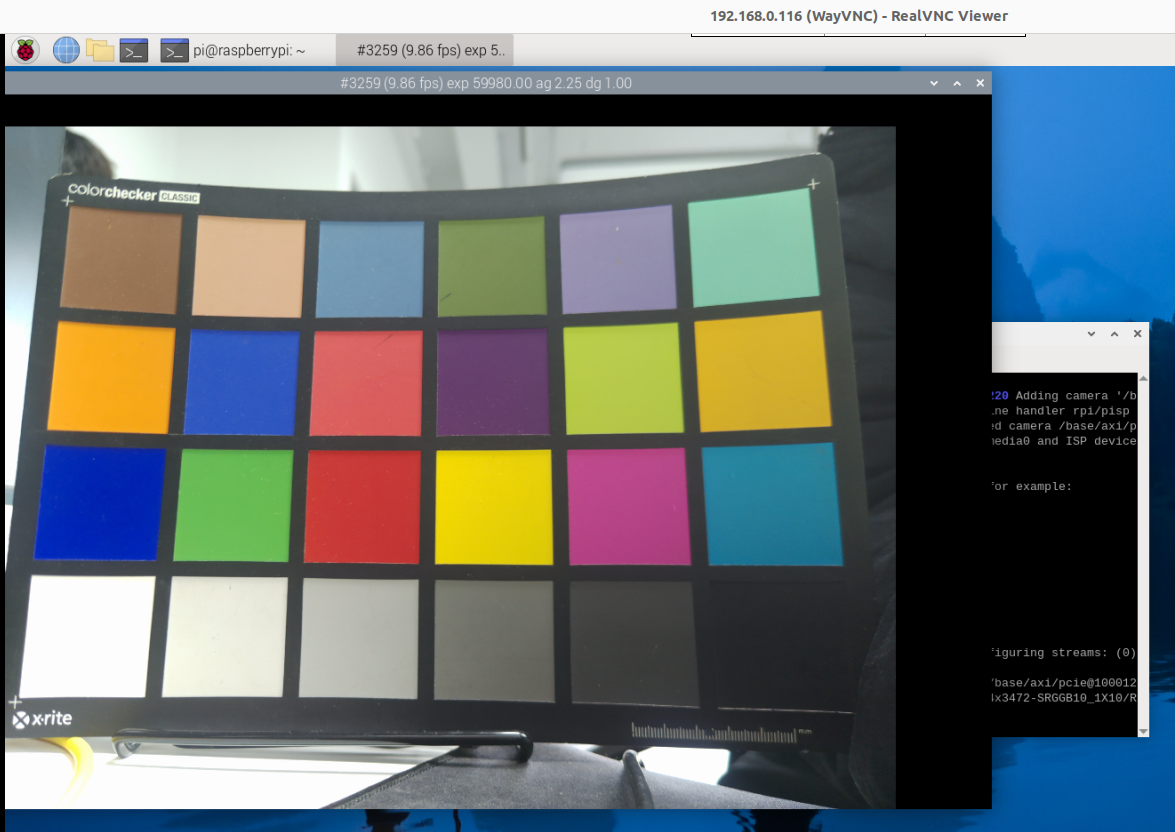
Other operations are the same as using the camera on the Raspberry Pi platform.
Arducam 64MP OwlSight Camera Software Guide
Method 2. Log in to the device via USB
Note
Running this program requires the host and device to be on the same network.
Open the terminal on the device and input:
rpicam-vid -t 0 -n --inline --low-latency --framerate 30 --listen -o tcp://0.0.0.0:8554
-
🪟Windows
Download FFmpeg:
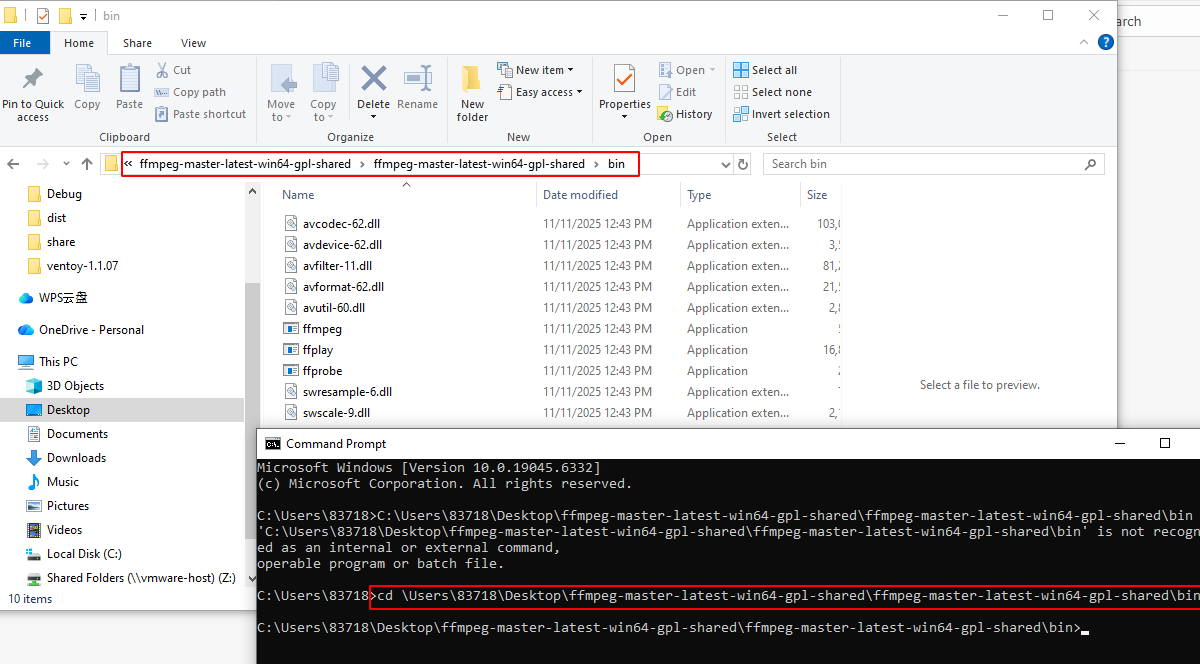
Download the Windows version of the FFmpeg compressed package and extract it.
Open the Command Prompt and navigate to the bin directory of ffmpeg.
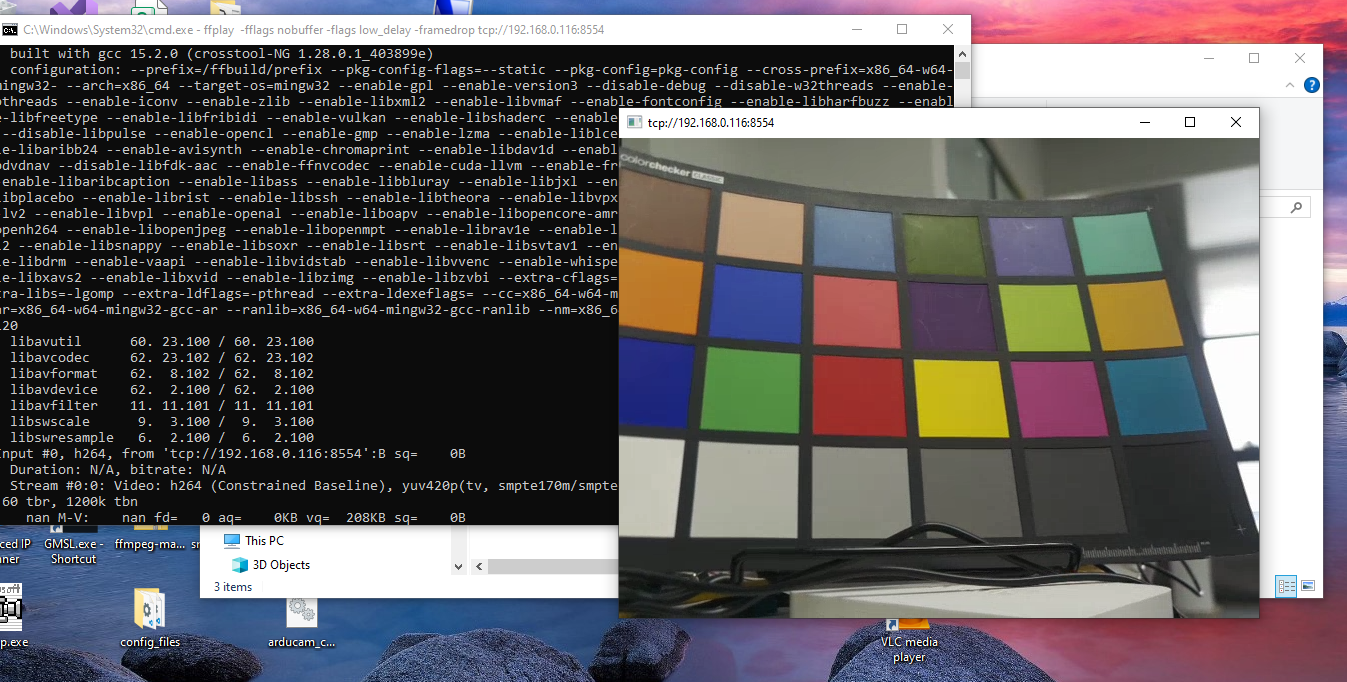
**Enter the command to play RTSP. Streaming: **
ffplay -fflags nobuffer -flags low_delay -framedrop tcp://deviceIPaddress:8554
Note
Adding the bin directory to the system PATH eliminates the need to navigate to the bin directory each time; you can directly enter the command to play the RTSP stream from the command line.
[Add to the PATH on Windows](https://www.architectryan.com/2018/03/17/add-to-the-path-on-windows-10/)
-
🐧Linux (Ubuntu/Debian)
Host dependencies:
sudo apt install ffmpeg -y
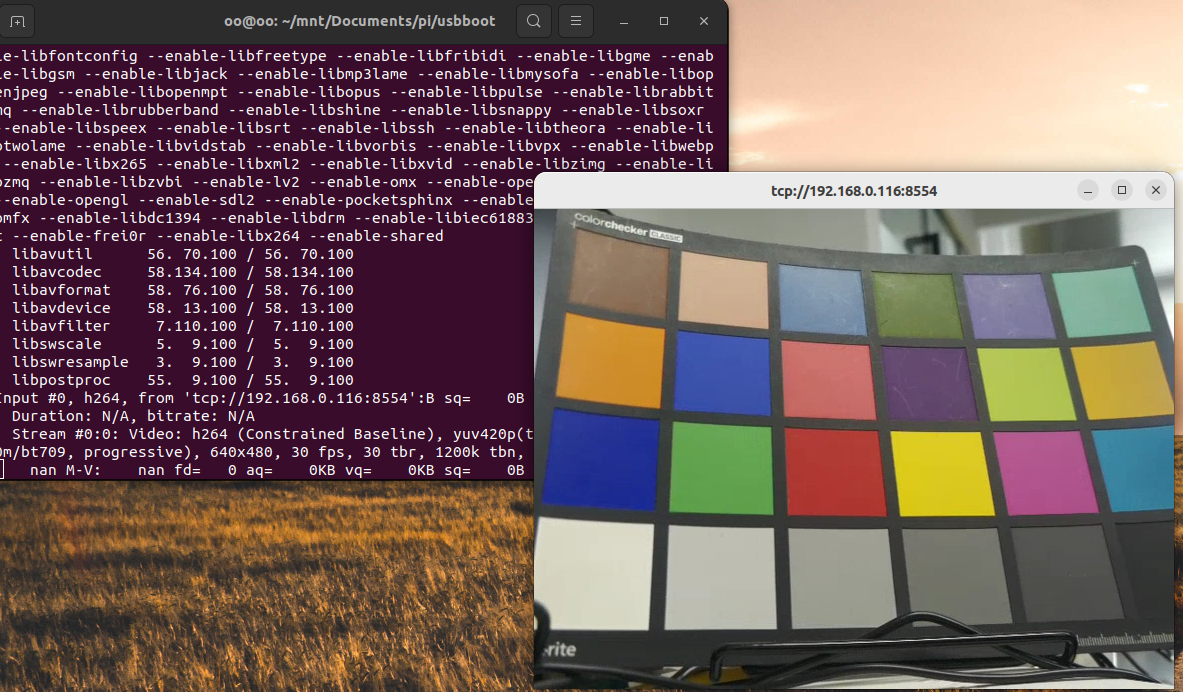
ffplay -fflags nobuffer -flags low_delay -framedrop tcp://deviceIPaddress:8554