RGBD ToF Depth Camera Module
Overview
The Arducam RGBD ToF Camera Kit (also known as Arducam T2 All-in-One Kit) is the ultimate turnkey solution for developers needing immediate access to high-precision depth sensing. Integrating a 16MP RGB sensor and a VGA ToF depth sensor, this kit delivers 1% depth accuracy and frame rates up to 55fps on the Raspberry Pi 5.
Whether for robotics, AR/VR, or industrial automation, this kit streamlines the path from prototyping to production.


Key Applications
Versatile Use Cases
- Robotics: Obstacle avoidance, SLAM navigation, and object recognition.
- Augmented Reality (AR) / VR: High-precision environmental depth sensing.
- 3D Scanning: Detailed 3D model reconstruction.
- Industrial Automation: Quality control, package sorting, and volume measurement.
- Smart Home: Gesture control and security monitoring.
- Medical Devices: Non-invasive depth measurement for diagnostics.
Specifications
Comparison: Kit vs. Module
| Feature | All-in-One Kit (B0548) | Camera Module (B0556) |
|---|---|---|
| Image |  |
 |
| Component Type | Complete Solution (w/ Pi 5 inside) | Integration Module |
| Resolution | 16MP (RGB) + VGA (ToF) | 16MP (RGB) + VGA (ToF) |
| Stream Type | RGB + Depth Map | RGB + Depth Map |
| Interface | MIPI CSI-2 | MIPI CSI-2 |
| Target Use | Quick Prototyping / Turnkey | Custom Integration |
Hardware Setup
Device List
- Arducam RGBD ToF Camera Module(B0556) * 1
- 2-pin Dupont Cable * 1
- 22-22pin FFC Cable * 2
- Platform(Raspberry Pi 5, etc.)

Installation Guide
Connect the RGBD ToF Camera Module using two 22-22 Pin FFC Cables.

Connect the 2-pin DuPont wire to the RGBD ToF Camera Module.

Connect the Dupont cables to the corresponding interfaces (one-to-one correspondence, do not connect haphazardly):
Connect the red cable to pin 4 (5V) and the black cable to pin 6 (GND).

As shown below, connect the ToF Depth interface to the cam1 port of the Raspberry Pi, and connect the RGB interface to the Raspberry Pi cam0 port.
Critical Warning: Do Not Disassemble
Strictly NO Disassembly for the RGB Depth Camera Module (B0556).
Do not remove the screws marked 1 and 2 in the diagram below. The module is calibrated at the factory; unauthorized disassembly will cause the calibration to deviate.


Final Connection Diagram

Software Guide
Image Flashing
Download the Image
Arducam RGBD Camera Pre-built Image

Flash the Image
Option I
Download the tool: https://www.raspberrypi.com/software/

Operation Guide: getting-started raspberry-pi-imager

Option II
Flash an image RPI Tutorial: Raspberry Pi Tutorial - flash-compute-module-emmc

Pre-built Demonstrations
Access raw depth data without the RGB overlay.
1. Depth Preview (run-tof)
Preview the depth map and infrared intensity.
- Close Range Mode (Near):
run-tof --mode 0 - Long Range Mode (Far):
run-tof --mode 1

2. ToF Point Cloud (run-tof-pointcloud)
Visualize the raw 3D depth cloud (grayscale based on intensity).
run-tof-pointcloud

Combine the 16MP Camera color data with the ToF depth sensor.
3. RGBD Capture (run-rgbd)
Displays the color video stream synchronized with the depth map.
run-rgbd

4. RGBD Point Cloud (run-rgbd-pointcloud)
Renders a real-time, fully colored 3D Point Cloud.
run-rgbd-pointcloud

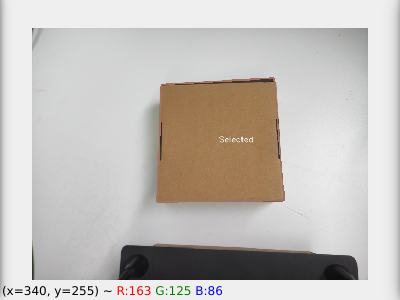
5. Volume Measurement (run-rgbd-volume)
Dynamically calculates the volume of objects using depth contours.
run-rgbd-volume
 |
 |
 |
|---|---|---|
| Mixed Window Displays object volume info. |
Contours Window Displays the selected object. |
Mask Window White: Reference Plane Gray: Object |
6. ROS 2 Integration (ros demo)
Launch the standard ROS2 node and visualization tools.
Step 1: Start the Node (on Raspberry Pi)
ros-setup
ros2 run arducam_rclcpp_rgbd_pointcloud rgbd_pointcloud
Step 2: Visualization
-
Option A: Local Visualization
Run directly on the Raspberry Pi(in a new terminal):
ros-setup
rviz2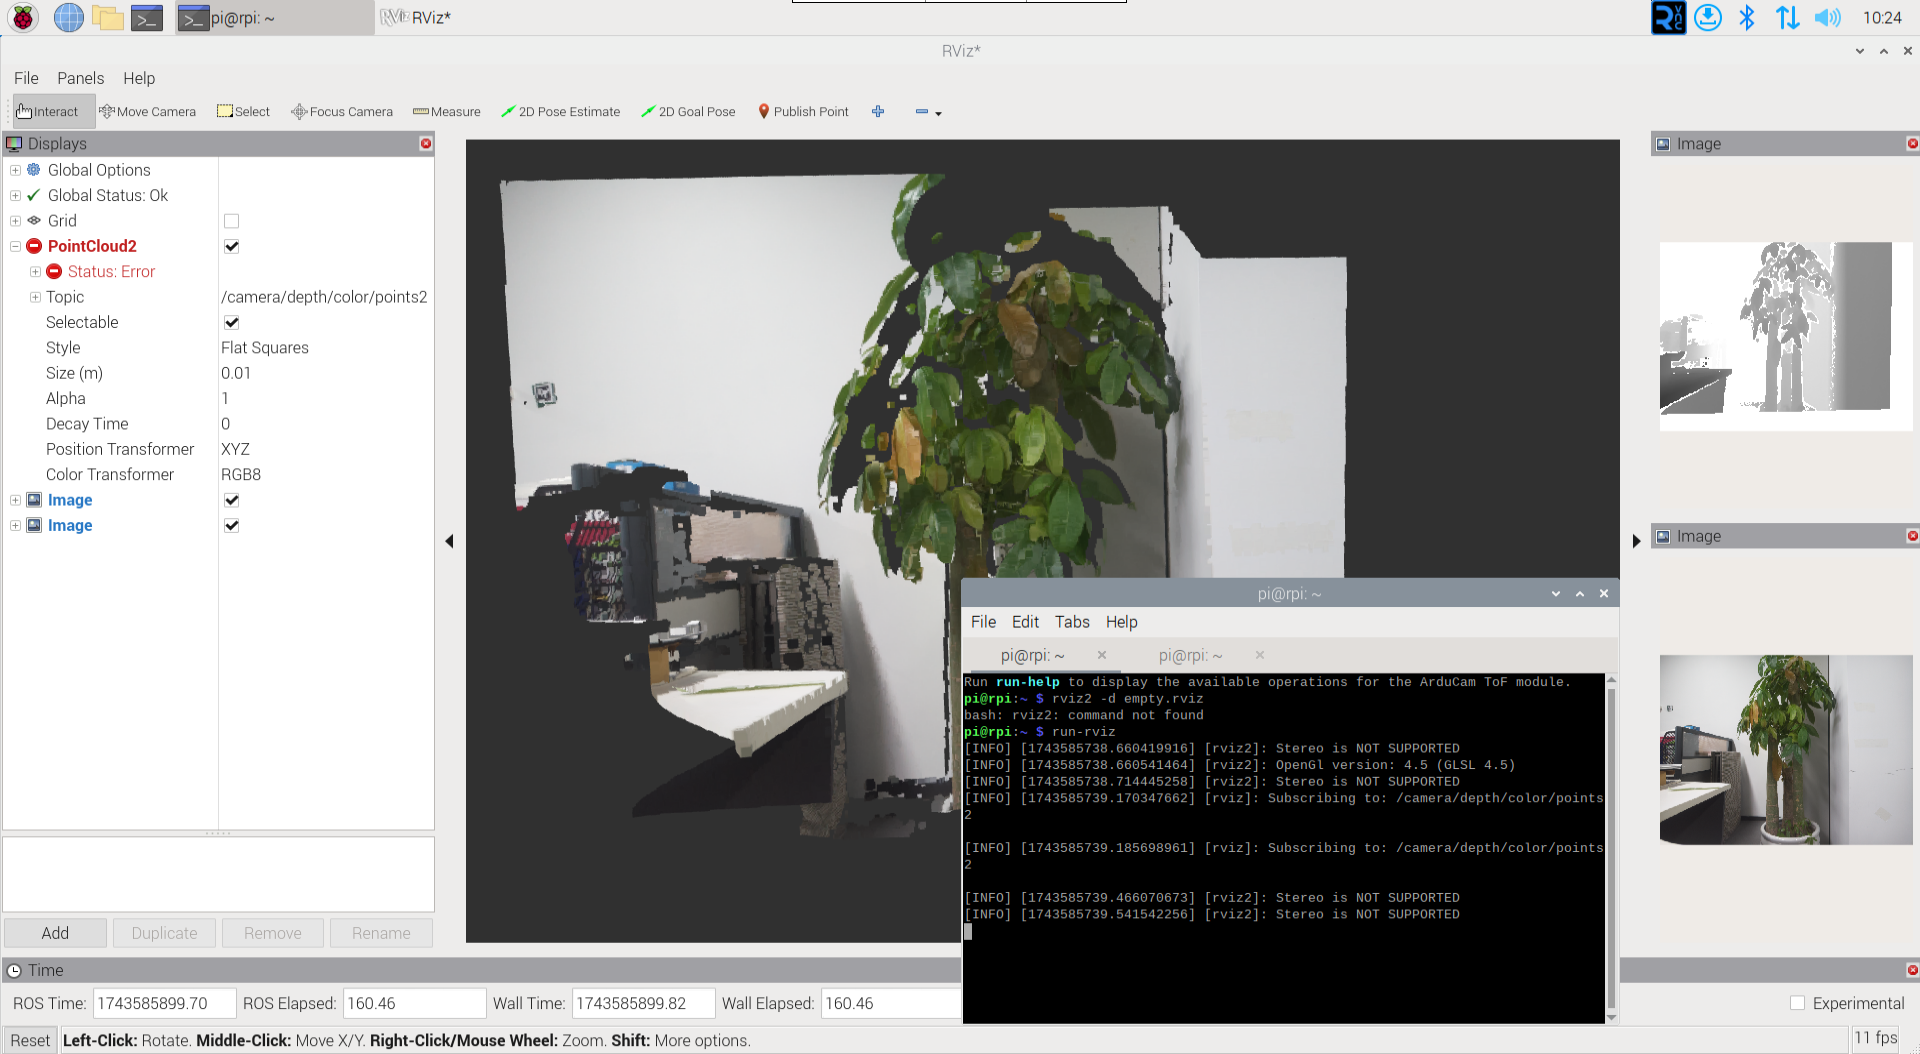
Local Rviz2 Visualization -
Option B: Remote LAN Visualization
You can also observe the data on another PC connected to the same Local Area Network (LAN) by launching
rviz2on the remote machine.
Remote Visualization via LAN
Developer Compilation Guide
If you intend to modify the source code or integrate the driver into your own C++ project, follow the compilation instructions below.
Use these instructions to compile the standalone depth sensor applications.
1. Basic Example
Compile the demo script:
cd ~/tof-examples
bash ./compile.sh
Success Indicator
If compilation is successful, the terminal will verify the path:
== Run /home/pi/tof-examples/build/example/cpp/example
Run the compiled binary:
/home/pi/tof-examples/build/example/cpp/example
2. Point Cloud
Compile the point cloud demo:
cd ~/tof-examples
bash ./compile_pointcloud.sh
Success Indicator
If compilation is successful, the terminal will verify the path:
== Run /home/pi/tof-examples/build/open3d_preview/preview_pointcloud
Run the compiled binary:
/home/pi/tof-examples/build/open3d_preview/preview_pointcloud
Use these instructions to compile the combined RGB + ToF applications.
Restriction Note
Please note that the source code for the example and volume_measurement demos is not currently supported for user compilation.
1. Capture Demo
Compile the source code:
cd ~/rgbd-examples/capture
cmake -Bbuild && cmake --build build -j4
Run the application:
# Run C++ Version
/home/pi/rgbd-examples/capture/build/capture

# Run C Version
/home/pi/rgbd-examples/capture/build/capture_c
Tip
Press q in the preview window to exit the program.
2. Point Cloud
Compile the source code:
cd ~/rgbd-examples/pointcloud
cmake -Bbuild && cmake --build build -j4
Run the application:
/home/pi/rgbd-examples/pointcloud/build/pointcloud
Tip
Press Ctrl + C in the terminal to force stop the program.
Video Demonstration
Explore the capabilities of the Arducam RGBD ToF Camera through these demonstrations.
-
Product Introduction
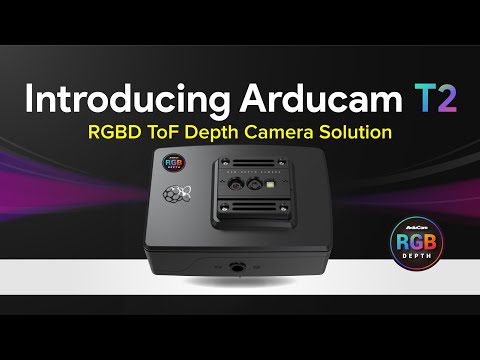
An overview of the Arducam T2 All-in-One Kit features and hardware design.
-
Point Cloud Demo
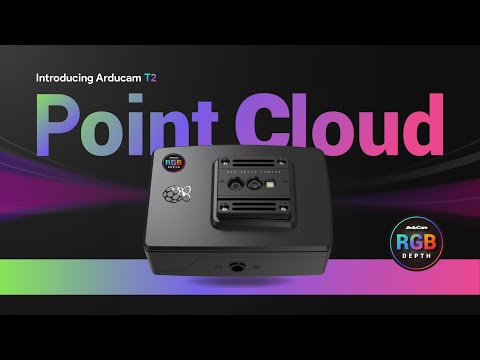
Real-time point cloud visualization demonstrating depth accuracy.
-
ROS 2 Integration
Seamless integration with ROS 2 for robotics applications.
-
Volume Measurement
Using depth data to calculate the volume of physical objects dynamically.