Quick Pico Setup
Quick Pico Setup
If you are developing for Raspberry Pi Pico on the Raspberry Pi 4B, or the Raspberry Pi 400, most of the installation steps in this Getting Started guide can be skipped by running the setup script.
You can get this script by doing the following:
git clone https://github.com/raspberrypi/pico-setup.git
Then run:
pico-setup/pico_setup.sh
Result
Result
- Create a directory called pico
- Install required dependencies
- Download the pico-sdk, pico-examples, pico-extras, and pico-playground repositories
- Define PICO_SDK_PATH, PICO_EXAMPLES_PATH, PICO_EXTRAS_PATH, and PICO_PLAYGROUND_PATH in your ~/.bashrc
- Build the blink and hello_world examples in pico-examples/build/blink and pico-examples/build/hello_world
- Download and build picotool (see Appendix B). Copy it to /usr/local/bin. • Download and build picoprobe (see Appendix A).
- Download and compile OpenOCD (for debug support)
- Download and install Visual Studio Code
- Install the required Visual Studio Code extensions (see Chapter 6 for more details)
- Configure the Raspberry Pi UART for use with Raspberry Pi Pico
Once it has run, you will need to reboot your Raspberry Pi,
sudo reboot
Person Detection
- Download pico-tflmicro
git clone https://github.com/ArduCam/pico-tflmicro.git
- Compile
cd pico-tflmicro
mkdir build
cd build
cmake ..
make
# or only make person_detection_int8
Then you will creat some files under pico-tflmicro/tflmicro/build/examples/person_detection path
| Bin | Description | |
|---|---|---|
| person_detection_int8.uf2 | This is the main program of person_detection, which can be dragged onto the RP2040 USB Mass Storage Device. | |
| person_detection_benchmark.uf2 | This is the benchmark program of person_detection, you can use it to test the performance of person_detection on pico. |
TIP
If you don't want to compile, you can use the above pre-built uf2 file, you only need to wire the hardware and download uf2 to the device.
Test Person Detection
| App | Description |
|---|---|
| person_detection_int8 | This is a person detection demo. |
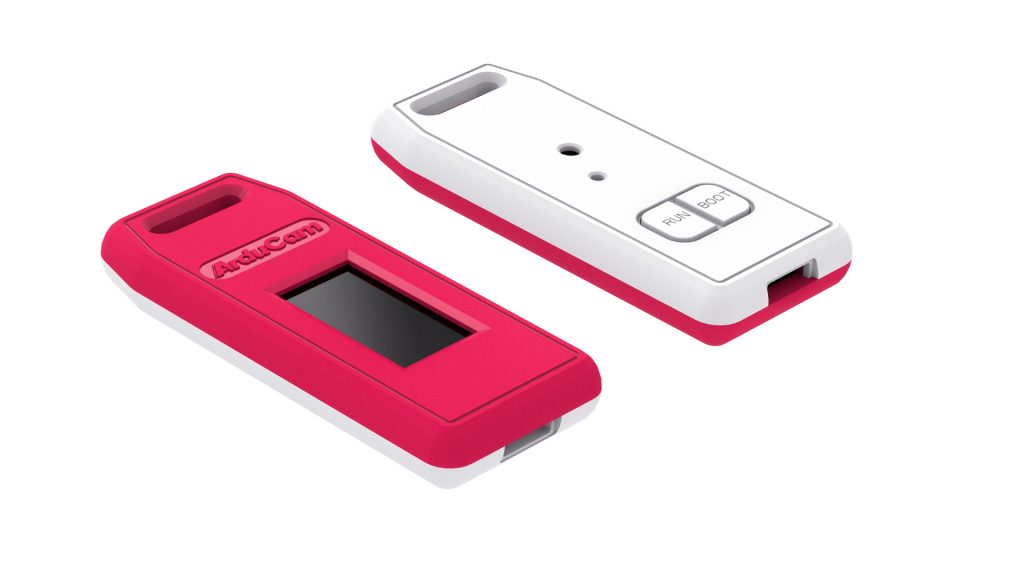
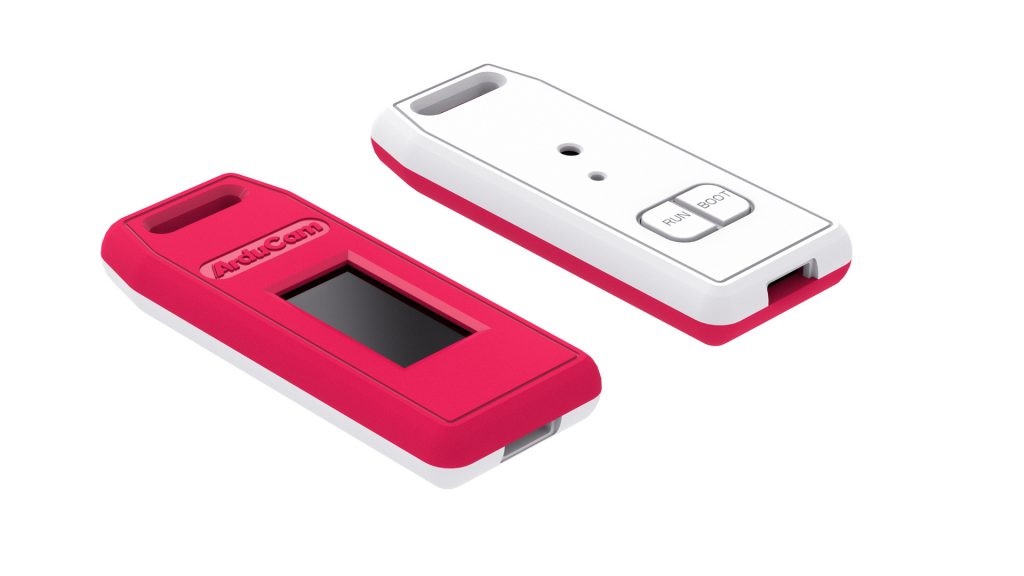
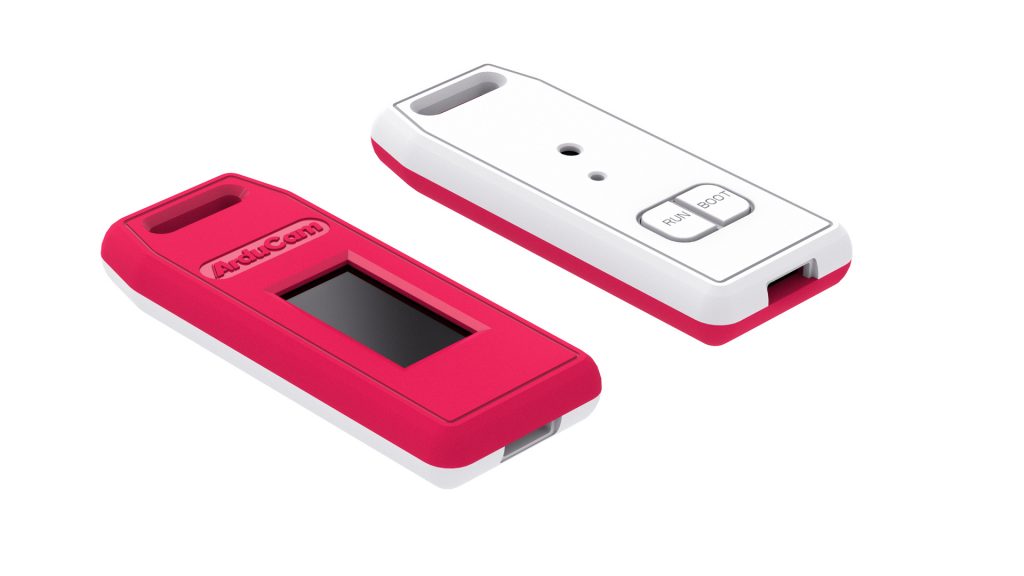
- Hardware requirements
Learn more here: pico4ml-an-rp2040-based-platform-for-tiny-machine-learning
- Load and run person_detection
Note
The simplest method to load software onto a RP2040-based board is by mounting it as a USB Mass Storage Device.
Doing this allows you to drag a file onto the board to program the flash.
Go ahead and connect the Raspberry Pi Pico to your Raspberry Pi using a micro-USB cable, making sure that you hold down the BOOTSEL button to force it into USB Mass Storage Mode.
If you are logged in via ssh for example, you may have to mount the mass storage device manually:
$ dmesg | tail
[ 371.973555] sd 0:0:0:0: [sda] Attached SCSI removable disk
$ sudo mkdir -p /mnt/pico
$ sudo mount /dev/sda1 /mnt/pico
If you can see files in /mnt/pico then the USB Mass Storage Device has been mounted correctly:
$ ls /mnt/pico/
INDEX.HTM INFO_UF2.TXT
Copy your person_detection_int8.uf2 onto RP2040:
sudo cp examples/person_detection/person_detection_int8.uf2 /mnt/pico
sudo sync
View Output
The person detection example outputs some information through usb, you can use minicom to view:
minicom -b 115200 -o -D /dev/ttyACM0
The person detection example also outputs the image data and person detection results to the UART, and you can see them directly on the screen.
Micro Speech
- Download pico-tflmicro
git clone https://github.com/ArduCAM/pico-tflmicro.git
- Compile
cd pico-tflmicro
mkdir build
cd build
cmake ..
make
# or only make micro_speech
Then you will creat some files under pico-tflmicro/tflmicro/build/examples/micro_speech path
| Bin | Description |
|---|---|
| micro_speech.uf2 | This is the main program of micro_speech, which can be dragged onto the RP2040 USB Mass Storage Device. |
Tip
If you don't want to compile, you can use the above pre-built uf2 file, you only need to wire the hardware and download uf2 to the device.
Test Micro Speech
| App | Description |
|---|---|
| micro_speech | This is a micro speech demo. |
- Hardware requirements
Learn more here: pico4ml-an-rp2040-based-platform-for-tiny-machine-learning
- Load and run micro_speech
Note
The simplest method to load software onto a RP2040-based board is by mounting it as a USB Mass Storage Device.
Doing this allows you to drag a file onto the board to program the flash.
Go ahead and connect the Raspberry Pi Pico to your Raspberry Pi using a micro-USB cable, making sure that you hold down the BOOTSEL button to force it into USB Mass Storage Mode.
If you are logged in via ssh for example, you may have to mount the mass storage device manually:
$ dmesg | tail
[ 371.973555] sd 0:0:0:0: [sda] Attached SCSI removable disk
$ sudo mkdir -p /mnt/pico
$ sudo mount /dev/sda1 /mnt/pico
If you can see files in /mnt/pico then the USB Mass Storage Device has been mounted correctly:
$ ls /mnt/pico/
INDEX.HTM INFO_UF2.TXT
Copy your micro_speech.uf2 onto RP2040:
sudo cp examples/micro_speech/micro_speech.uf2 /mnt/pico
sudo sync
View Output
The micro speech example outputs some information through usb, you can use minicom to view:
minicom -b 115200 -o -D /dev/ttyACM0
The micro speech example also outputs the results to the screen.
Magic Wand
- Download pico-tflmicro
git clone https://github.com/ArduCAM/pico-tflmicro.git
- Compile
cd pico-tflmicro
mkdir build
cd build
cmake ..
make
# or only make  magic_wand
Then you will creat some files under pico-tflmicro/tflmicro/build/examples/magic_wand path
| Bin | Description |
|---|---|
| magic_wand.uf2 | This is the main program of magic_wand, which can be dragged onto the RP2040 USB Mass Storage Device. |
Tip
If you don't want to compile, you can use the above pre-built uf2 file, you only need to wire the hardware and download uf2 to the device.
Test Magic Wand
| App | Description |
|---|---|
| magic_wand | This is a magic wand demo. |
- Hardware requirements
Learn more here: pico4ml-an-rp2040-based-platform-for-tiny-machine-learning
- Load and run magic_wand
Note
The simplest method to load software onto a RP2040-based board is by mounting it as a USB Mass Storage Device.
Doing this allows you to drag a file onto the board to program the flash.
Go ahead and connect the Raspberry Pi Pico to your Raspberry Pi using a micro-USB cable, making sure that you hold down the BOOTSEL button to force it into USB Mass Storage Mode.
If you are logged in via ssh for example, you may have to mount the mass storage device manually:
$ dmesg | tail
[ 371.973555] sd 0:0:0:0: [sda] Attached SCSI removable disk
$ sudo mkdir -p /mnt/pico
$ sudo mount /dev/sda1 /mnt/pico
If you can see files in /mnt/pico then the USB Mass Storage Device has been mounted correctly:
$ ls /mnt/pico/
INDEX.HTM INFO_UF2.TXT
Copy your magic_wand.uf2 onto RP2040:
sudo cp examples/magic_wand/magic_wand.uf2 /mnt/pico
sudo sync
View Output
The magic wand example outputs some information through usb, you can use minicom to view:
minicom -b 115200 -o -D /dev/ttyACM0
The magic wand example also outputs the results to the screen.


