IMX500 CM0 AI Camera Kit
Device Connection(External Network):
Device List
| Item | Quantity(PCS) |
|---|---|
| PoE Injector/USB-Type-C power supply (27W~30W) | 1 |
| Router | 1 |
| Arducam IMX500 CM0 AI Camera All-in-one Kit | 1 |
| Laptop/PC | 1 |
| Network Cable | 2~3 |

Power Supply
| PoE Injector Power Supply | USB-Type-C Power Supply (27W~30W) |
|---|---|
 |
  |
Device Connection
The router needs to be connected to an external network.
| Connect to the router via USB-Type-C power supply (Yellow network cable is for external network access). |
Connect to the router via PoE power supply (Yellow network cable is for external network access.) |
|---|---|
 |
 |
Device Connection(Host Networking):
Device List
| Item | Quantity(PCS) |
|---|---|
| PoE Injector/USB-Type-C power supply (27W~30W) | 1 |
| Arducam IMX500 CM0 AI Camera All-in-one Kit | 1 |
| Laptop/PC | 1 |
| Network Cable | 2 |

Power Supply
| PoE Injector Power Supply | USB-Type-C Power Supply(27W~30W) |
|---|---|
|
|
Device Connection
| Connect to the host via USB-Type-C power supply | Connect to the host via PoE power supply |
|---|---|
 |
 |
Shared Network Configuration
→ Please refer to the following doc for the shared network configuration tutorial:
SSH Device Connection Tool
🪟 Windows
Download MobaXterm
-
Official Download:
MobaXterm Home Edition -
MobaXterm_Installer.zip:
MobaXterm_Installer_v25.2.zip
Installation
- Download the ZIP file and extract it

- Run
MobaXterm_installer_25.2.msi
- Follow the installer:
Next→I accept the agreement→Next

- Choose installation directory (default or custom) →
Next
- Click
Install
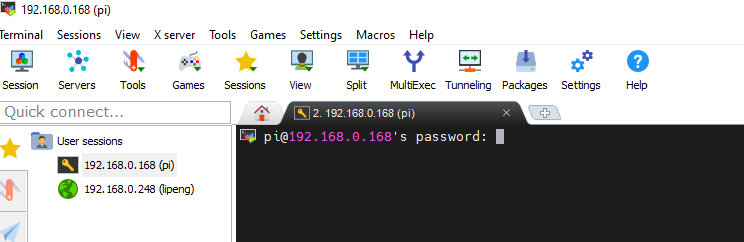
Run MobaXterm
Click "Start" -> type "MobaXterm" -> open "MobaXterm"
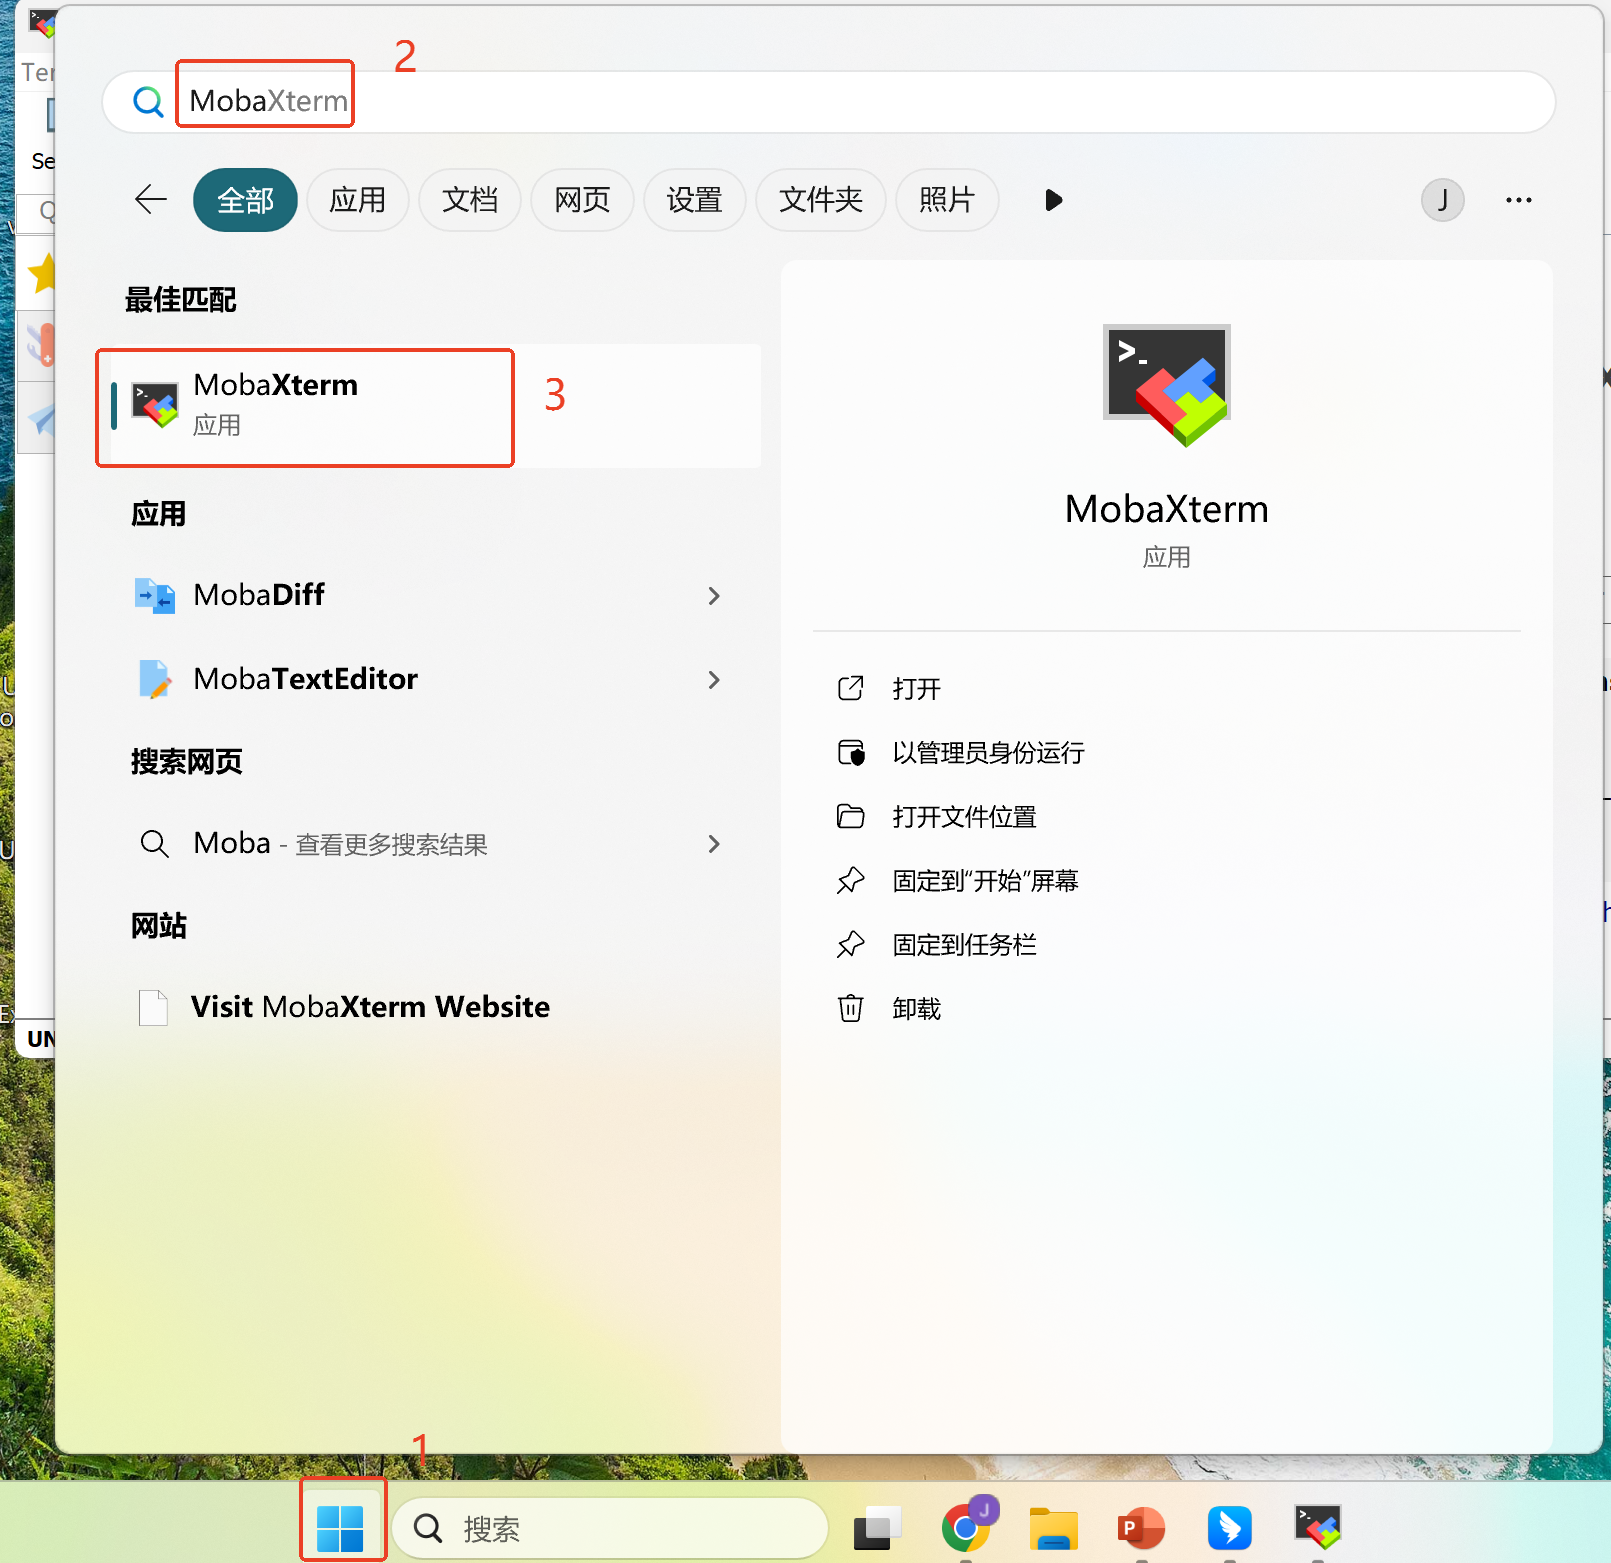
-
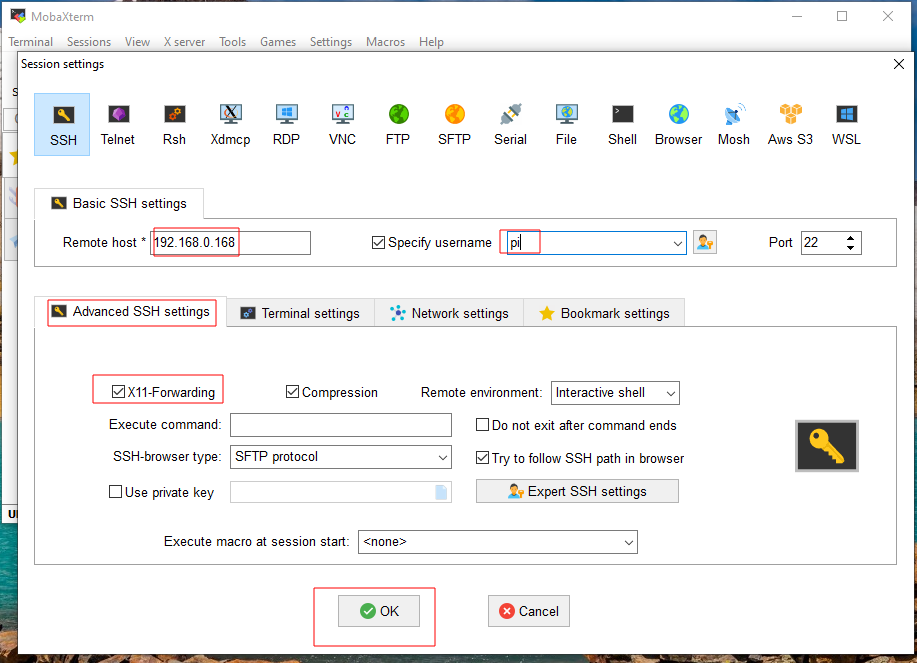
Click "
Session" to open the Session settings page -> click "SSH" -
Enter the IP address "
192.168.0.xx" in "Remote host" (enter according to your actual device IP address) -
Enter "
pi" in "Specify username" -
Check "
X11-Forwarding" in "Advanced SSH settings" -
Click "
OK"
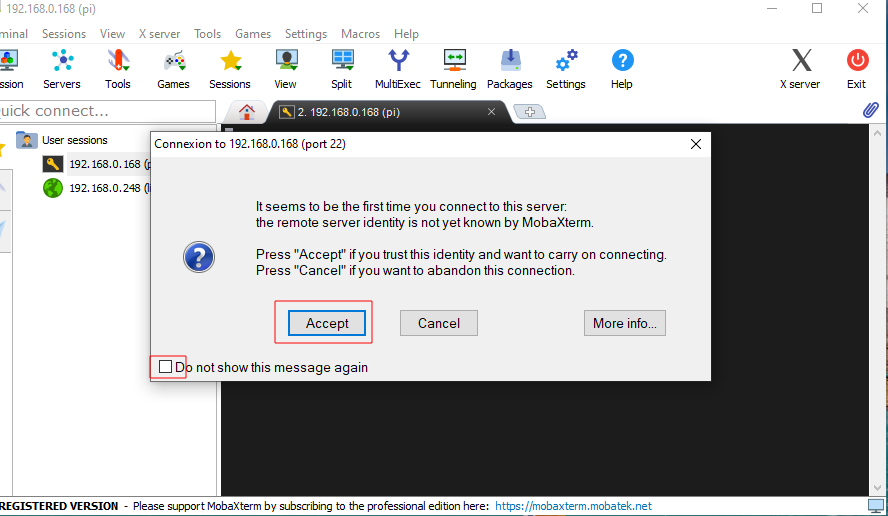
Click "Accept"
Enter password: raspberrypi
🐧 Linux (Ubuntu/Debian)
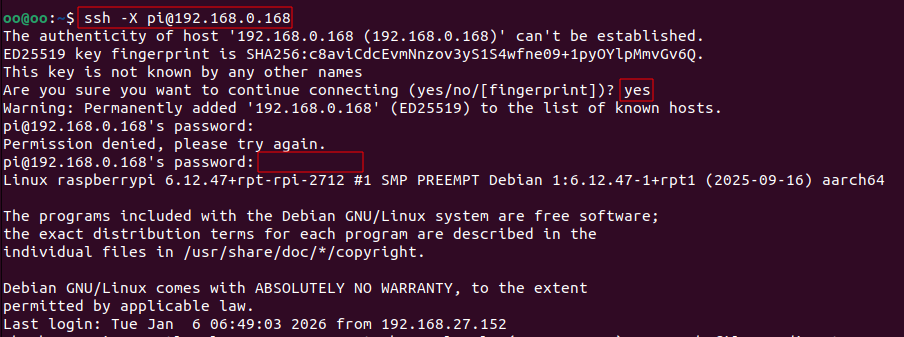
CTRL+ALT+T open Terminal:
# run the command
ssh -X pi@IP
# input the password
raspberrypi
Demonstration
Note
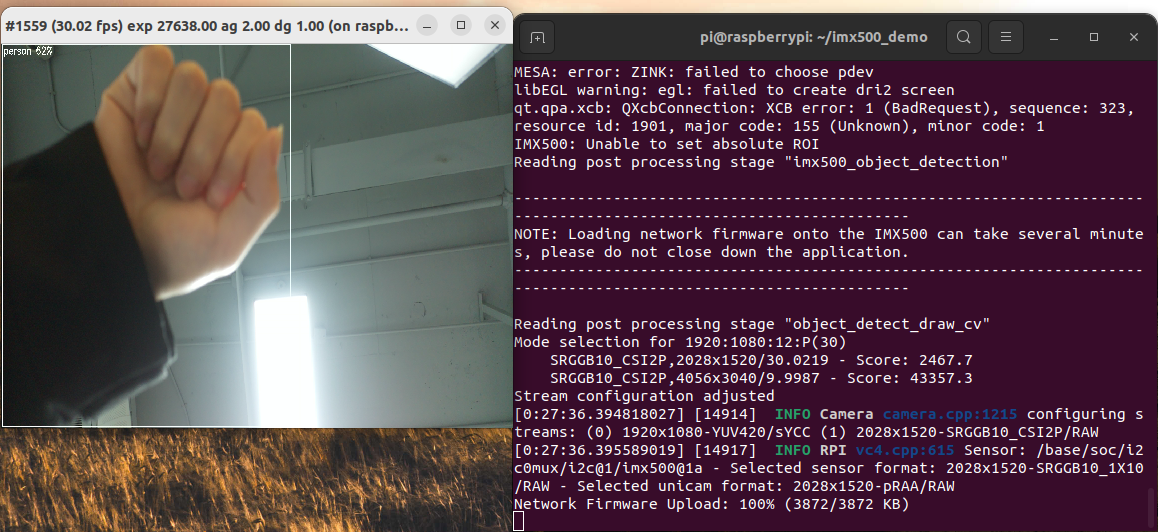
CM0 can only be operated via SSH connection (no desktop).
Running imx500 AI Camera:
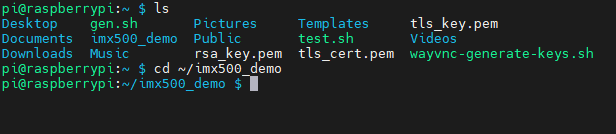
Navigate to the demo directory:
cd ~/imx500_demo
TCP mode (smooth)
Device command:
./object_detection_tcp.sh
Host command:
-
🪟Windows
Download FFmpeg:
Download the Windows version of the FFmpeg compressed package and extract it.
Open the Command Prompt and navigate to the bin directory of ffmpeg.
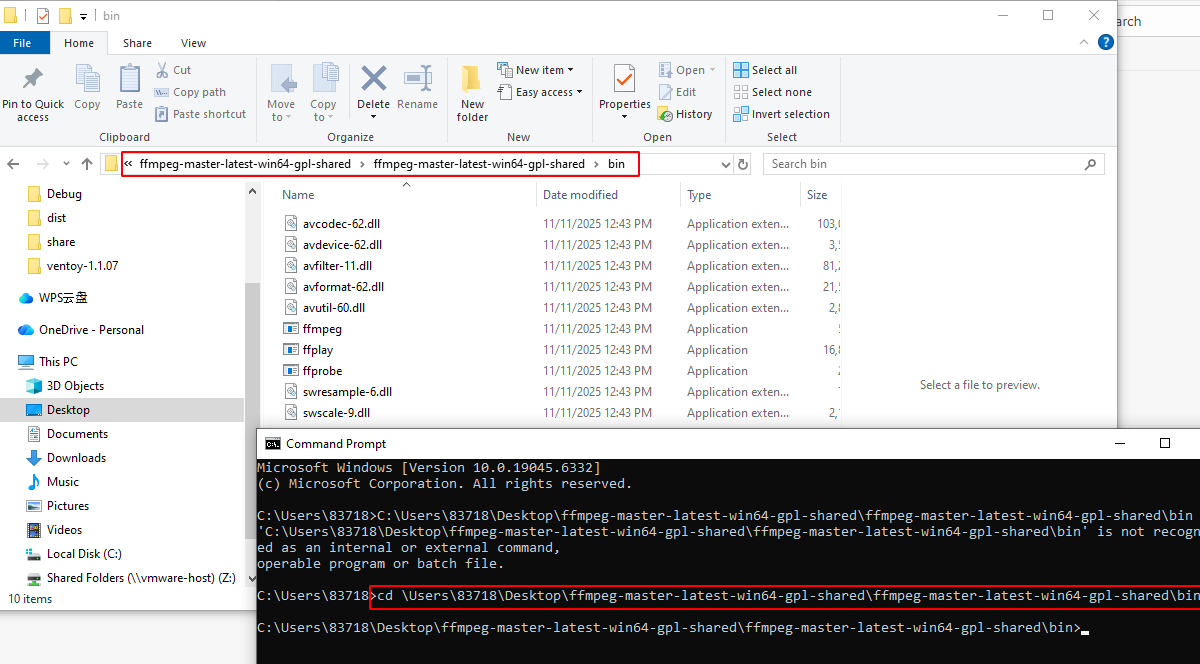
**Enter the command to play RTSP. Streaming: **
ffplay -fflags nobuffer -flags low_delay -framedrop tcp://B0606IP:8554
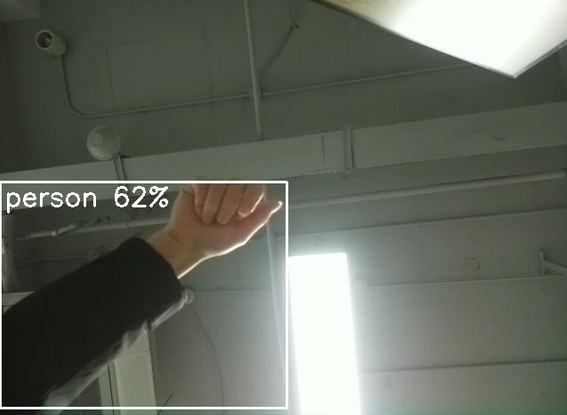
Note
Adding the bin directory to the system PATH eliminates the need to navigate to the bin directory each time; you can directly enter the command to play the RTSP stream from the command line.
[Add to the PATH on Windows](https://www.architectryan.com/2018/03/17/add-to-the-path-on-windows-10/)
-
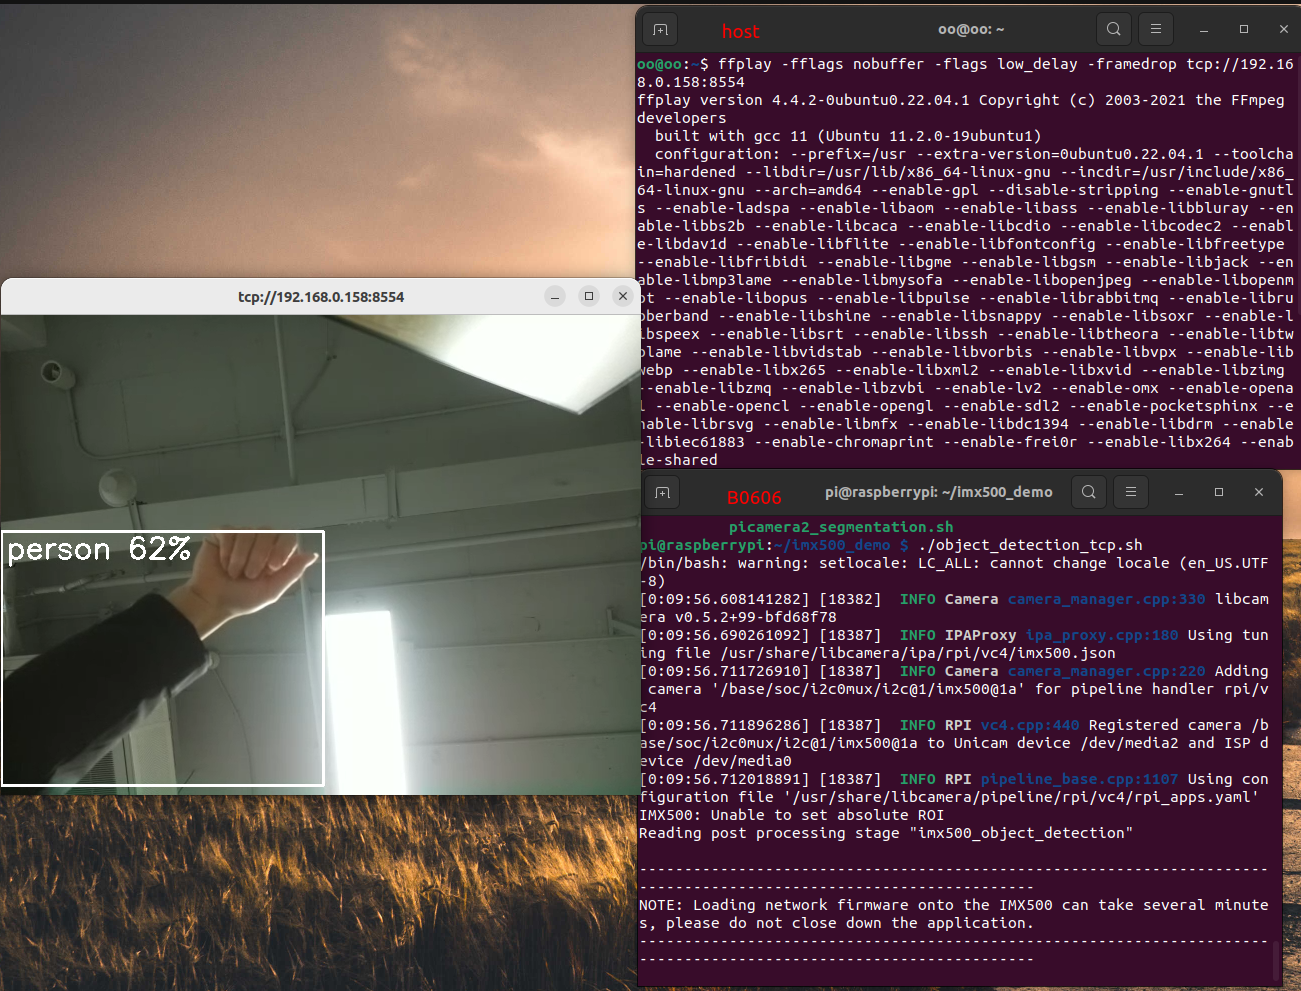
🐧Linux (Ubuntu/Debian)
Host dependencies:
sudo apt install ffmpeg -y
ffplay -fflags nobuffer -flags low_delay -framedrop tcp://B0606IP(设备ip 地址):8554
Python method (medium)
Device execution command:
python imx500_object_detection_demo.py
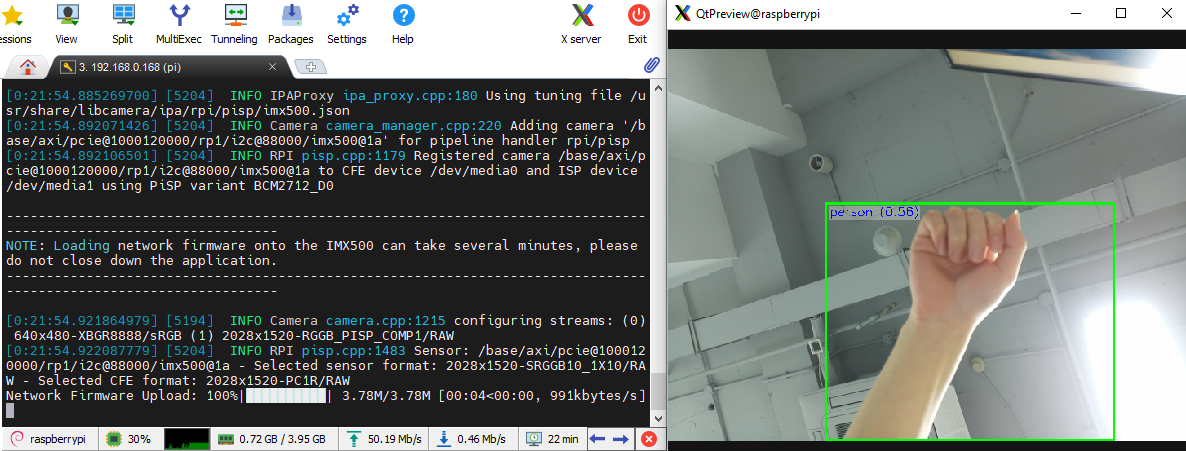
qt-preview (low quality)
Device execution command:
./object_detection.sh