UVC Camera Configuration Guide
This guide details how to customize Arducam UVC cameras, including modifying the Serial Number, Device Name, and setting default focus positions.
To ensure you use the correct utility, please verify your camera interface (USB 3.0 vs USB 2.0) first.
🛠️ Tool Selection Guide
Please download the appropriate tool matching your camera hardware.
| Feature | [Option 1] UVC Config Tool | [Option 2] Serial Number Tool |
|---|---|---|
| Interface | USB 3.0 | Standard USB 2.0 |
| Capabilities | Edit Name/SN, Set Focus, Firmware Info | Edit Name/SN Only |
| Typical Models | USB3 UVC Camera List (e.g., B0497) | USB2 UVC Camera List |
| Download | ⬇️ Download Config Tool | ⬇️ Download Legacy Tool |
Option 1: Arducam UVC Config Tool
Target Device: USB 3.0 Cameras & Modules with Motorized Lens
This advanced tool supports reading/writing ISP parameters and defining startup states for motorized lenses.
1. Connection & Detection
- Connect your UVC camera to the PC via USB.
- Launch
ArducamUVCConfigTool.exe. - Click Refresh (top right) to scan for devices.
- Select your target camera from the list and click Open.
2. Operations
A. Modify Device Info
- Click Read to retrieve the current Firmware Version, Product Name, and Serial Number.
- Edit the text in Product Name or SerialNumber fields.
- Click Write to flash the new values.
B. Set Default Focus (Motorized Lens Only)
Defines the lens position the camera uses immediately after boot-up.
- Use the focus slider (or buttons) to adjust the lens to your desired distance.
- Click the Current button next to Default Focus Value to read the motor position.
- Click Write to save this position as the default.
3. Apply Changes
Save and Reboot
After clicking Write, you must unplug and replug the USB cable for the new Product Name to be recognized by the operating system.
Option 2: Serial Number Tool
Target Device: Standard USB 2.0 Cameras
1. Hardware Setup
Connect the Arducam UVC camera to your computer.
Tip
If the software fails to detect the camera, close the application, re-plug the USB cable, and restart the application.
2. Operation Steps
Step 1: Detection
Run the tool. The "Port" dropdown should populate automatically.
- Success: Displays e.g., "USB Video Camera" or "Arducam..."
- Failure: Shows "Unknown Device". Please check physical connection.
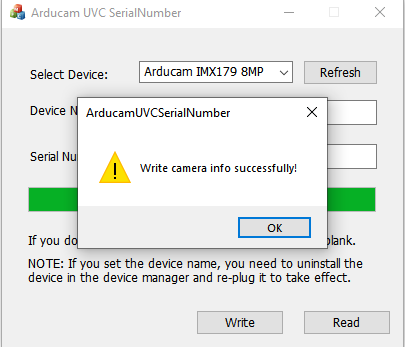
Step 2: Modify Serial Number (SN)
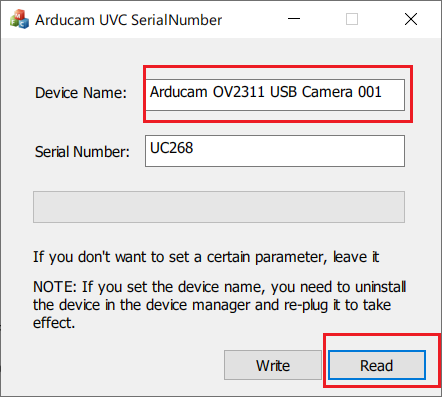
- Click Read to fetch the current SN.
- Enter the new SN in the input box.
- Click Write. A success message should appear.
Step 3: Modify Device Name (FriendlyName) You can change the name displayed in applications (e.g., Zoom, OBS).
Why didn't the name change?
Windows aggressively caches USB Device Names. If the old name persists after modification:
- Open Device Manager on Windows.
- Find the camera under "Cameras" or "Imaging devices".
- Right-click and select Uninstall device.
- Unplug and re-plug the camera to force Windows to read the new descriptor.
Appendix: Supported Device List (USB 2.0)
We support serial number and name modification for the following UVC 2.0 camera modules. Please find your model by sensor type below.
🔹 IMX Series (Sony)
| Model | Resolution | SKUs (Click for Details) |
|---|---|---|
| IMX219 | 8MP | B0196, B0431, B029201, B0292, B0321, B0320 |
| IMX291 | 2MP (Low Light) | B0200, B0201, B0202, B0520, B052001, B0261, B026101, B0363, B0362, UB020201, B020101 |
| IMX179 | 8MP | UB0240, B0447, B0447C, B0446 |
| IMX298 | 16MP | B0290, B029001, B0268, B026801 |
| IMX477 | 12MP | B0280, B0288, B0433 |
🔹 OV Series (OmniVision)
| Model | Resolution | SKUs (Click for Details) |
|---|---|---|
| OV9281 | 1MP (Global Shutter) | B0332 |
| OV2311 | 2MP (Global Shutter) | B0322 |
| OV5648 | 5MP | UB0238, B0454, B0454C |
| OV5693 | 5MP | B0441 |