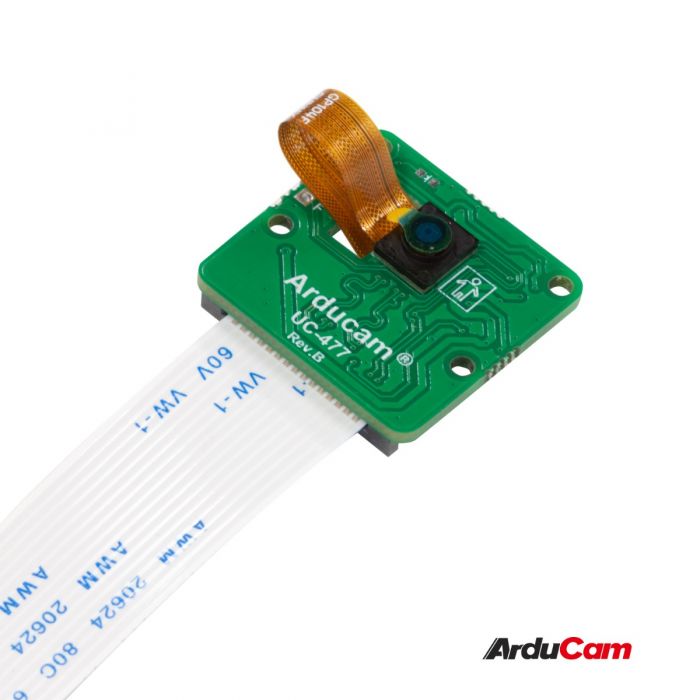
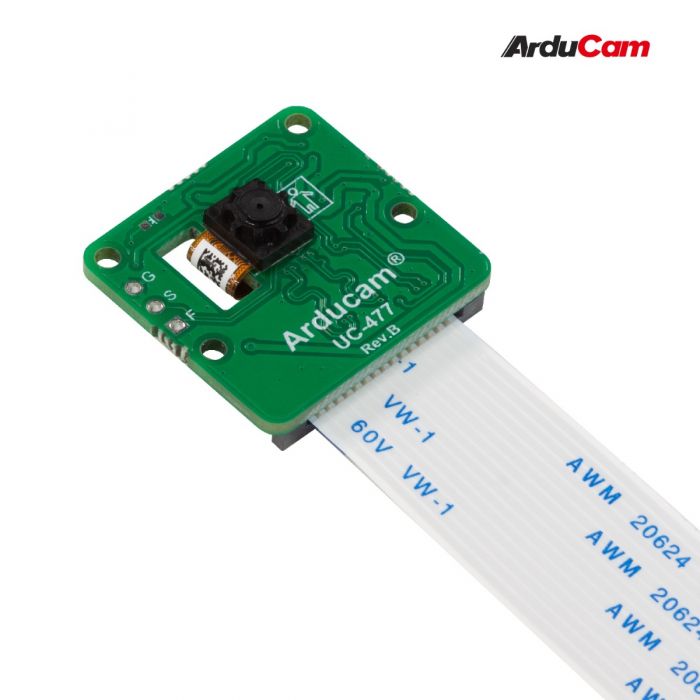
0.3MP OV7251
Introduction
Global shutter cameras eliminate rolling shutter artifacts to better capture moving objects, and OV7251 is just one of them.
Image Sensor
| Sensor Model | OV7251 |
|---|---|
| Shutter Type | Global Shutter |
| Active Pixels | 640×480 |
| Resolution | 0.3 MP |
| Image Sensor Format | Type 1/7.5″ |
| Pixel Size | 3μm×3μm |
| Color Filter Array | None(Monochrome) |
At Arducam
Many people perform computer and machine vision tasks on RPi, in which they have to deal with fast-moving objects. A global shutter camera is an ideal solution to avoid the rolling artifacts for better image processing, but it’s not easy on RPi.
Arducam is one of the first companies that offers a way to interface global shutter cameras to the Raspberry Pi. And now, Raspberry Pi developers have managed to port the drivers and then officially merged them to the Raspberry Pi kernel tree. That means you will be able to use our OV7251/OV9281 cameras with the official V4L2 driver.
Arducam OV7251 MIPI cameras are mainly designed for the Raspberry Pi and connected directly to its CSI connector. They support the official V4L2 camera driver and Arducam userland driver.
Detailed parameters
| Product Image | SKU | Pin/Connect Type | Features | Lens Type | Field of View(D/H/V) | Focus Type | IR Sensitivity |
|---|---|---|---|---|---|---|---|
 |
B0206 | 15/Bottom | Mini size | Stock Lens | 72.9°(H) x 57.7°(V) | Fixed Focus | without IR-cut filter |
 |
B0161 | 650nm IR-cut filter |
Hardware Connection
Please refer to the following doc for common hardware connection method of RPI Camera:
Quick Start Guide - Hardware Connection
Software Guide
Supported Platforms and OS
| Note for Supported Platform and OS | |||
|---|---|---|---|
| Platform | Bookworm(rpicam) | Bullseye(libcamera/rpicam) | Buster(raspistill) |
| Raspberry Pi 5 | √ | ||
| Raspberry Pi 4B / 3B+ / 3A+ / Zero / Zero 2 W | √ | √ | |
| Raspberry Pi CM3 / CM3+ / CM4 / CM5 (extra adapter board required) |
√ | √ | |
Software Configuration
Bookworm OS
Configuration on Pi 5
For Raspberry Pi Bookworm users running on Pi 5, please execute:
sudo nano /boot/firmware/config.txt
#Find the line: camera_auto_detect=1, update it to:
camera_auto_detect=0
#Find the line: [all], add the following item under it:
dtoverlay=ov7251
#Save and reboot.
If you want to enable the camera kit on the
cam0port of Pi5, please refer to the following modifications:
sudo nano /boot/firmware/config.txt
#Find the line: camera_auto_detect=1, update it to:
camera_auto_detect=0
#Find the line: [all], add the following item under it:
dtoverlay=ov7251,cam0
#Save and reboot.
Preview the camera
You can use the command below to preview the camera:
rpicam-still -t 0 --tuning-file /usr/share/libcamera/ipa/rpi/pisp/uncalibrated.json
Configuration on Pi 0~4
For Raspberry Pi Bookworm users running on Pi 0~4, please execute:
sudo nano /boot/firmware/config.txt
#Find the line: camera_auto_detect=1, update it to:
camera_auto_detect=0
#Find the line: [all], add the following item under it:
dtoverlay=ov7251
#Save and reboot.
Preview the camera
You can use the command below to preview the camera:
rpicam-still -t 0 --tuning-file /usr/share/libcamera/ipa/rpi/vc4/uncalibrated.json
Bullseye OS
Configuration on Pi 0~4
For Raspberry Pi Bullseye users running on Pi 0~4, please execute:
sudo nano /boot/config.txt
#Find the line: camera_auto_detect=1, update it to:
camera_auto_detect=0
#Find the line: [all], add the following item under it:
dtoverlay=ov7251,media-controller=0
#Save and reboot.
Preview the camera
You can run the two demo codes below to preview the camera:
#Install the dependencies
sudo apt install python3-opencv
#Run the demo code
python3 play1.py
#Or
python3 play2.py
import cv2

cap = cv2.VideoCapture(0)

while True:
    ret, frame = cap.read()
    cv2.imshow("Test", frame)
    key = cv2.waitKey(1)
    if key == ord('q'):
        break
import cv2

cap = cv2.VideoCapture(0)
cap.set(cv2.CAP_PROP_CONVERT_RGB, 0)

while True:
    ret, frame = cap.read()
    frame = frame << 6
    cv2.imshow("Test", frame)
    key = cv2.waitKey(1)
    if key == ord('q'):
        break