8MP IMX219
Introduction
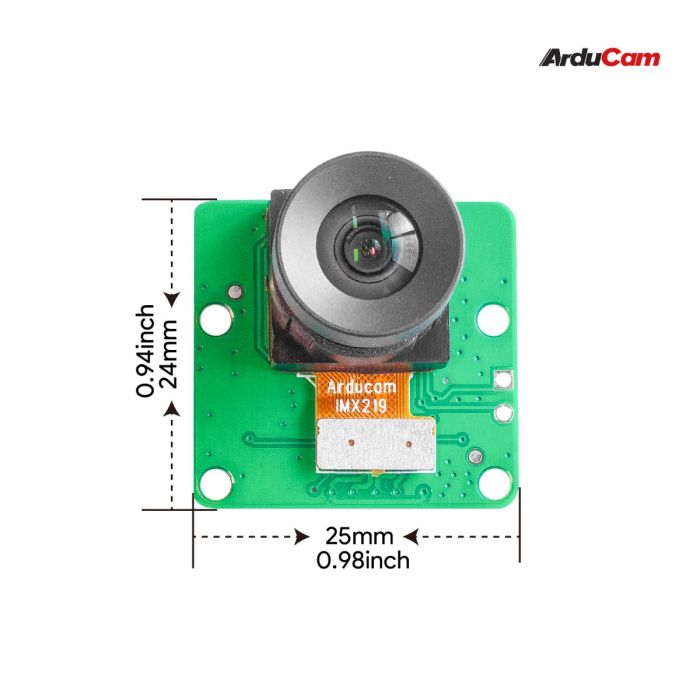
The Raspberry Pi Camera Module 2 replaced the original Camera Module in April 2016. The v2 Camera Module has a Sony IMX219 8-megapixel sensor (compared to the 5-megapixel Omni Vision OV5647 sensor of the original camera).The Camera Module 2 can be used to take high-definition video.
Specifications
| Parameter | Value |
|---|---|
| Sensor Model | IMX219 |
| Shutter Type | Rolling Shutter |
| Active Pixels | 3280 (H) × 2464 (V) |
| Resolution | 8 Megapixels |
| Frame Rate (Video Mode) | - 1080p @ 47fps - 1640x1232 @ 41fps - 640x480 @ 206fps |
| Image Sensor Format | Type 1/4" |
| Pixel Size | 1.12μm × 1.12μm |
| CSI-2 Data Output | 2-Lane |
| Data Format | 10-bit RAW Bayer |
Release Time
In 2016, the V2 camera (8MP IMX219) was out with upgrades in resolution and image quality.
Product Series
Since the release of IMX219, we have designed several versions with different features according to different needs: IR-CUT, Motorized Focus, PT & PTZ , M12/CS .
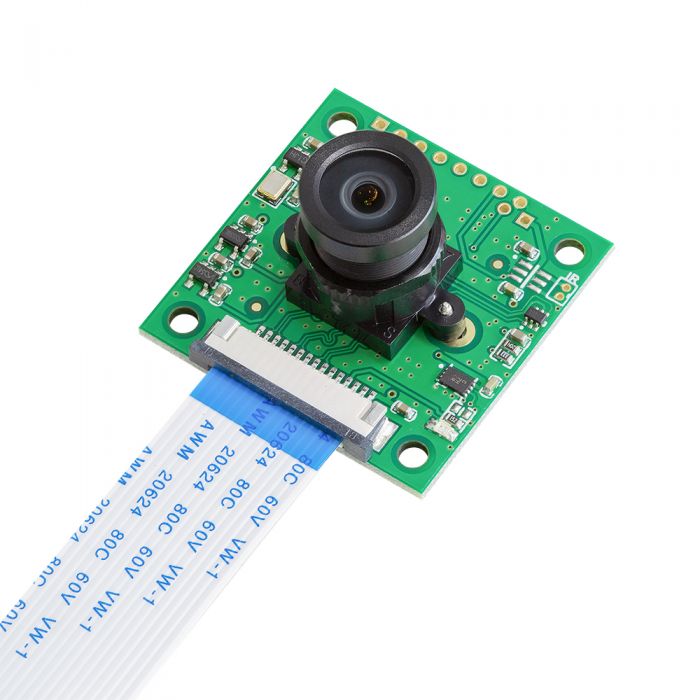
IR-CUT
Arducam 8MP IMX219 Motorized IR-CUT Camera Modules are designed for both daylight and night vision photography. The motorized IR cut filter can be switched ON/OFF automatically, and the infrared LEDs are automatically ON/OFF according to the light environment. The cameras in this serial are fully supported by all the Raspberry Pi board versions including Pi 4, Pi 3 and Pi Zero. They can be widely used in wildlife photography, agriculture NDVI applications and etc.
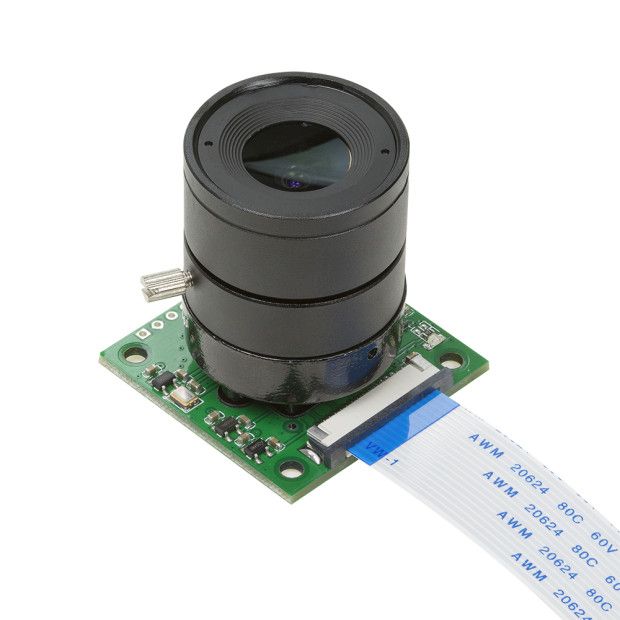
Motorized Focus
Arducam 8MP IMX219 Motorized Focus Camera Modules are designed for you to control the focus via software, so you can see closer and see where you want to see.
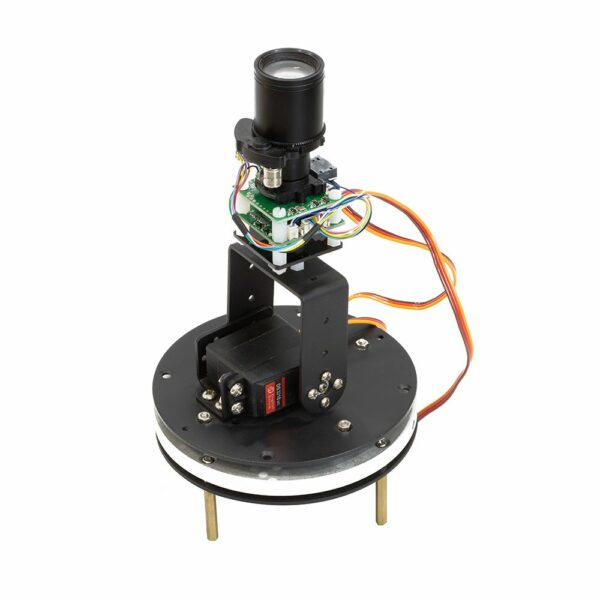
PT & PTZ
Arducam PT camera can move in two dimensions with 180 degrees horizontal and 145 degrees vertical movements. So it can be used to monitor places that should be covered by multiple ones commonly in the surveillance system.
Platform Compatibility
Supported Operating Systems
| Platform | Trixie | Bookworm (rpicam) | Bullseye (libcamera/rpicam) | Buster (raspistill) |
|---|---|---|---|---|
| Raspberry Pi 5 / CM5 | ✅ | ✅ | ❌ | ❌ |
| Raspberry Pi 4B / 3B+ / 3A+ / Zero / Zero 2 W | ✅ | ✅ | ✅ | ✅ |
| Raspberry Pi CM3 / CM3+ / CM4 Requires adapter board |
✅ | ✅ | ✅ | ✅ |
Operating System Support
This documentation focuses on Trixie, Bookworm , and Bullseye (kernel 6.1.21+) to align with the official Raspberry Pi OS release cycle. While Buster instructions are not included, we recommend migrating to a supported OS for optimal performance. For Buster-specific assistance, please contact our support team.
Product Catalog
| Product Image | SKU | Pin/Connect Type | Features | Lens Type | Field of View(D/H/V) | Focus Type | IR Sensitivity |
|---|---|---|---|---|---|---|---|
 |
B0102 | 15/Bottom | CS Mount | CS | 59°(H )x44°(V) | Fixed Focus | 650nm IR-cut filter |
| B0153 | Night Vision | without IR-cut filter | |||||
 |
B0103 | Replaceable Lens | M12 | 70°(H )x52.6°(V) | 650nm IR-cut filter | ||
| B0152 | Night Vision | 100°(H )x75°(V) | without IR-cut filter | ||||
| B0154 | Day And Night Vision | Motorized IR-CUT Filter | |||||
 |
B0180 | 15/NA | Wide Angle | M12 | 155°(H) x 115°(V) | Fixed Focus | 650nm IR-cut filter |
| B0184 | Low Distortion | 75°(H) x 56.3°(V) | |||||
| B0188 | without IR-cut filter | ||||||
 |
B0182 | Motorized Focus | Stock Lens | 77.6°(D) x 65°(H) x 51°(V) | Motorized Focus | 650nm IR-cut filter | |
| B0190 | 65°(H) x 51°(V) | without IR-cut filter | |||||
 |
B0194 | Wide Angle | M12 | 155°(H) x 115°(V) | Fixed Focus | ||
| B0286 | Fisheye | 220°(H) x 165°(V) | 650nm IR-cut filter | ||||
 |
B0209/NFS | 15/Bottom | Night Vision | Stock Lens | 62.2° (H) x 48.8° (V) | Fixed Focus | without IR-cut filter |
| B0390 | Mini Size | 650nm IR-cut filter | |||||
| B039001 | Camera Case | ||||||
 |
B0392 | Wide Angle | M12 | 155°(H) x 115°(V) | Fixed Focus | ||
| B0394 | Low Distortion | 75°(H) x 56.2°(V) | |||||
 |
B0395 | Night Vision | Stock Lens | 62.2° (H) x 48.8° (V) | Fixed Focus | without IR-cut filter | |
| B0393 | Auto Focus | 62.1° (H) x 46.5° (V) | Auto Focus | 650nm IR-cut filter | |||
 |
B01678MP | 15/Bottom | Pan-Tilt-Zoom Kit | CS | H(67°~18°),V(49°~13°) | Motorized Focus | Motorized IR-CUT Filter |
 |
B0167B8 |
Hardware Connection
Please refer to the following doc for common hardware connection method of RPI Camera:
Quick Start Guide - Hardware Connection
Software Configuration
The software setup process consists of three essential components:
- System Configuration - Required initial setup for camera recognition (reboot required)
- Camera Usage - Commands for preview and image capture
- Troubleshooting - Solutions for common display issues
System Configuration
Important
You must reboot your Raspberry Pi after making configuration changes for them to take effect.
Raspberry Pi 5 & CM5
Pi 5 supports both Trixie and Bookworm OS. The configuration file is located at /boot/firmware/config.txt for both systems.
-
Open the configuration file:
sudo nano /boot/firmware/config.txt -
Disable camera auto-detection:
camera_auto_detect=0 -
Add imx219 overlay under the
[all]section:dtoverlay=imx219 -
Save and reboot:
sudo reboot
Camera Port Configuration
For Pi 5 with cameras connected to CAM0 port, use:
dtoverlay=imx219,cam0
Raspberry Pi 4
Pi 4 supports Trixie, Bookworm and Bullseye OS with different configuration file locations.
sudo nano /boot/firmware/config.txt
sudo nano /boot/config.txt
Configuration steps (same for all OS versions):
- Set
camera_auto_detect=0 - Add
dtoverlay=imx219under the[all]section - Save the file and reboot:
sudo reboot
Raspberry Pi Zero to Pi 3
These models support all operating systems with different setup procedures.
Standard configuration using /boot/firmware/config.txt:
sudo nano /boot/firmware/config.txt
- Set
camera_auto_detect=0 - Add
dtoverlay=imx219under[all]section - Save the file and reboot:
sudo reboot
Two-step process required:
Step 1: Edit config.txt
sudo nano /boot/config.txt
- Set
camera_auto_detect=0 - Add
dtoverlay=imx219under[all]section - Save the file but do not reboot yet - proceed to Step 2
Step 2: Enable Glamor Graphics
sudo raspi-config
Navigate to 6 Advanced Options → A3 Glamor → Enable → Reboot
Raspberry Pi Compute Module 3 & 4
CM3 and CM4 support all operating systems with dual camera ports (cam0, cam1).
sudo nano /boot/firmware/config.txt
sudo nano /boot/config.txt
Configuration steps (same for all OS versions):
- Set
camera_auto_detect=0 - Add
dtoverlay=imx219under[all]section - Save the file and reboot:
sudo reboot
Camera Port Selection
For CAM0 interface usage, modify the overlay line to:
dtoverlay=imx219,cam0
Camera Usage
After system configuration and reboot, your camera is ready for operation.
Using rpicam-apps suite:
-
List available cameras:
rpicam-still --list-cameras -
Live preview (Ctrl+C to exit):
rpicam-still -t 0 -
Capture image with 5-second preview:
rpicam-still -t 5000 -o test.jpg
Using libcamera-apps suite:
-
List available cameras:
libcamera-still --list-cameras -
Live preview (Ctrl+C to exit):
libcamera-still -t 0 -
Capture image with 5-second preview:
libcamera-still -t 5000 -o test.jpg
For comprehensive usage instructions, refer to the Raspberry Pi Camera Documentation.
Troubleshooting
If you encounter display issues such as black screens, the camera may not be properly recognized by the system.
Common troubleshooting resources: - Common Troubleshooting Guide
For persistent issues, please contact our support team for additional assistance.