12MP IMX708
General Introduction
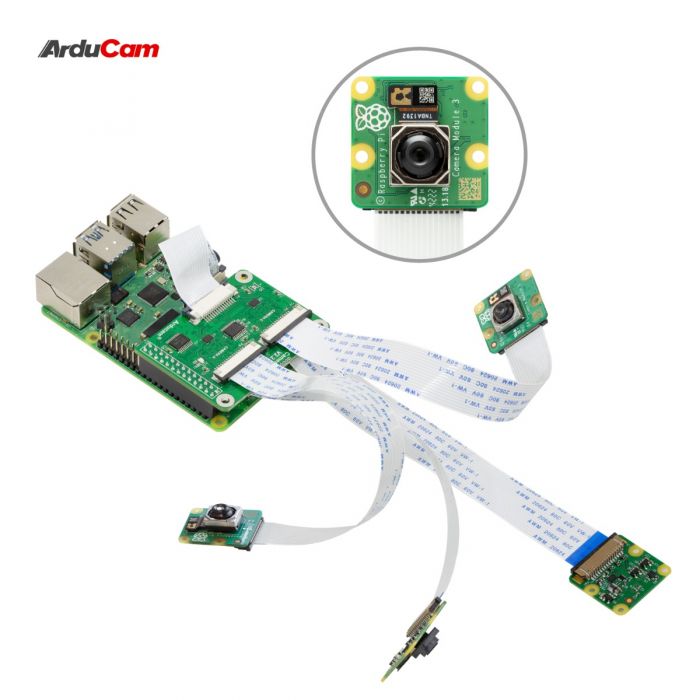
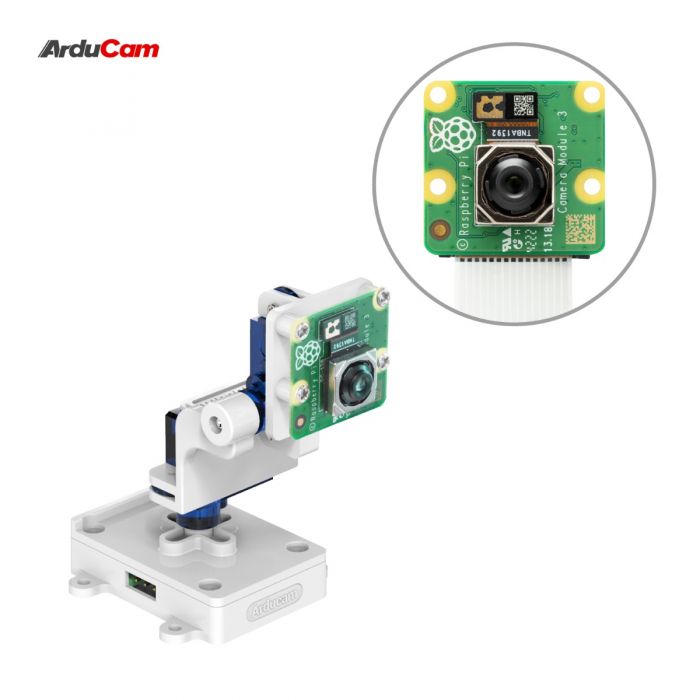
Raspberry Pi Camera Module 3 is the latest camera model released by Raspberry Pi Official in 2023. The camera series adopts Sony 11.9MP IMX708 Image Sensor which can be used to take full HD video as well as stills photographs, and features an HDR mode up to 3 megapixels.
Camera Module 3 Series
The IMX708 Series includes standrad angle version, standrad angle NoIR version, 102° wide angle version and 102° wide angle NoIR versione. All of these cameras adopt Phase Detection Autofocus technology.
These Cameras are fully supported by the libcamera and Picamera2 library. Camera Module 3 is compatible with all Raspberry Pi computers.
Make Camera Module 3 More Flexible
The goal of our IMX708 line is to make the foundation's first autofocus camera the jack of all trades for all possible MV-based projects, we'd like to see them adopted by industrial practitioners for their quality and incomparable price-performance ratio.
We can even turn them into industrial cameras if needed.
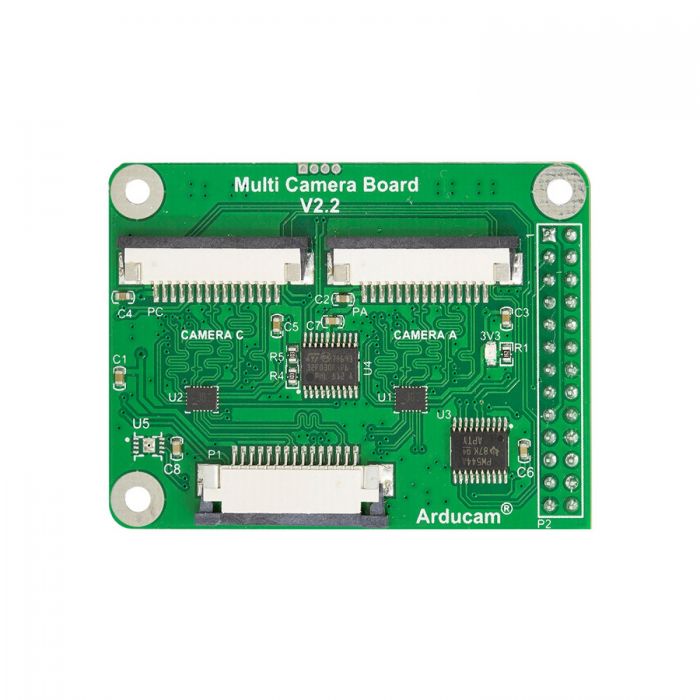
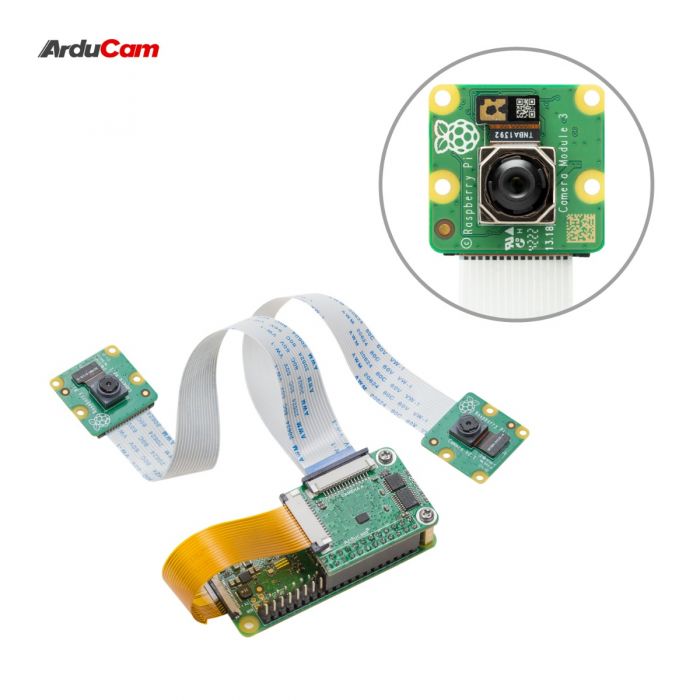
To make the most enthralling features (HDR/PDAF/etc.) of the V3 camera more versatile, we have up-to-2m ribbon cables, adapters that extend them to 5/15 meters, multiplexers you can use to hook multiple ones to a Pi.
Wow
As for the IMX708 sensor the official V3 cameras use, we made variants that are fixed-focus for those who don't want the autofocus function (drone/UAV/etc. applications).
we turned them into standard USB interfaces for builders to use them on boards other than Pi, we make a quad-camera kit so four of them can work in perfect synchronization for robotic applications,
and if you want wider FOVs with fisheye lenses, we got that too.
In short, our V3 series expands the camera V3 from four to four options!
Specifications
| Parameter | Value |
|---|---|
| Image Sensor | IMX708 |
| Resolution | 11.9 Megapixels |
| Optical Format | 1/2.43" (7.4 mm diagonal) |
| Effective Pixels | 4608 (H) × 2592 (V) |
| Pixel Size | 1.4μm × 1.4μm |
| Interface | 2-lane by default, configurable to 4-lane, MIPI CSI-2 |
| Shutter Type | Rolling Shutter |
| Color Filter | Quad-Bayer Coded Color |
| Frame Rates (Max) | - 2304x1296 @ 56fps - 2304x1296 @ 30fps - 1536x864 @ 120fps (HDR) |
| Output Format | RAW10 |
Products List
| Product Image | SKU | Resolution | Sensor | Interface | Features | Focus Type | Focus Distance | Field of View(DxHxV) | IR Sensitivity |
|---|---|---|---|---|---|---|---|---|---|
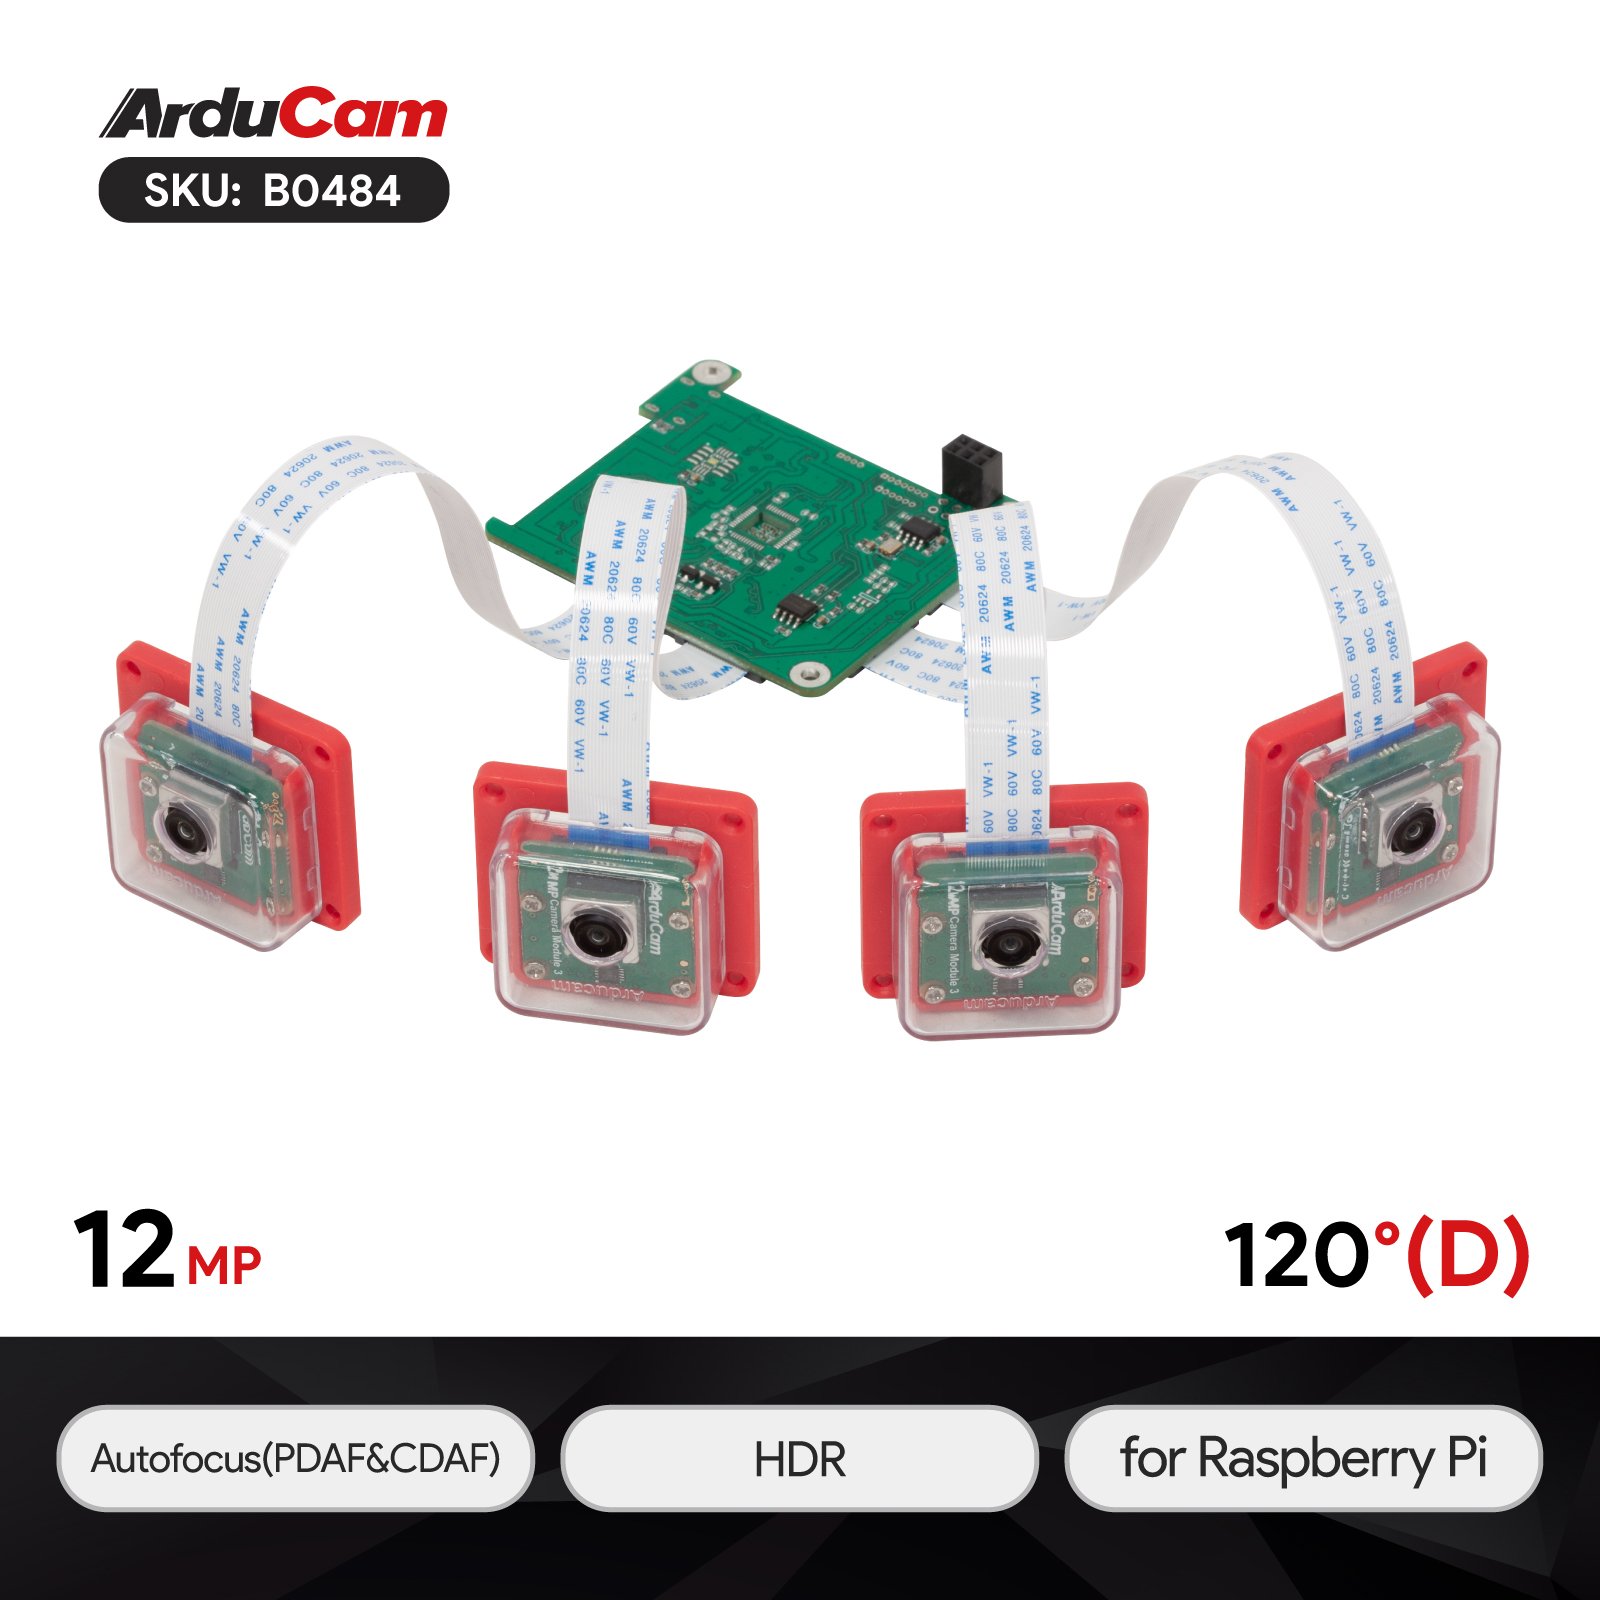 |
B0484 | 12MP | IMX708 | MIPI CSI-2 | Quad-Camera Kit | Autofocus | 10cm-infinite | 120°(D)x100°(H)x72°(V) | Integral IR-cut Filter |
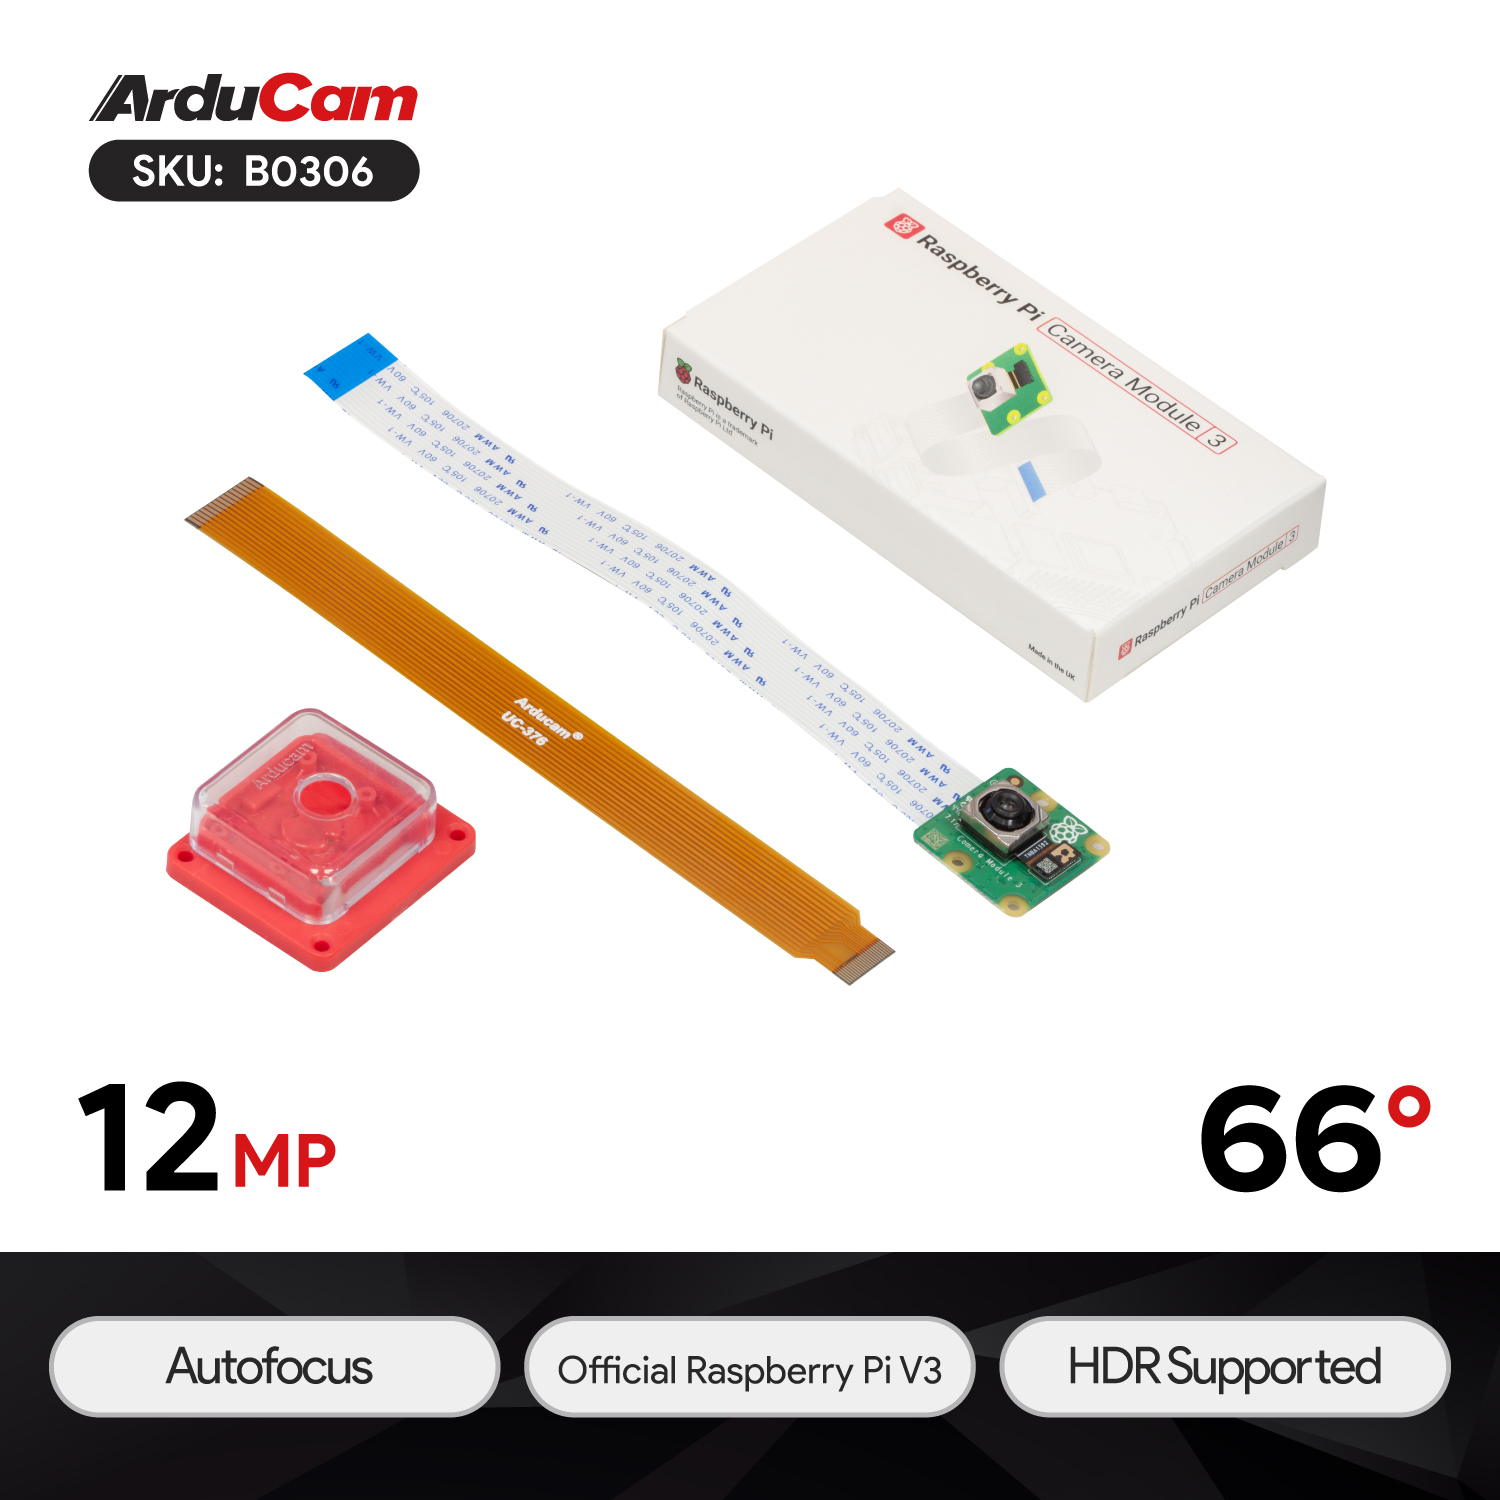 |
B0306 | 12MP | IMX708 | MIPI CSI-2 | Camera Case | Autofocus | 10cm-infinite | 75°(D)x66°(H)x41°(V) | Integral IR-cut Filter |
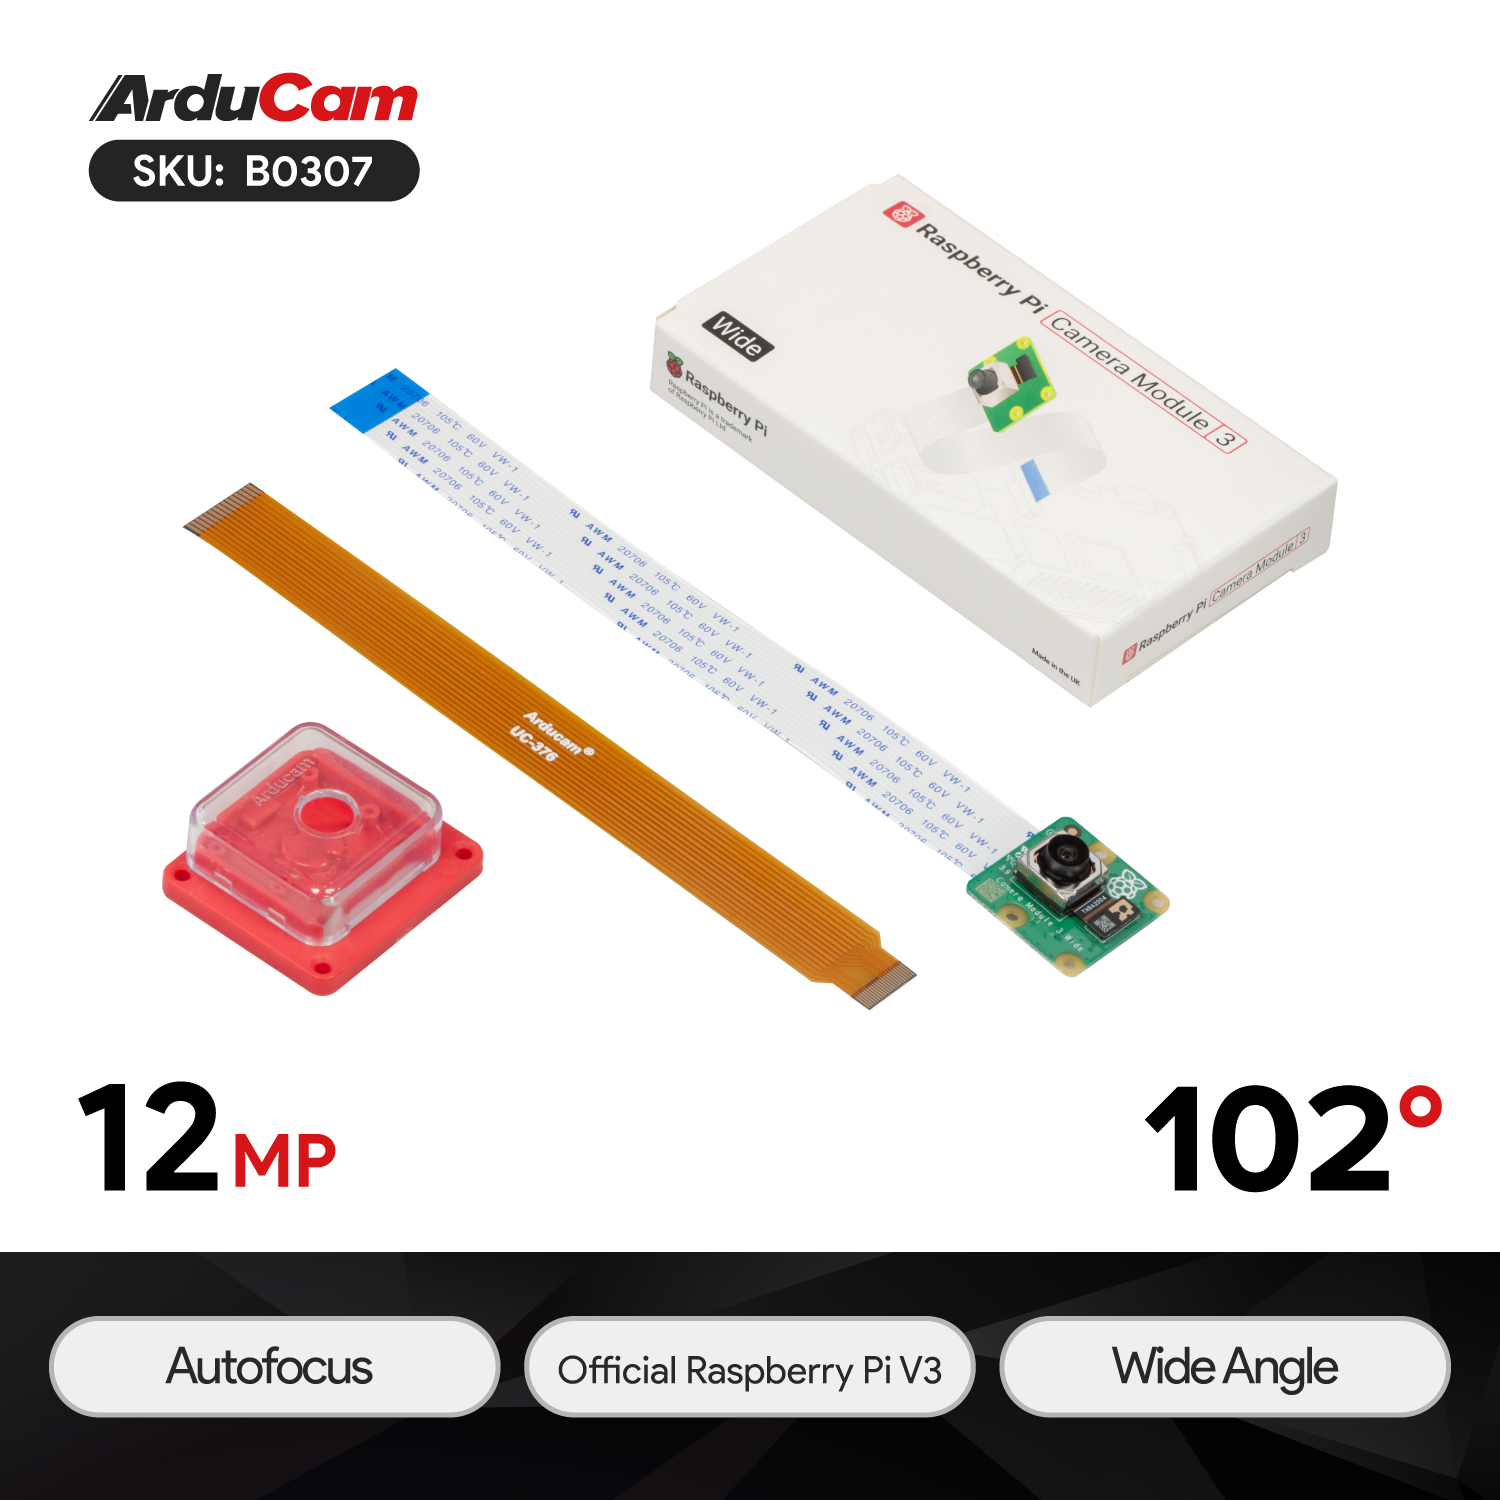 |
B0307 | 12MP | IMX708 | MIPI CSI-2 | Wide Angle | Autofocus | 5cm-infinite | 120°(D)x102°(H)x67°(V) | Integral IR-cut Filter |
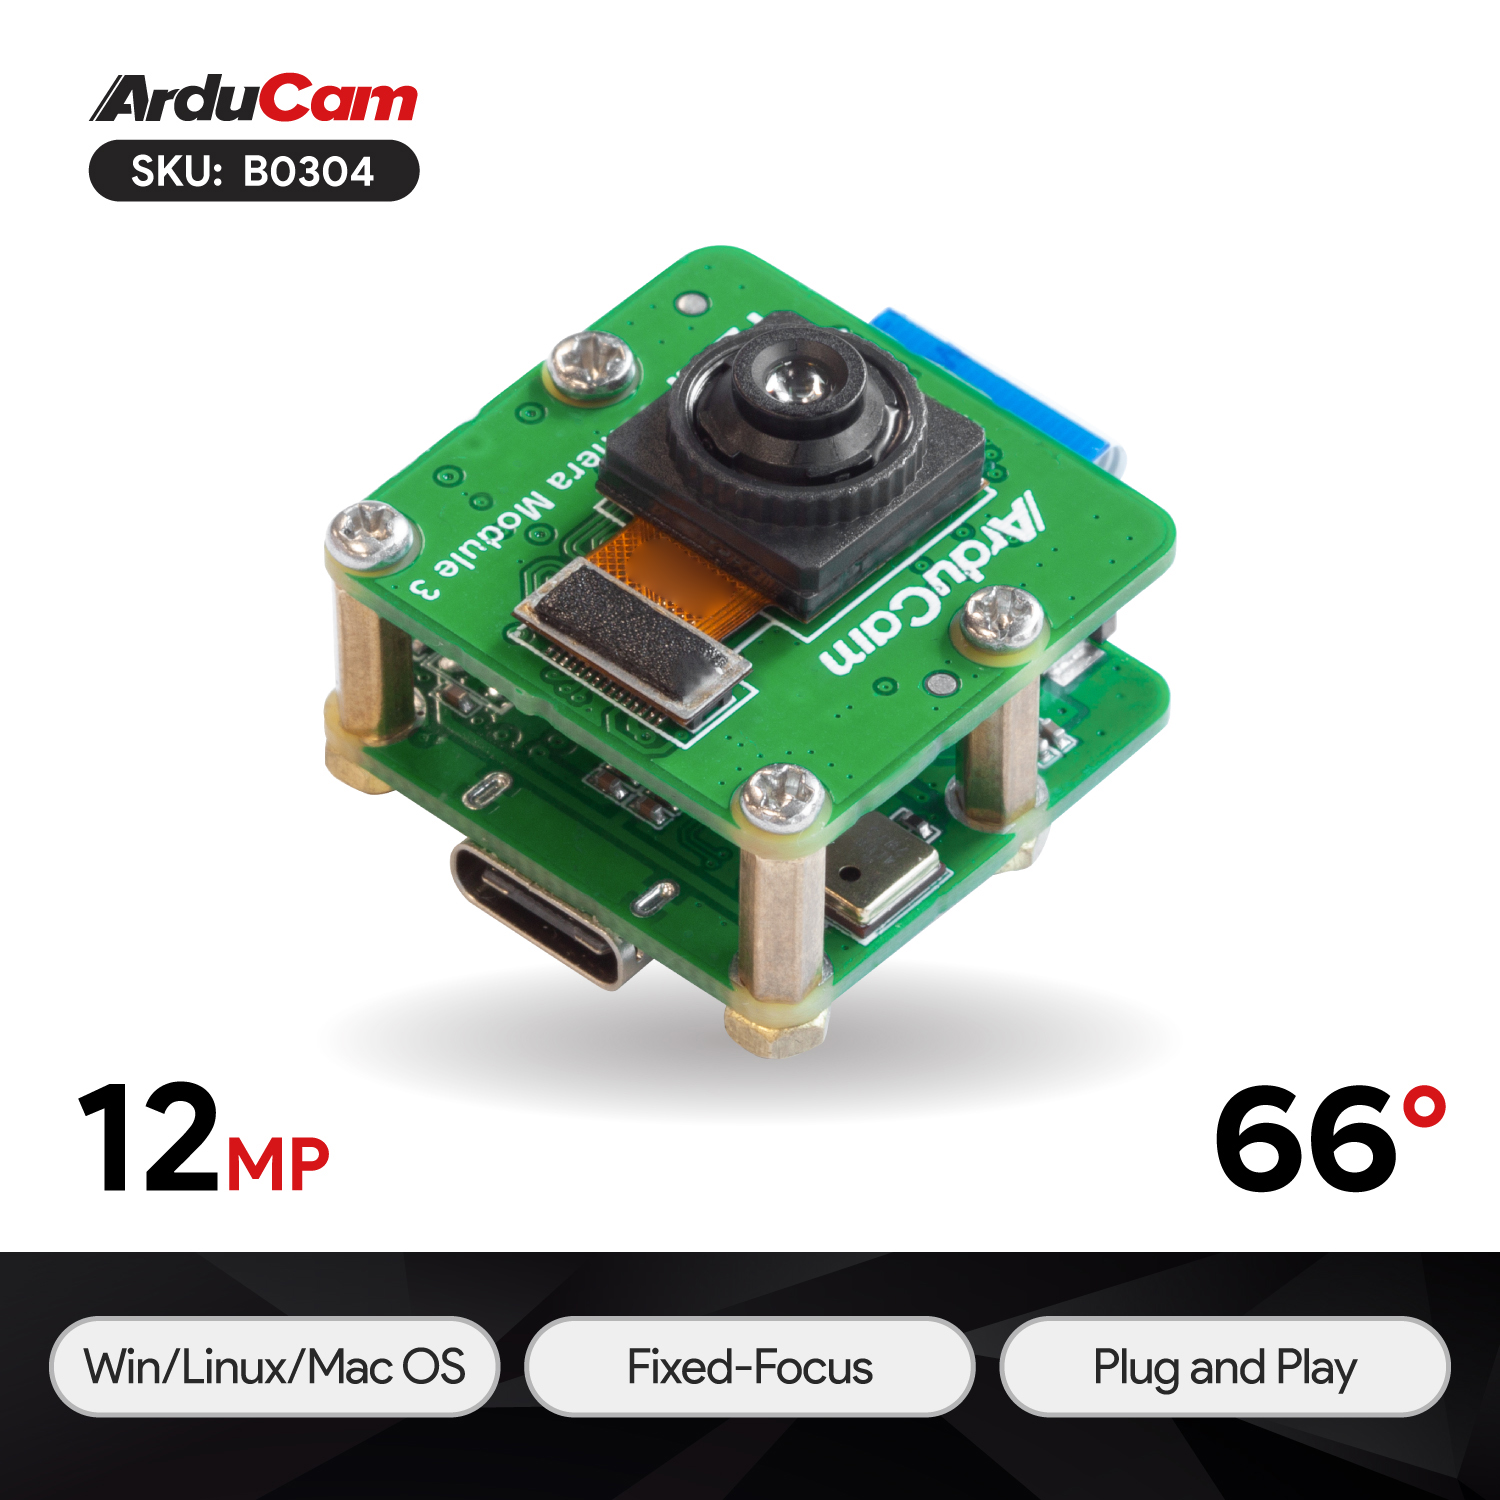 |
B0304 | 12MP | IMX708 | USB2.0 | UVC Camera | Fixed-Focus | 1.5m-infinite | 75°(D)x66°(H)x41°(V) | Integral IR-cut Filter |
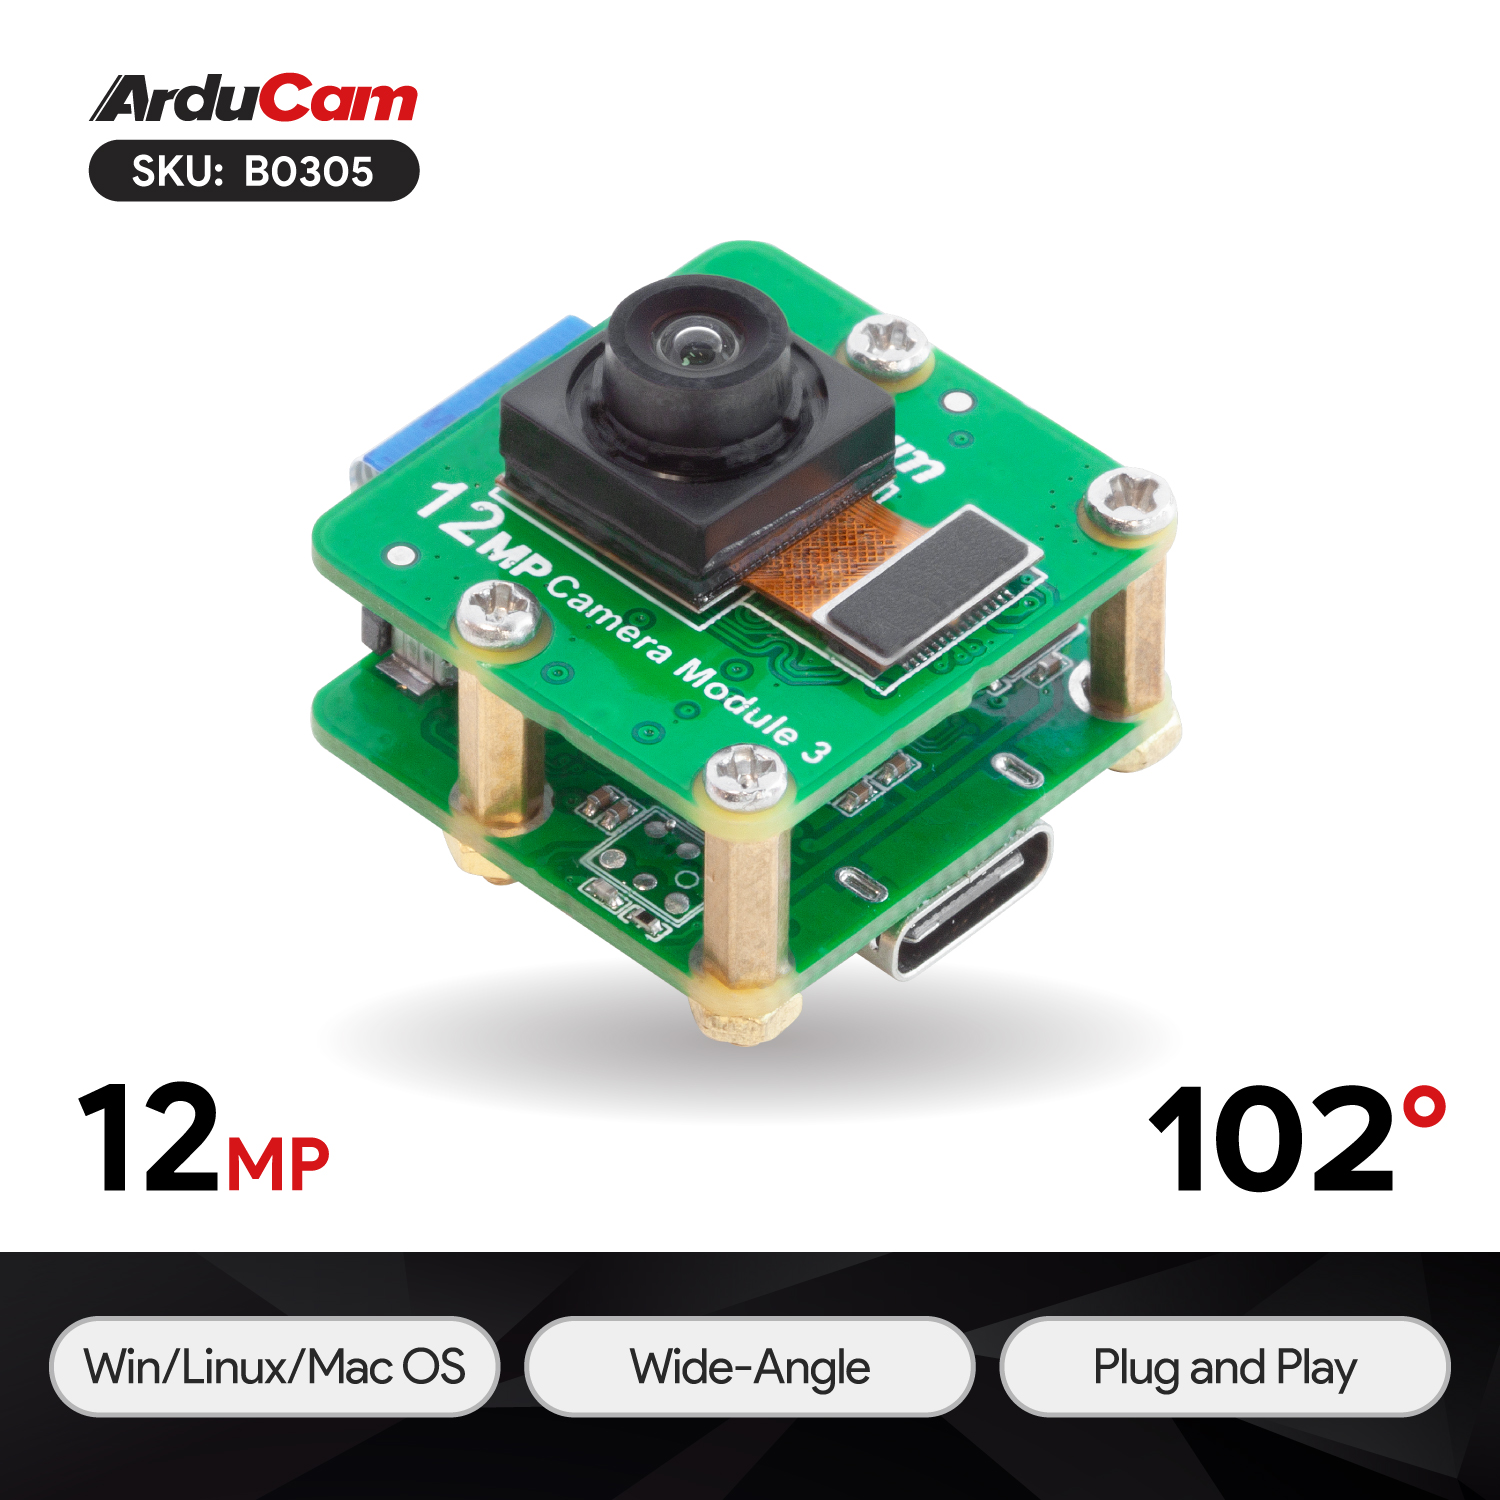 |
B0305 | 12MP | IMX708 | USB2.0 | Wide Angle UVC | Fixed-Focus | 1.5m-infinite | 120°(D)x102°(H)x67°(V) | Integral IR-cut Filter |
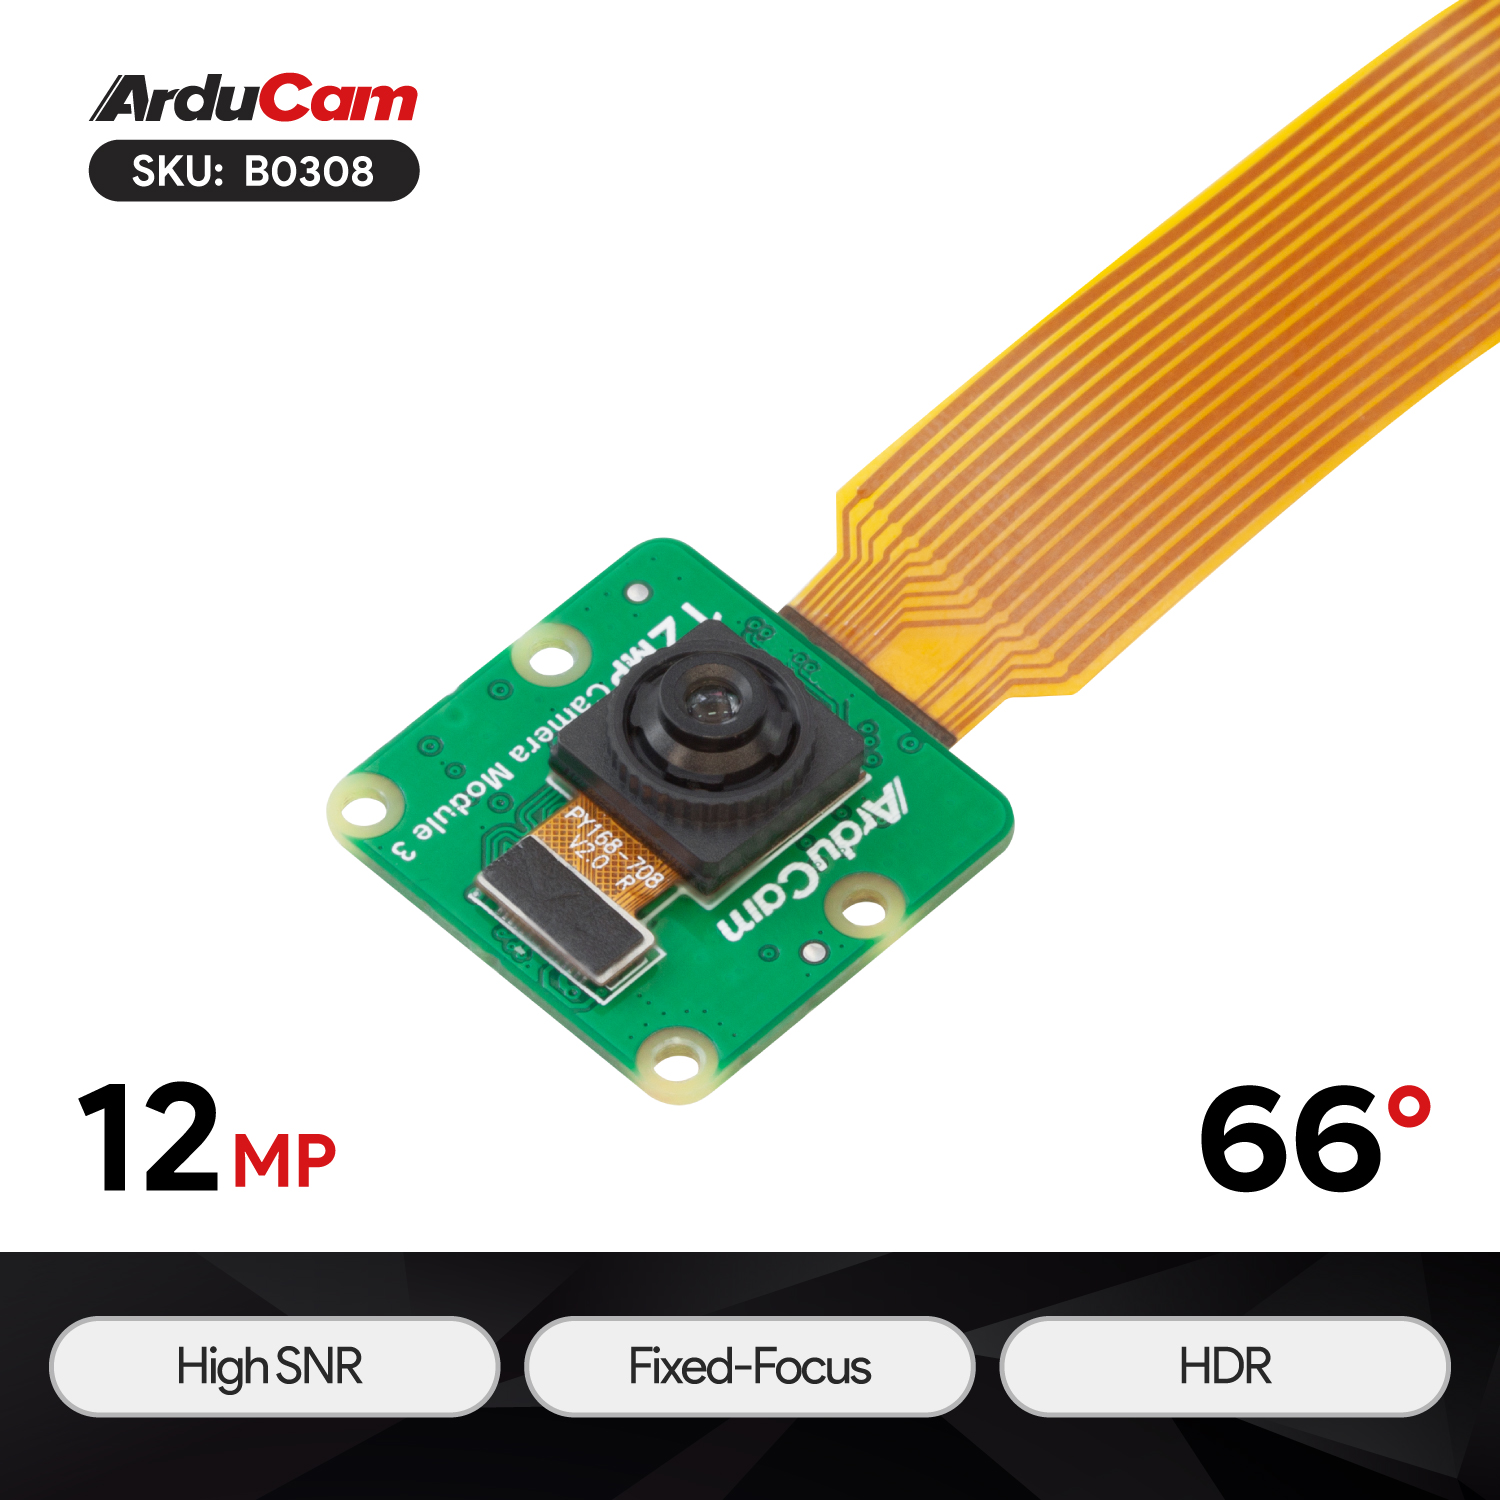 |
B0308 | 12MP | IMX708 | MIPI CSI-2 | Mini Size | Fixed-Focus | 1.5m-infinite | 75°(D)x66°(H)x41°(V) | Integral IR-cut Filter |
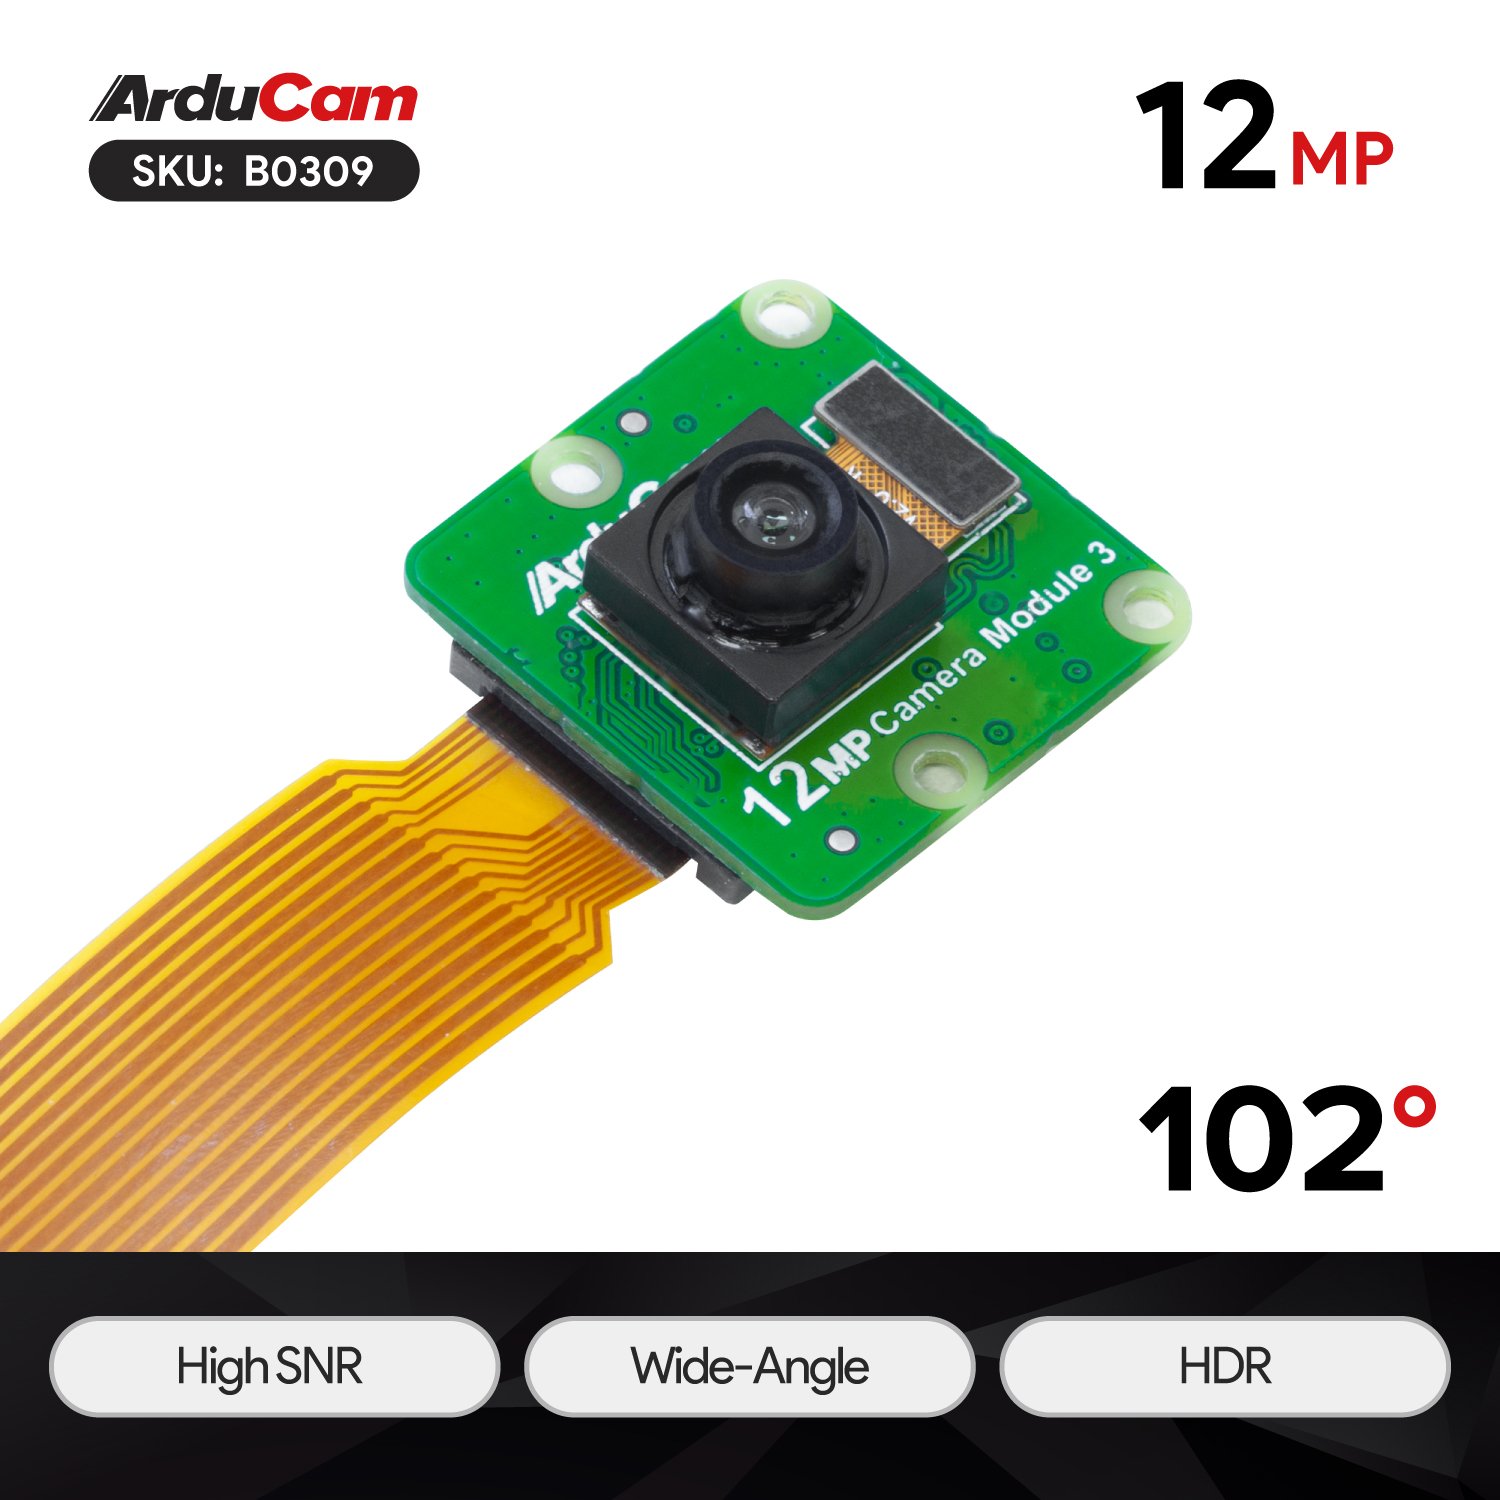 |
B0309 | 12MP | IMX708 | MIPI CSI-2 | Wide Angle | Fixed-Focus | 1.5m-infinite | 120°(D)x102°(H)x67°(V) | Integral IR-cut Filter |
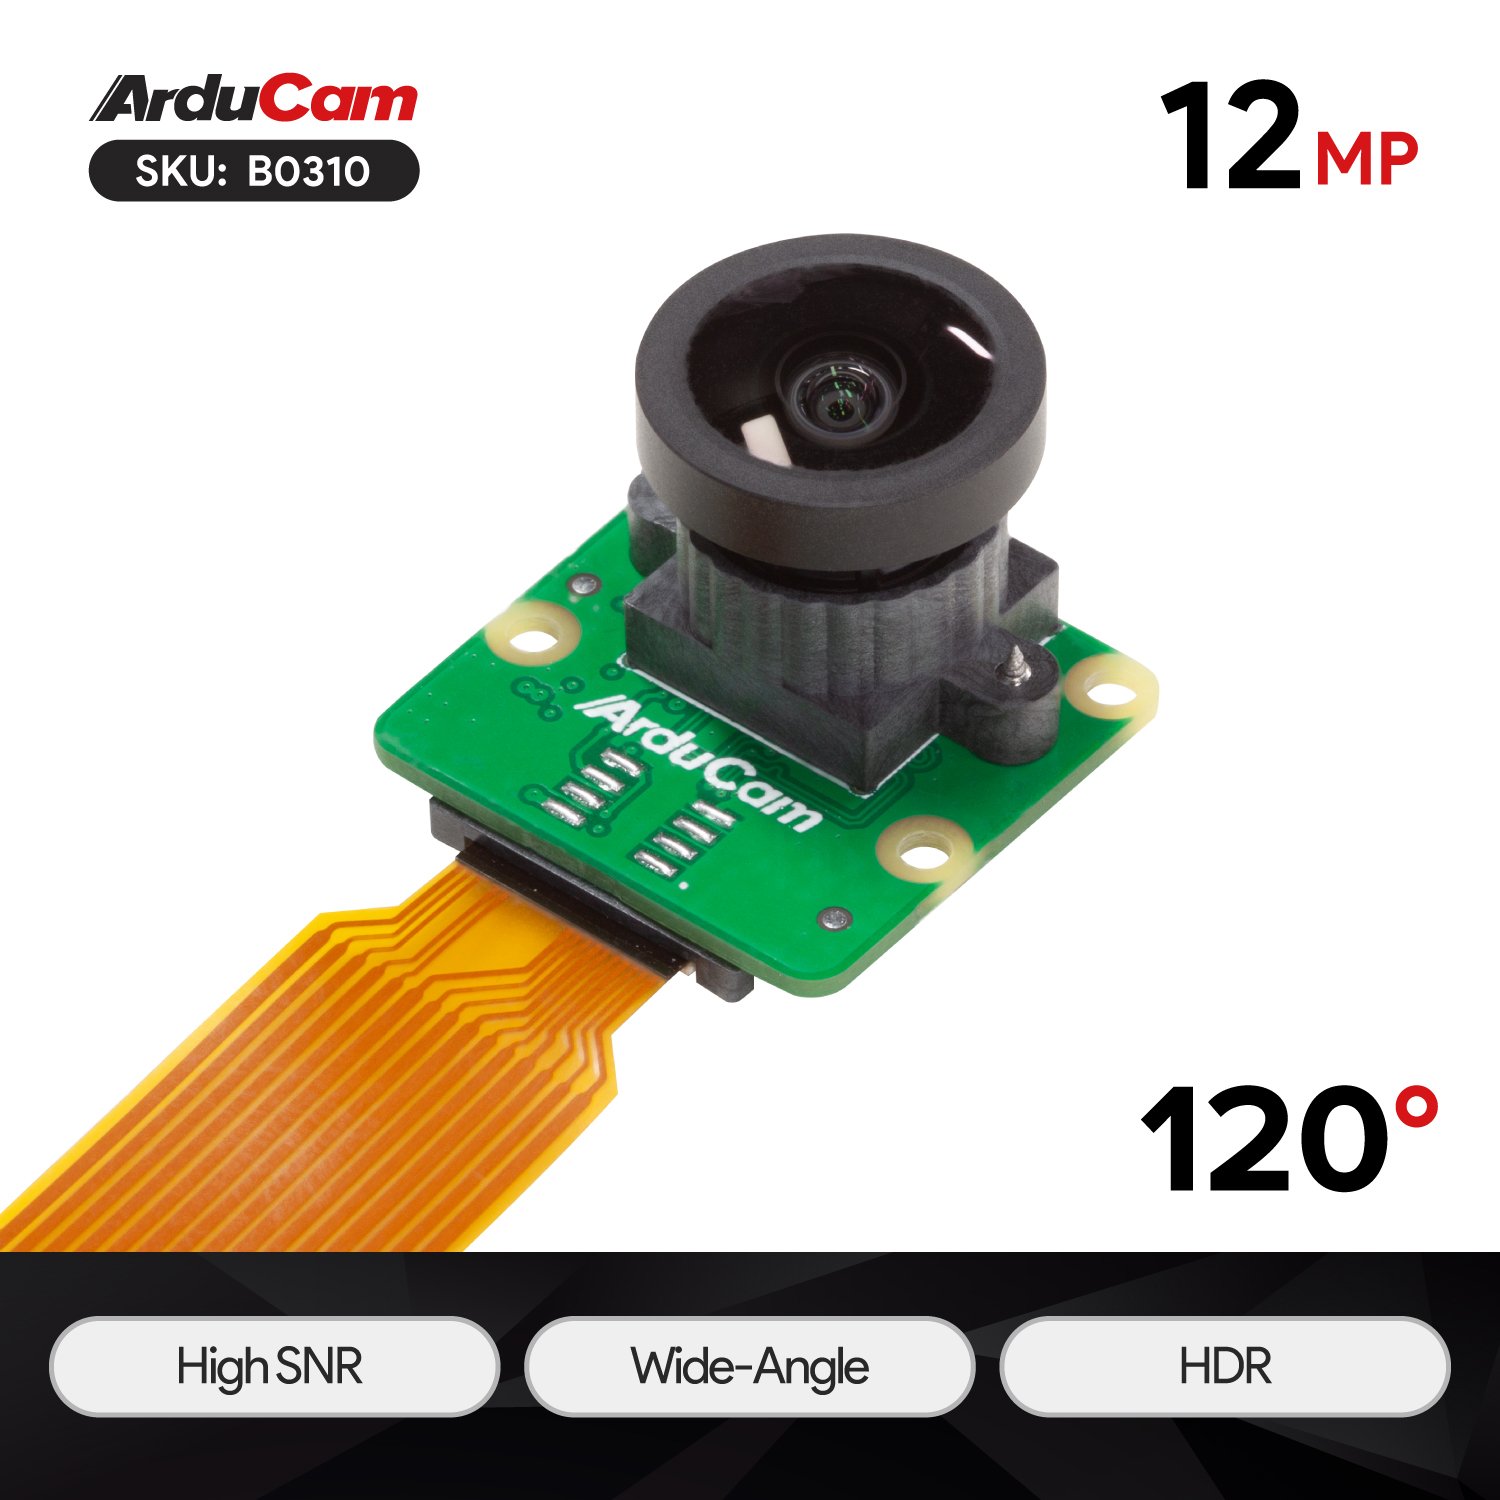 |
B0310 | 12MP | IMX708 | MIPI CSI-2 | Wide Angle | Manual Focus | 1m-infinite | 152.2°(D)x120°(H)x66.7°(V) | Integral IR-cut Filter |
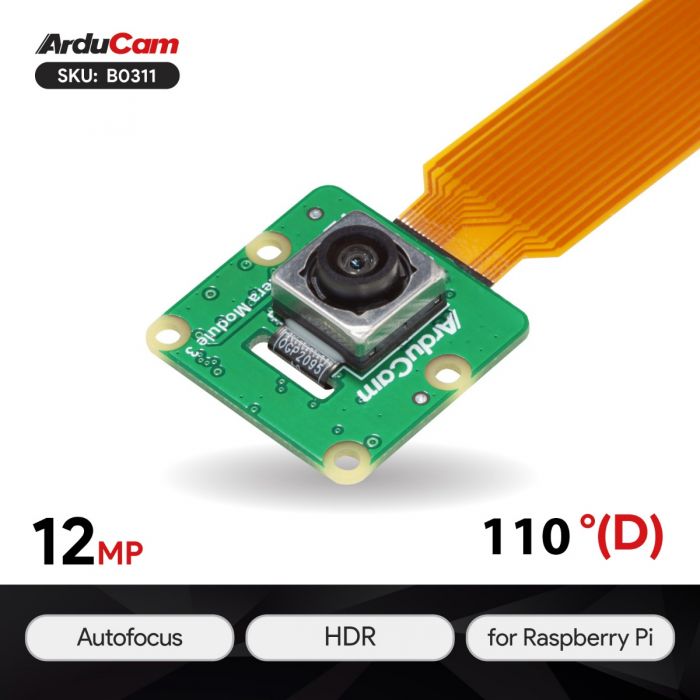 |
B0311 | 12MP | IMX708 | MIPI CSI-2 | Wide Angle PDAF | Autofocus | 10cm-infinite | 110°(D)x100°(H)x72°(V) | Integral IR-cut Filter |
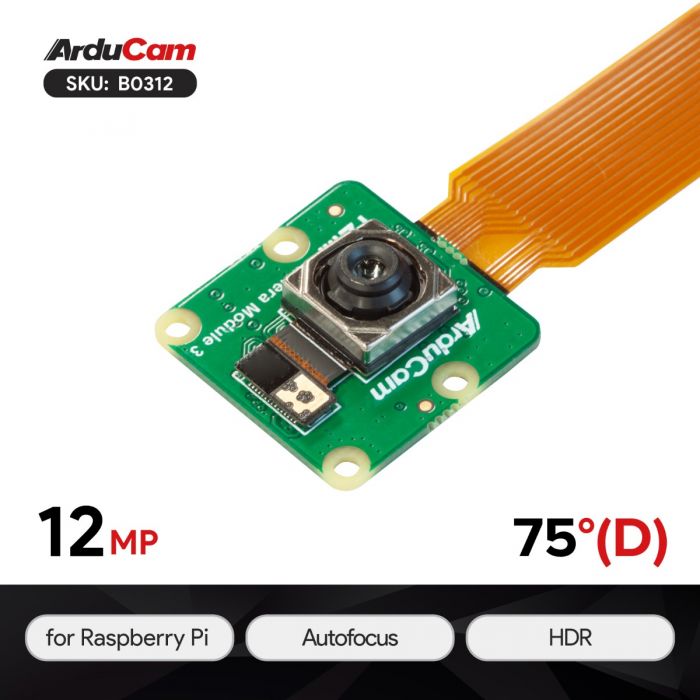 |
B0312 | 12MP | IMX708 | MIPI CSI-2 | PADF | Autofocus | 5cm-infinite | 75°(D)x66°(H)x41°(V) | Integral IR-cut Filter |
Platform Compatibility
Supported Operating Systems
| Platform | Trixie | Bookworm (rpicam) | Bullseye (libcamera/rpicam) |
|---|---|---|---|
| Raspberry Pi 5 / CM5 | ✅ | ✅ | ❌ |
| Raspberry Pi 4B / 3B+ / 3A+ / Zero / Zero 2 W | ✅ | ✅ | ✅ |
| Raspberry Pi CM3 / CM3+ / CM4 Requires adapter board |
✅ | ✅ | ✅ |
Operating System Support
This documentation focuses on Trixie, Bookworm , and Bullseye (kernel 6.1.21+) to align with the official Raspberry Pi OS release cycle. While Buster instructions are not included, we recommend migrating to a supported OS for optimal performance. For Buster-specific assistance, please contact our support team.
Hardware Connection
Connect your camera module by selecting the tab that corresponds to your Raspberry Pi model.
Diagrams for Illustration Only
The following images are connection diagrams. For precise details on cable types, camera pinouts, and connector shapes, please consult the official product page for your camera module.
Connect the 22-pin to 22-pin/22-pin to 15-pin FPC cable to one of the dual MIPI CSI ports on your Raspberry Pi 5. Ensure the cable's blue/black tab should face the HDMI ports.

Connect the flexible flat cable to the full-size MIPI CSI port located between the audio/video jack and the HDMI port. The blue/black tab on the cable should face the Ethernet port.

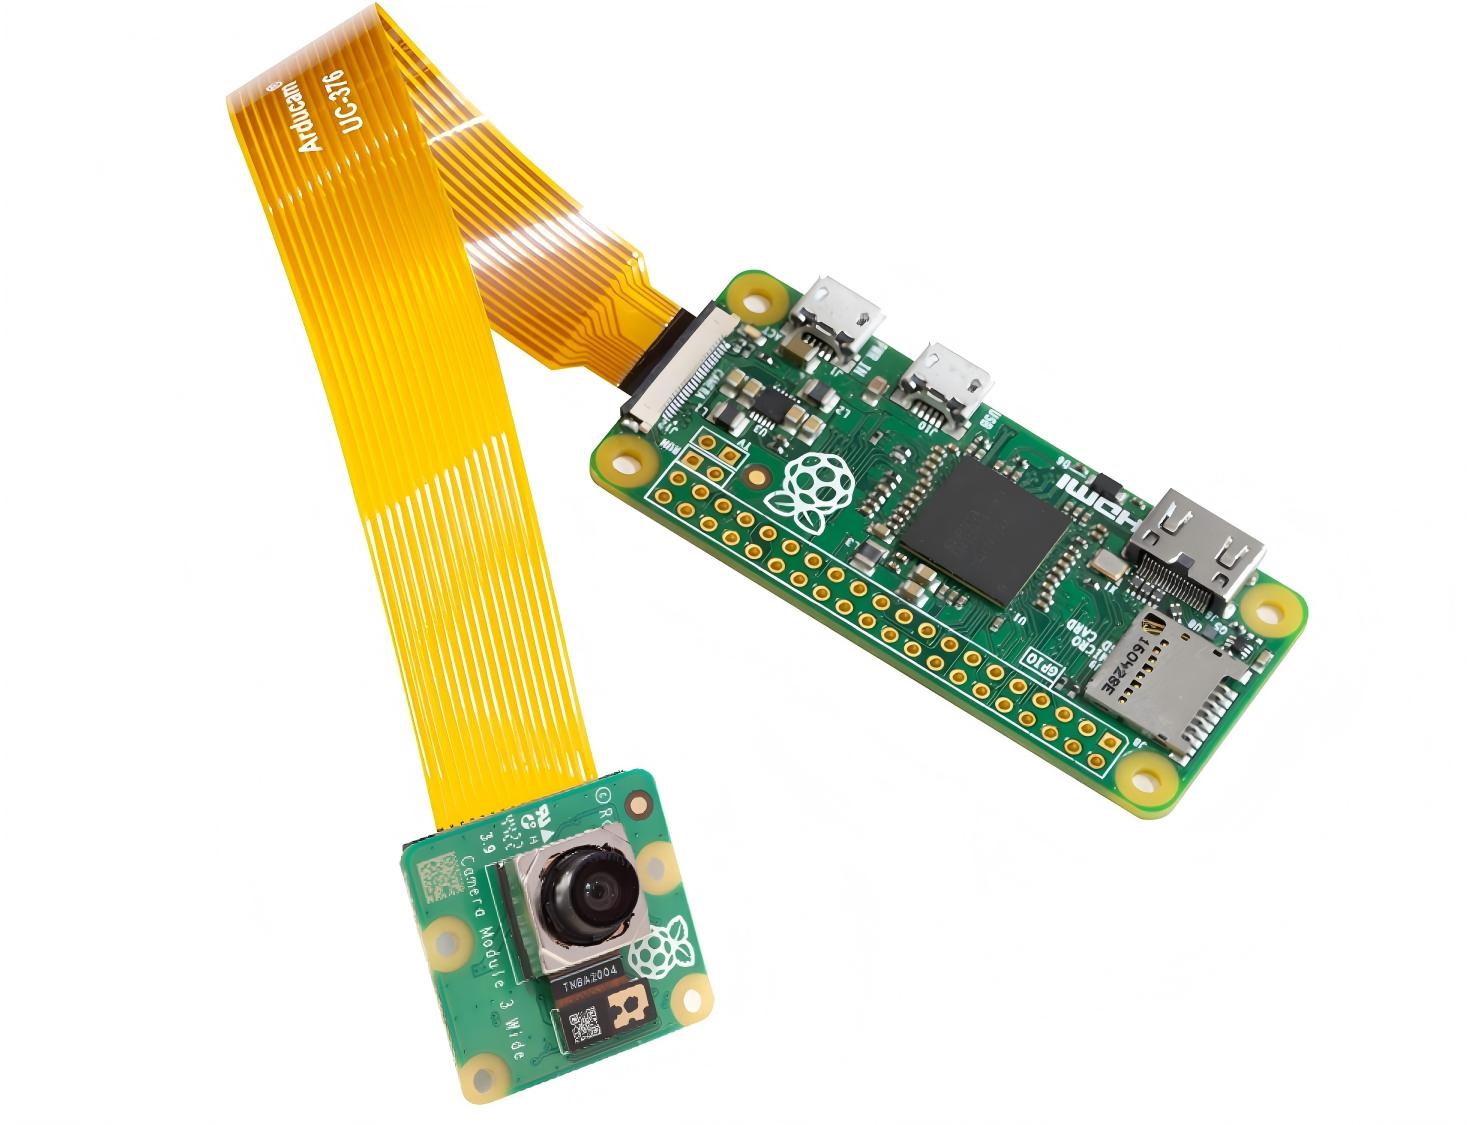
Use an adapter cable to connect the camera to the smaller MIPI CSI connector on the Raspberry Pi Zero. Ensure the blue/black tab on the cable faces away from the board.
Software Configuration
This section guides you through the necessary software configuration to enable your IMX708 camera, followed by instructions on how to use it. The process is divided into three main parts:
-
System Configuration: This is a required first step for the Raspberry Pi to recognize the camera. You need to reboot your Pi to take effect the changes.
-
Using the Camera: Commands to preview and capture images.
- Troubleshooting: Solutions for common display issues.
1. System Configuration
Before you begin, please identify your Raspberry Pi Model and your OS Version (Trixie, Bookworm or Bullseye), as the instructions vary.
Raspberry Pi 5 & CM 5
The Pi 5 currently supports Trixie & Bookworm OS only. Its configuration file is located at /boot/firmware/config.txt.
-
Open the configuration file for editing:
sudo nano /boot/firmware/config.txt -
Find the line
camera_auto_detect=1and change it to:camera_auto_detect=0 -
Locate the line
[all]and add the following line below it:dtoverlay=imx708 -
Save the changes and exit the editor (in nano, press
CTRL + X, thenY, andEnter). -
Reboot your Raspberry Pi to apply the changes:
sudo reboot
Note
The Pi 5 has two camera ports. If you have connected the camera to the port labeled CAM0, you must modify step 3. The line you add should be:
dtoverlay=imx708,cam0
Raspberry Pi 4
The Pi 4 supports Trixie, Bookworm and Bullseye OS. The configuration steps are the same, but the location of the config.txt file is different. Select your OS below to get the correct command.
On Bookworm, the file is at /boot/firmware/config.txt. Open it with:
sudo nano /boot/firmware/config.txt
On Bullseye, the file is at /boot/config.txt. Open it with:
sudo nano /boot/config.txt
Once the correct file is open, make these two edits:
- Find the line
camera_auto_detect=1and change it to0. - Find the
[all]section and adddtoverlay=imx708below it. - Save the changes and exit the editor (in nano, press
CTRL + X, thenY, andEnter). -
Reboot your Raspberry Pi to apply the changes:
sudo reboot
Raspberry Pi Zero to Pi 3
These models support Trixie, Bookworm and Bullseye OS. The setup process is significantly different for each, especially on Bullseye. Please select your OS below to get the correct instructions.
On Bookworm, the procedure is standard and straightforward. The configuration file is located at /boot/firmware/config.txt.
-
Open the configuration file for editing:
sudo nano /boot/firmware/config.txt -
Inside the file, find the line
camera_auto_detect=1and change it to0. - Locate the
[all]section and adddtoverlay=imx708on a new line directly underneath it. - Save the file and reboot your Raspberry Pi.
On Bullseye, the setup is a two-part process. You must first edit the config.txt file and then enable a special graphics setting in raspi-config. Both parts are required for the camera to work correctly.
Step 1: Edit config.txt
The configuration file is located at /boot/config.txt.
-
Open the file for editing:
sudo nano /boot/config.txt -
Find
camera_auto_detect=1and change it to0. - Add
dtoverlay=imx708under the[all]section. - Save the file but do not reboot yet! Proceed directly to Step 2.
Step 2: Enable Glamor Graphic Acceleration
This setting is required for proper camera operation on these models with Bullseye OS.
-
Open the Raspberry Pi Configuration tool in your terminal:
sudo raspi-config -
Navigate to
6 Advanced Options. - Select
A3 Glamor. - Choose
<Yes>at the prompt to enable Glamor graphic acceleration. - Select
<Finish>in the main menu, and now choose<Yes>to reboot the Raspberry Pi.
Raspberry Pi Compute Module 3 & 4 (CM3/CM4)
The CM3 and CM4 support Trixie, Bookworm and Bullseye operating systems and have two camera ports (cam0, cam1). Select your OS below to find the correct config.txt path.
The configuration file is at /boot/firmware/config.txt. Open it with:
sudo nano /boot/firmware/config.txt
The configuration file is at /boot/config.txt. Open it with:
sudo nano /boot/config.txt
After opening the correct file, apply the standard edits (camera_auto_detect=0 and dtoverlay=imx708) and then save and reboot.
Note
If you wish to use the CAM0 interface, append ,cam0 to the overlay line, making it dtoverlay=imx708,cam0. This applies to both Bookworm and Bullseye.
2. Camera Usage
After completing the system configuration and rebooting, your camera is ready to use. The command you need to execute depends on your operating system version. Please select your OS from the tabs below to view the correct instructions.
On Trixie & Bookworm, the rpicam-apps suite is used, and the primary command is rpicam-still.
-
Confirm camera detection by listing available cameras:
rpicam-still --list-cameras -
Start a live preview to see the camera feed (Press
Ctrl+Cto exit):rpicam-still -t 0 -
Capture an image named
test.jpgafter a 5-second preview:rpicam-still -t 5000 -o test.jpg
On the older Bullseye system, the libcamera-apps are used, and the primary command is libcamera-still.
-
Confirm camera detection by listing available cameras:
libcamera-still --list-cameras -
Start a live preview to see the camera feed (Press
Ctrl+Cto exit):libcamera-still -t 0 -
Capture an image named
test.jpgafter a 5-second preview: ```bash libcamera-still -t 5000 -o test.jpg
For more details, you can refer to the following guide: Getting Started with Raspberry Pi
3. Display Issues
If you encounter a black screen or other display issues, it may be due to the camera not being recognized by the system. Here are some troubleshooting steps:
If the issue persists, please reach out to our support team for further assistance.
IMX708 4-lane Configuration
Note
Not all Arducam IMX708 cameras support 4-lane configurations. Please refer to the specific product details page to check support status.
Supported Camera Module
| Product Image | SKU | Resolution | Sensor | Interface | Features | Focus Type | Focus Distance | Field of View(DxHxV) | IR Sensitivity |
|---|---|---|---|---|---|---|---|---|---|
|
B0311 | 12MP | IMX708 | MIPI CSI-2 | Wide Angle PDAF | Autofocus | 10cm-infinite | 110°(D)x100°(H)x72°(V) | Integral IR-cut Filter |
Preparation
- Hardware Preparation

- Software Version
Please make sure you are using the Raspberry Pi Bookworm OS released after 13 May 2025.

Install the Driver
dkms install the 4-lane driver for IMX708 Camera Module
- Download the Package
IMX708 V4L2 4-Lane Driver for Raspberry Pi
- Unzip the Package
unzip imx708-v4l2-driver-4lane_dkms.zip
cd imx708-v4l2-driver-4lane_dkms
./setup.sh

Recovery
Info
Note: After installing the IMX708 4-lane driver, the 2-lane configuration is no longer supported. If you want to restore the original driver, please perform the following steps:
cd imx708-v4l2-driver-4lane_dkms
./restore_backup.sh
Preview
- Check the Resolution&fps
rpicam-still --list-cameras

-Preview
rpicam-still -t 0

Recommended Accessories
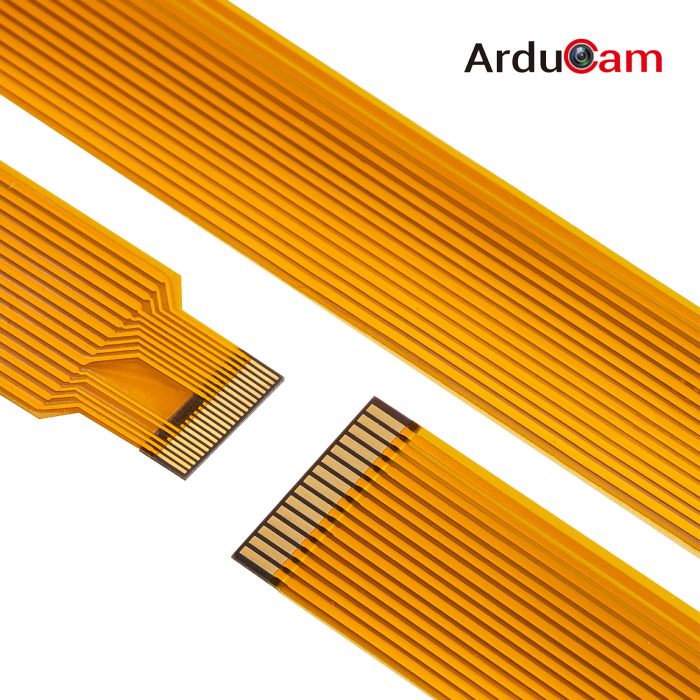
-
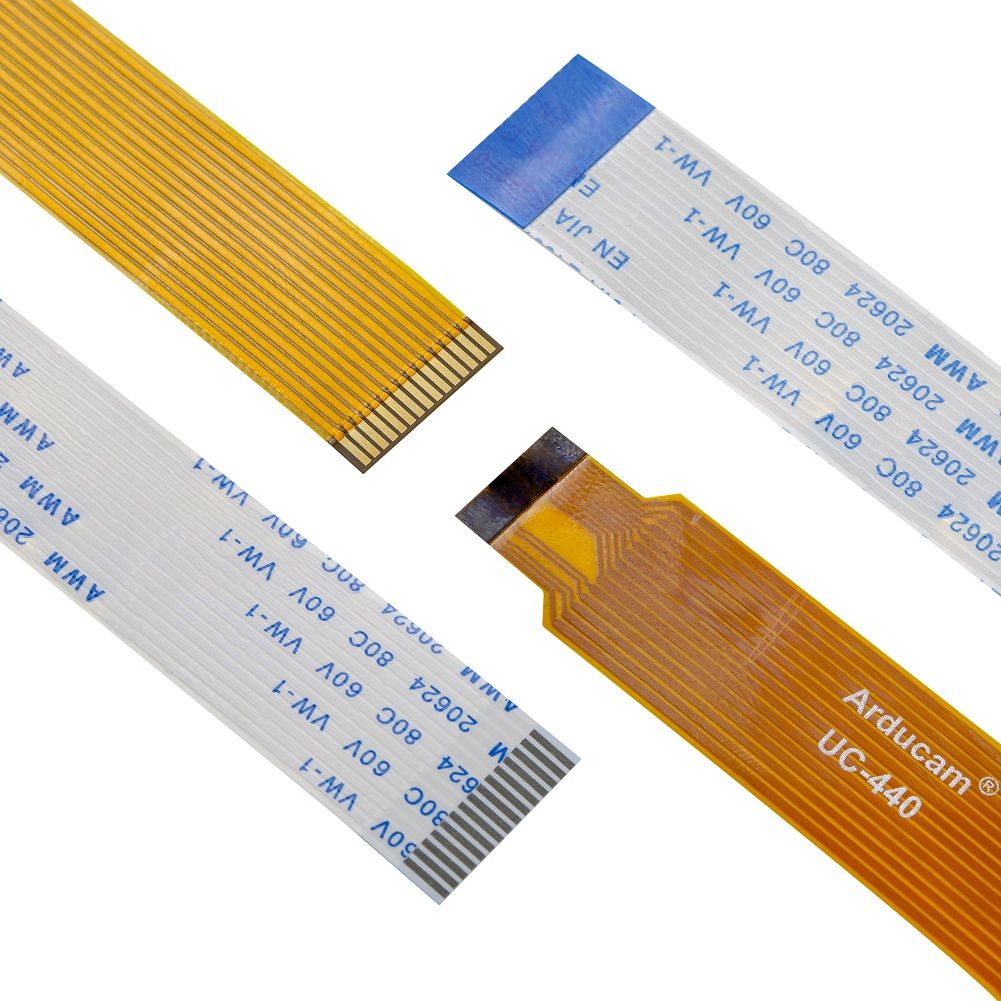
Standard Ribbon Cables SKU: B0177
Get it Now More Details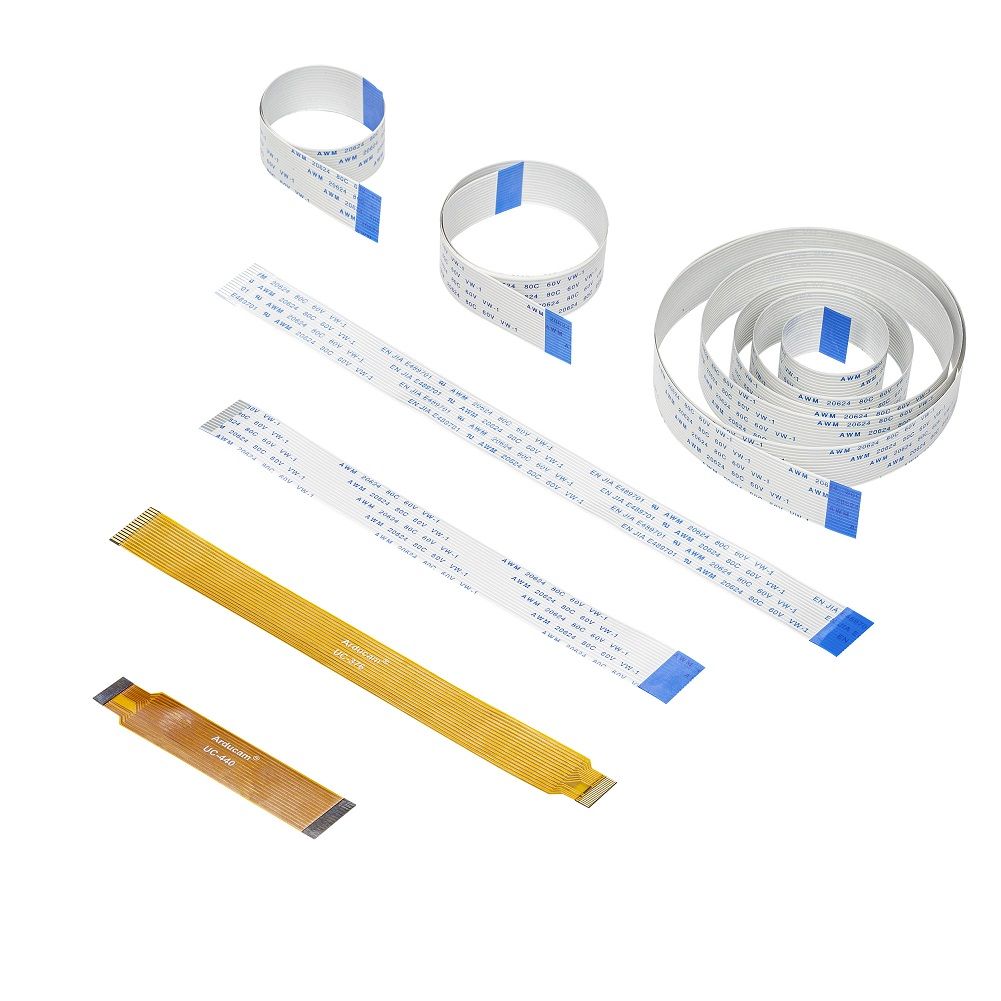
-
Pi Zero Cable Kit SKU: B0210
Get it Now More Details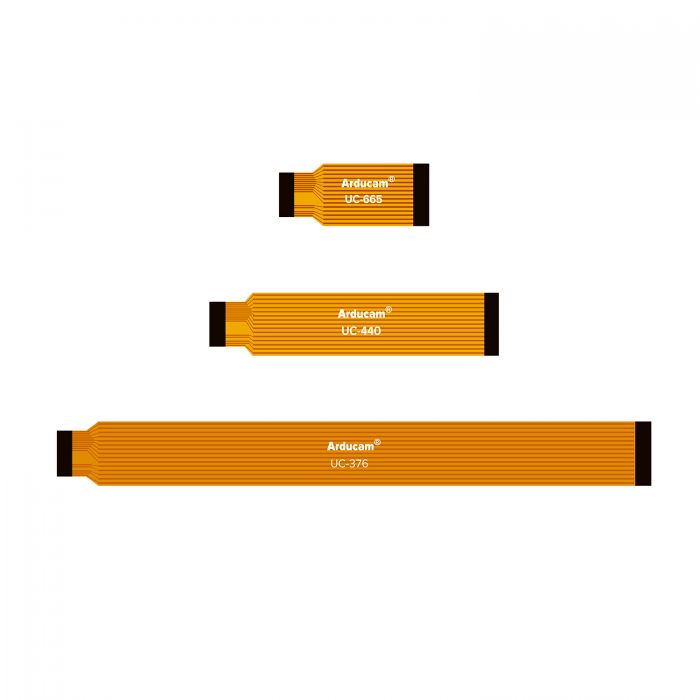
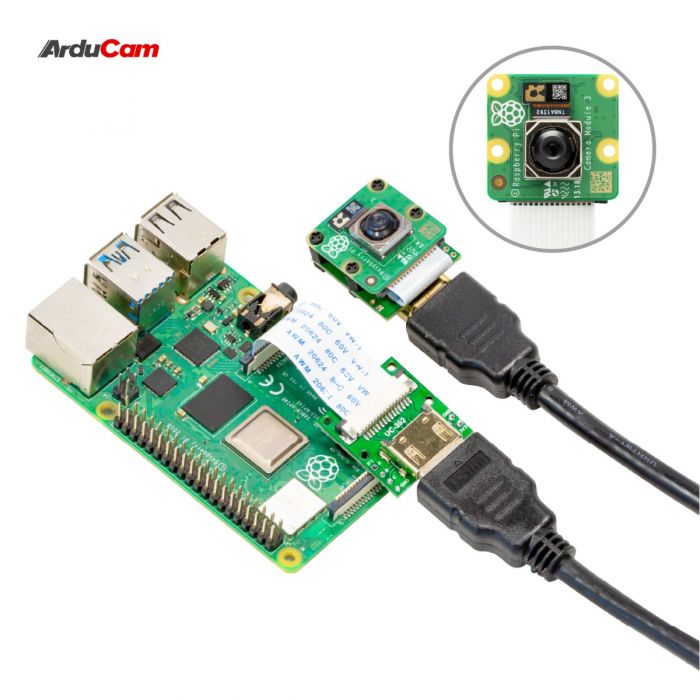
-
HDMI Extension Kit SKU: B0091
Get it Now More Details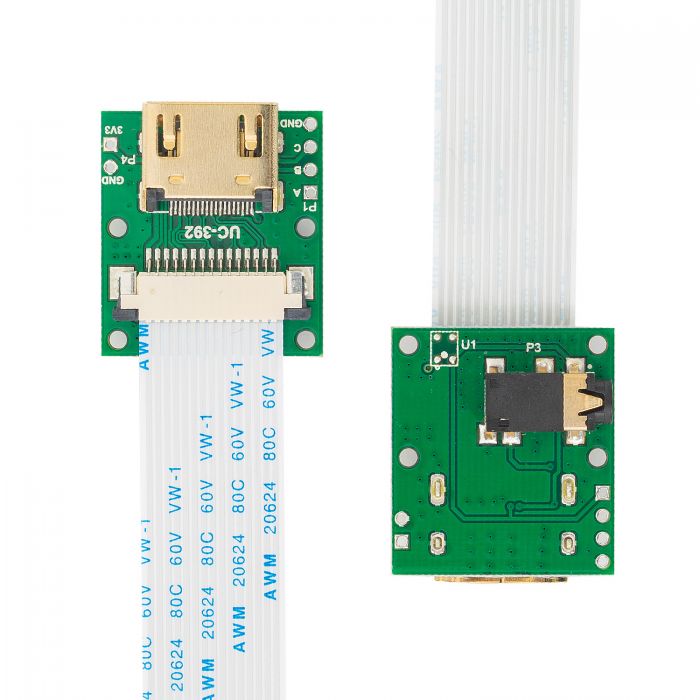
-
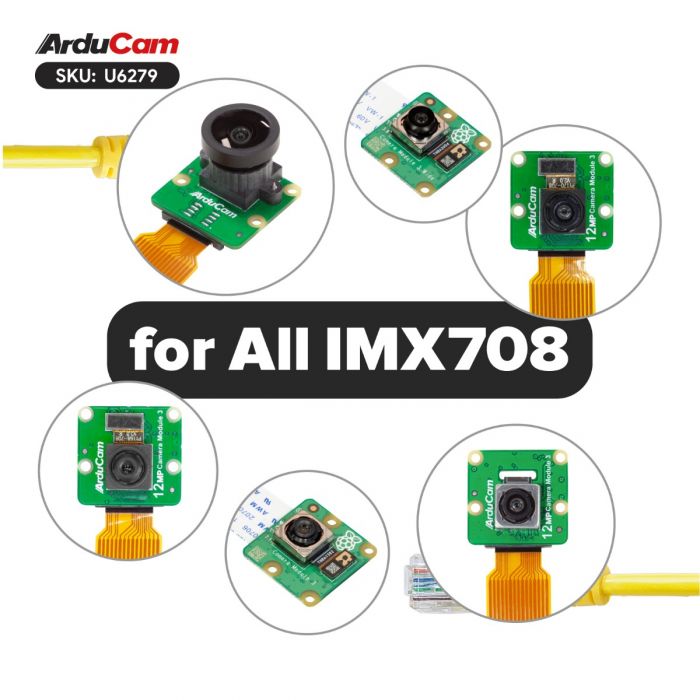
Ethernet Extension Kit SKU: U6279
Get it Now More Details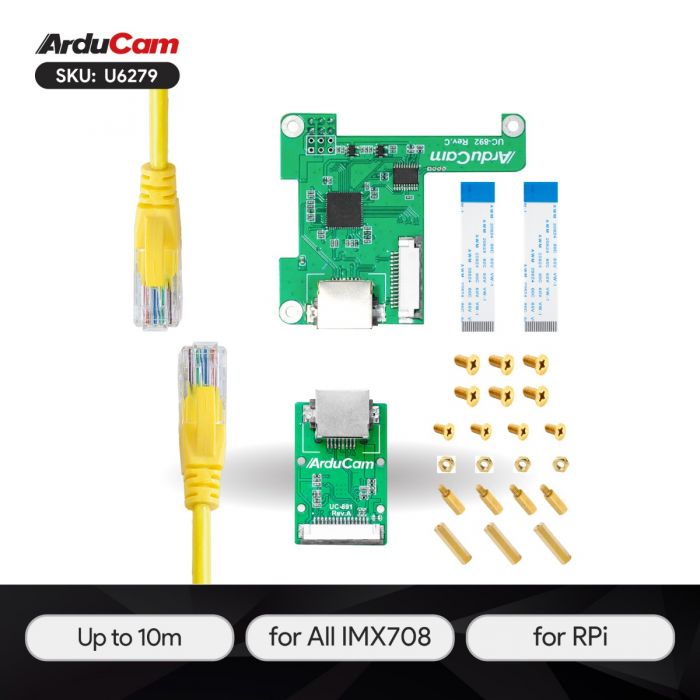
-
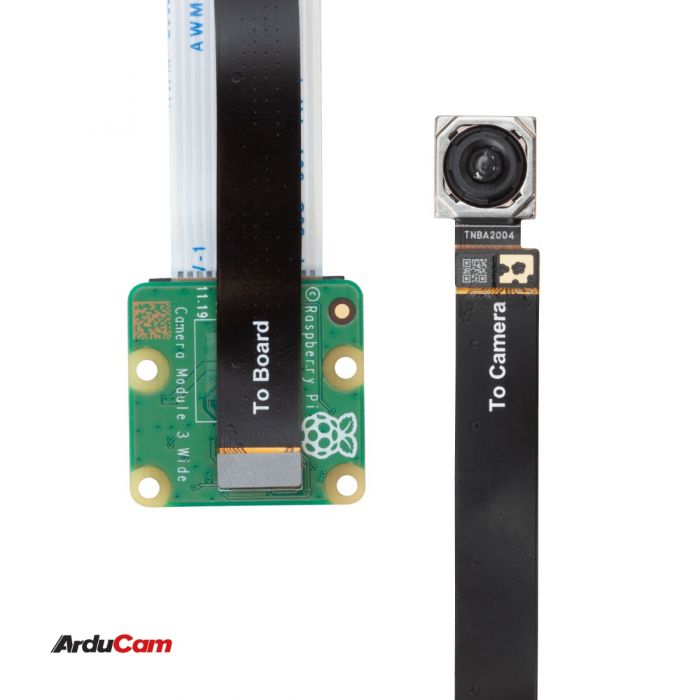
Sensor Extension Cable SKU: B0439
Get it Now More Details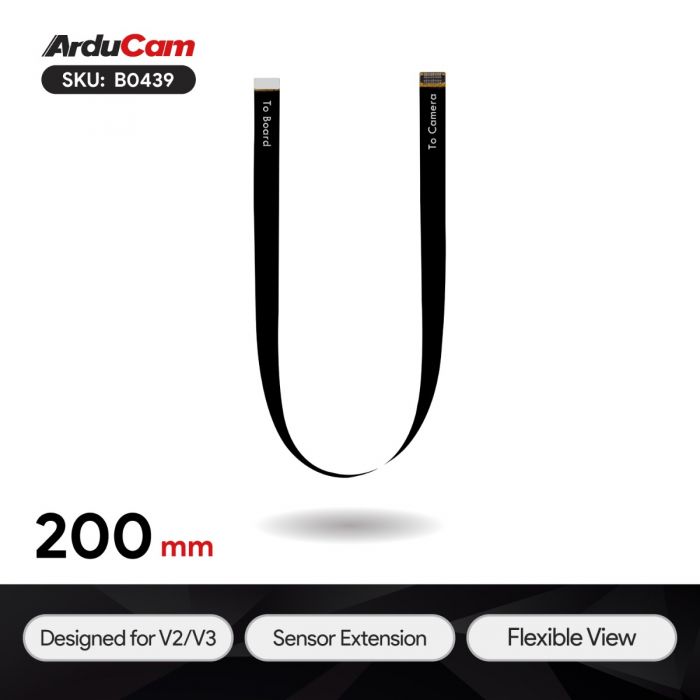
-
Pan-Tilt Kit SKU: B0283
Get it Now More Details
-
2-Way Camera Adapter SKU: B016601
Get it Now More Details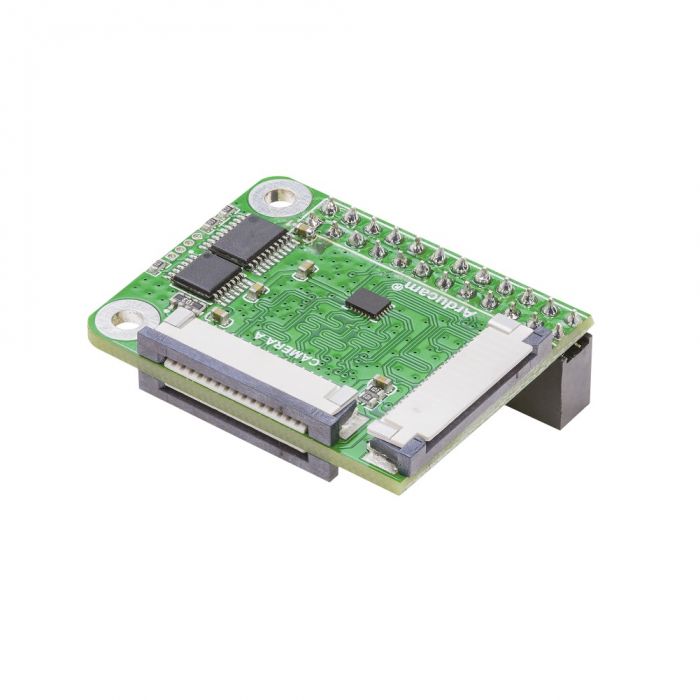
-
4-Way Camera Adapter SKU: B012001
Get it Now More Details