12MP IMX477
Overview
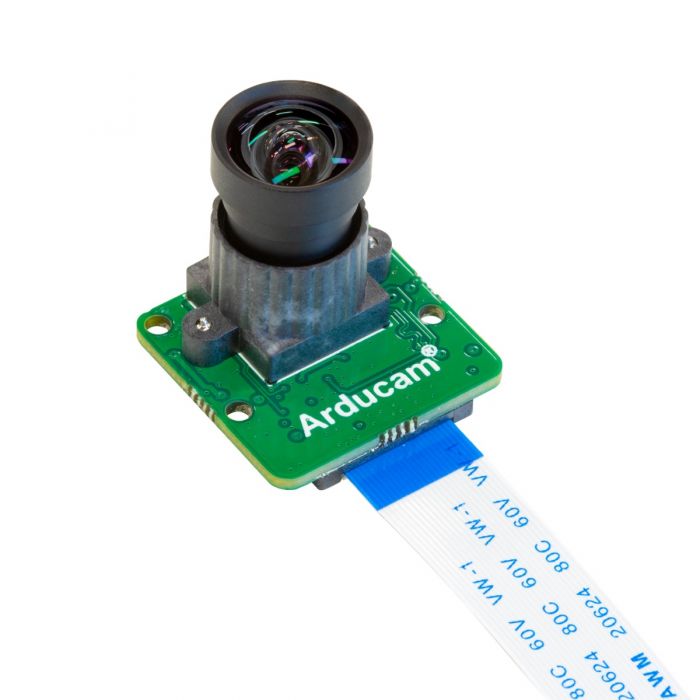
The Arducam IMX477 camera modules provide high-quality imaging capabilities for all Raspberry Pi models including Pi 4, Pi 3/3B+/3A+, CM3/3+, Pi Zero, and more. Unlike the official Raspberry Pi High Quality Camera which offers only one mounting option, Arducam IMX477 cameras feature three different hole pitches (29mm, 30mm, 34mm) for compatibility with standard industrial camera enclosures. Additionally, these modules utilize a 4-lane MIPI CSI-2 interface, providing enhanced data throughput compared to the official camera.
Technical Specifications
Image Sensor Details
| Parameter | Specification |
|---|---|
| Sensor Model | IMX477 |
| Shutter Type | Rolling Shutter |
| IR Sensitivity | Visible light |
| Active Pixels | 4056×3040 |
| Resolution | 12 MP |
| Image Sensor Format | 1/2.3″ |
| Pixel Size | 1.55μm×1.55μm |
| Video Modes | 1080p30, 720p60, 640×480p60/90 |
Release Information
The IMX477 sensor was officially released by Raspberry Pi in 2020, marking a significant advancement in camera capabilities for the platform.
Arducam Product Variants
Since the IMX477 release, Arducam has developed several specialized versions to meet diverse application requirements:
IR-CUT Version
The IR-CUT variant features the same 12MP IMX477 image sensor as the official Raspberry Pi High Quality Camera, but includes a mechanical IR cut-off filter that automatically switches based on lighting conditions. While the official RPi HQ camera lacks infrared sensitivity and has no NoIR version, this Arducam module provides both infrared sensitivity and natural daylight imaging. It maintains full compatibility with all Raspberry Pi models equipped with camera connectors.
Motorized Focus Version
This advanced variant integrates a software-controllable motor for intelligent focus adjustment, eliminating the need for manual lens adjustment. The motorized focus system provides precise, automated focusing capabilities.
Pan-Tilt-Zoom (PTZ) Version
Arducam PTZ cameras transform your Raspberry Pi into a comprehensive surveillance solution with 360-degree coverage. The system includes software autofocus functionality for clear target focusing during zoom operations, along with IR-CUT control for optimal performance in both daylight and night vision scenarios.
Platform Compatibility
Supported Operating Systems
| Platform | Trixie | Bookworm (rpicam) | Bullseye (libcamera/rpicam) | Buster (raspistill) |
|---|---|---|---|---|
| Raspberry Pi 5 / CM5 | ✅ | ✅ | ❌ | ❌ |
| Raspberry Pi 4B / 3B+ / 3A+ / Zero / Zero 2 W | ✅ | ✅ | ✅ | ✅ |
| Raspberry Pi CM3 / CM3+ / CM4 Requires adapter board |
✅ | ✅ | ✅ | ✅ |
Operating System Support
This documentation focuses on Trixie, Bookworm , and Bullseye (kernel 6.1.21+) to align with the official Raspberry Pi OS release cycle. While Buster instructions are not included, we recommend migrating to a supported OS for optimal performance. For Buster-specific assistance, please contact our support team.
Product Catalog
| Product Image | SKU | Pin/Connect Type | Features | Lens Type | Field of View(D/H/V) | Focus Type | IR Sensitivity |
|---|---|---|---|---|---|---|---|
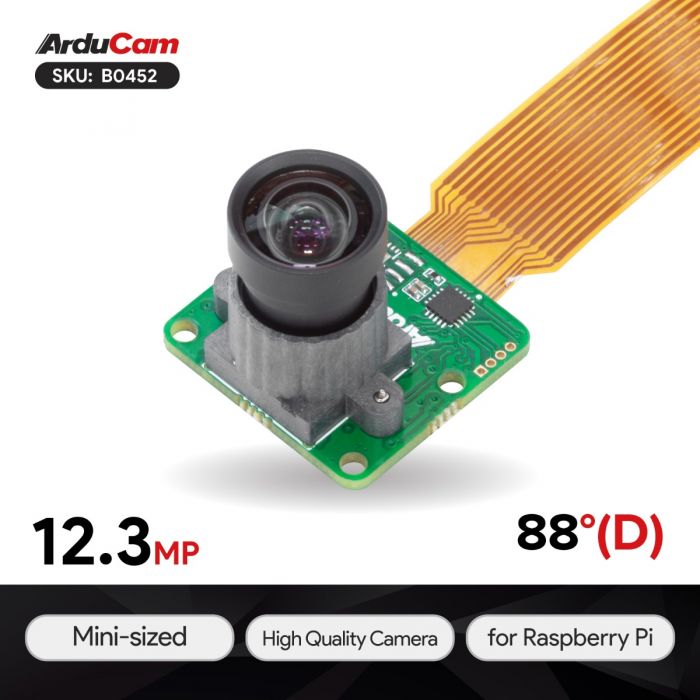 |
B0452 | 22/TOP | M12 Mount | Mini Size | 75°(H) x 59° (V) | Manual Focus | 650nm IR-cut filter |
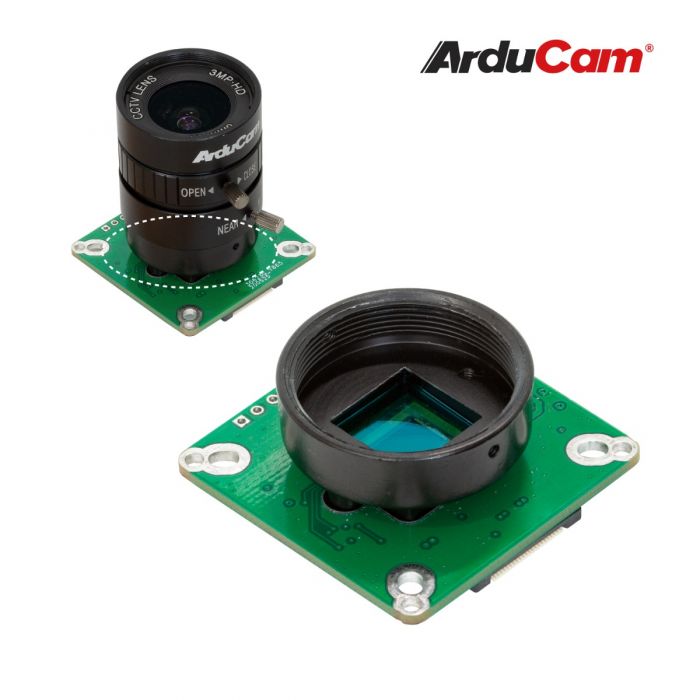 |
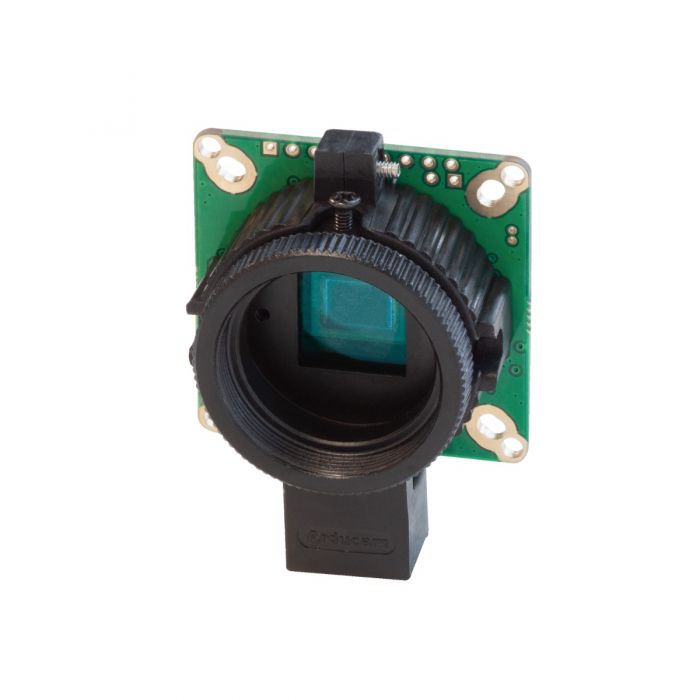
B0240 | 22/TOP | CS Mount | CS | 65°(H) x 51° (V) | Manual Focus | 650nm IR-cut filter |
| B0241 | HDMI Extension Kit | 65°(H) x 48.75° (V) | Motorized IR-CUT Filter | ||||
 |
B024001 | CS Mount/Tripod | Default CS | / | / | / | |
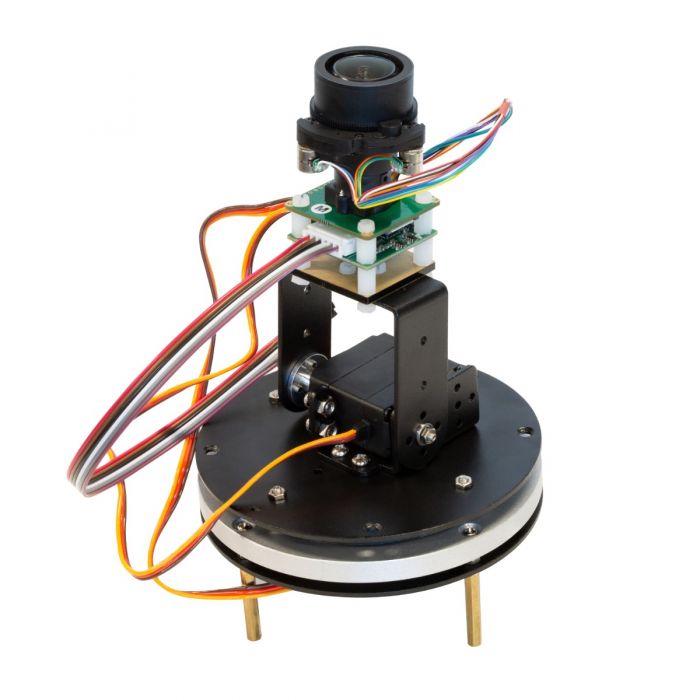 |
B0167B12 | 22/NA | Pan-Tilt-Zoom Kit |
Zoom Lens | H(96°-33°) x V(72°-24°) | Motorized Focus | Motorized IR-CUT Filter |
| B016712MP | |||||||
 |
B0262 | 22/TOP | Mini Size | M12 | 75°(H) x 56.3°(V) | Manual Focus | 650nm IR-cut filter |
| B0271 | 22/NA | For Compute Module |
Hardware Setup
For detailed hardware connection instructions, please refer to our comprehensive guide:
Quick Start Guide - Hardware Connection
Software Configuration
The software setup process consists of three essential components:
- System Configuration - Required initial setup for camera recognition (reboot required)
- Camera Usage - Commands for preview and image capture
- Troubleshooting - Solutions for common display issues
System Configuration
Important
You must reboot your Raspberry Pi after making configuration changes for them to take effect.
Raspberry Pi 5 & CM5
Pi 5 supports both Trixie and Bookworm OS. The configuration file is located at /boot/firmware/config.txt for both systems.
-
Open the configuration file:
sudo nano /boot/firmware/config.txt -
Disable camera auto-detection:
camera_auto_detect=0 -
Add imx477 overlay under the
[all]section:dtoverlay=imx477 -
Save and reboot:
sudo reboot
Camera Port Configuration
For Pi 5 with cameras connected to CAM0 port, use:
dtoverlay=imx477,cam0
Raspberry Pi 4
Pi 4 supports Trixie, Bookworm and Bullseye OS with different configuration file locations.
sudo nano /boot/firmware/config.txt
sudo nano /boot/config.txt
Configuration steps (same for all OS versions):
- Set
camera_auto_detect=0 - Add
dtoverlay=imx477under the[all]section - Save the file and reboot:
sudo reboot
Raspberry Pi Zero to Pi 3
These models support all operating systems with different setup procedures.
Standard configuration using /boot/firmware/config.txt:
sudo nano /boot/firmware/config.txt
- Set
camera_auto_detect=0 - Add
dtoverlay=imx477under[all]section - Save the file and reboot:
sudo reboot
Two-step process required:
Step 1: Edit config.txt
sudo nano /boot/config.txt
- Set
camera_auto_detect=0 - Add
dtoverlay=imx477under[all]section - Save the file but do not reboot yet - proceed to Step 2
Step 2: Enable Glamor Graphics
sudo raspi-config
Navigate to 6 Advanced Options → A3 Glamor → Enable → Reboot
Raspberry Pi Compute Module 3 & 4
CM3 and CM4 support all operating systems with dual camera ports (cam0, cam1).
sudo nano /boot/firmware/config.txt
sudo nano /boot/config.txt
Configuration steps (same for all OS versions):
- Set
camera_auto_detect=0 - Add
dtoverlay=imx477under[all]section - Save the file and reboot:
sudo reboot
Camera Port Selection
For CAM0 interface usage, modify the overlay line to:
dtoverlay=imx477,cam0
Camera Usage
After system configuration and reboot, your camera is ready for operation.
Using rpicam-apps suite:
-
List available cameras:
rpicam-still --list-cameras -
Live preview (Ctrl+C to exit):
rpicam-still -t 0 -
Capture image with 5-second preview:
rpicam-still -t 5000 -o test.jpg
Using libcamera-apps suite:
-
List available cameras:
libcamera-still --list-cameras -
Live preview (Ctrl+C to exit):
libcamera-still -t 0 -
Capture image with 5-second preview:
libcamera-still -t 5000 -o test.jpg
For comprehensive usage instructions, refer to the Raspberry Pi Camera Documentation.
Troubleshooting
If you encounter display issues such as black screens, the camera may not be properly recognized by the system.
Common troubleshooting resources: - Common Troubleshooting Guide
For persistent issues, please contact our support team for additional assistance.