12MP IMX378
Introduction
Based on Sony’s IMX378 high-quality image sensor, Arducam IMX378 camera module is a ready-to-use embedded vision solution for the Raspberry Pi family. With a resolution of 12.3MP and a V2-like form factor, it is compatible with any existing Pi models and works with the latest software from the foundation. It can be widely used in machine vision systems and outdoor applications.
Image Sensor
Main Specifications
| Feature | Specification |
|---|---|
| Sensor Model | IMX378 |
| Shutter Type | Rolling Shutter |
| IR Sensitivity | Built-in 650nm IR-cut filter |
| Active Pixels | 4056×3040 |
| Resolution | 12.3 MP |
| Sensor Format | 1/2.3″ |
| Pixel Size | 1.55μm × 1.55μm |
| Color Filter Array | Quad-Bayer RGB |
| General Output | RAW10 / RAW12 |
Video Modes
| Output | Resolution | Max Frame Rate |
|---|---|---|
| RAW10 | 1332×990 | 120 fps |
| RAW12 | 2028×1080 | 50 fps |
| RAW12 | 2028×1520 | 40 fps |
| RAW12 | 4056×3040 | 10 fps |
Product
| Product Image | SKU | Pin/Connect Type | Features | Lens Type | Field of View(D/H/V) | Focus Type | IR Sensitivity |
|---|---|---|---|---|---|---|---|
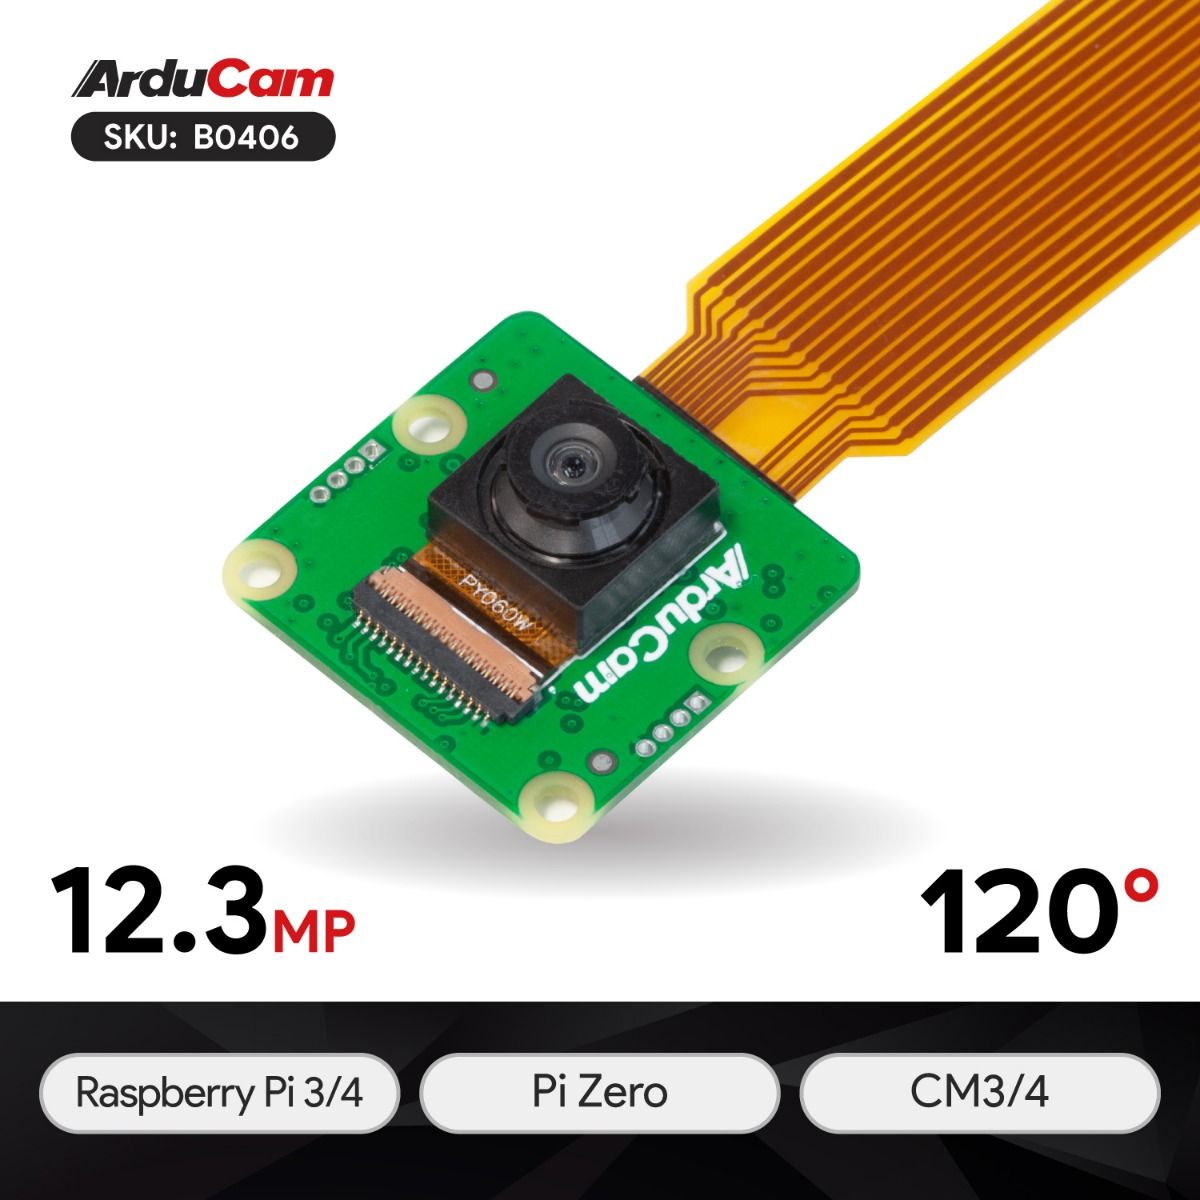 |
B0406 | 22/TOP | Wide Angle | Stock Lens | 95°(H) x 72° (V) | Fixed Focus | 650nm IR-cut filter |
 |
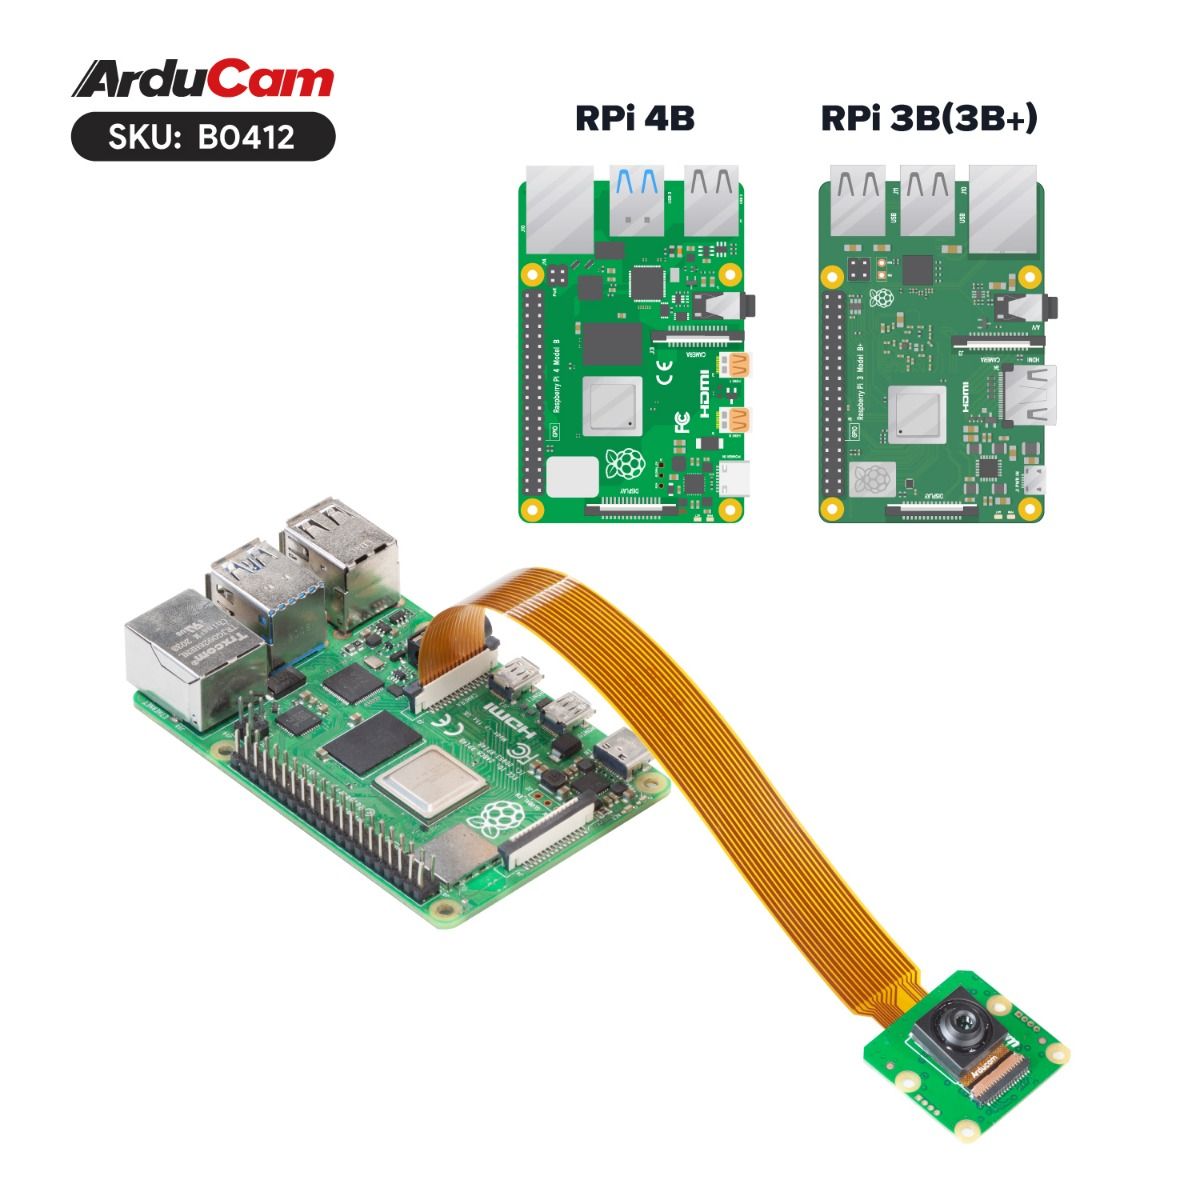
B0412 | High Resolution | 65°(H) x 48.8° (V) |
Hardware Connection
-
For Raspberry Pi 4B and 3B+
-
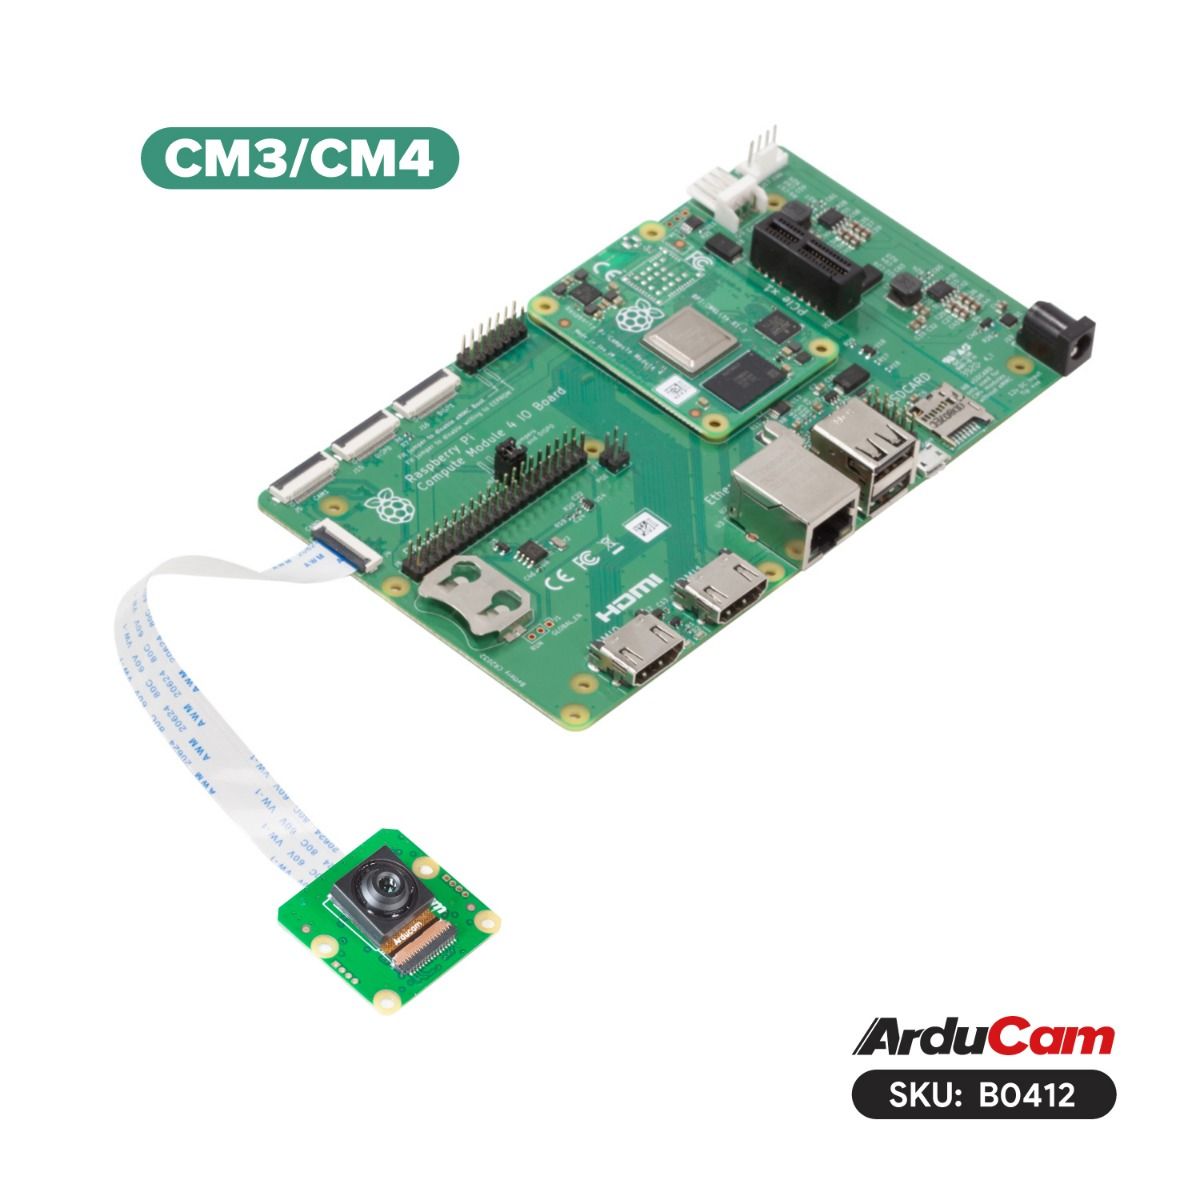
For Raspberry Pi CM3/CM4
-
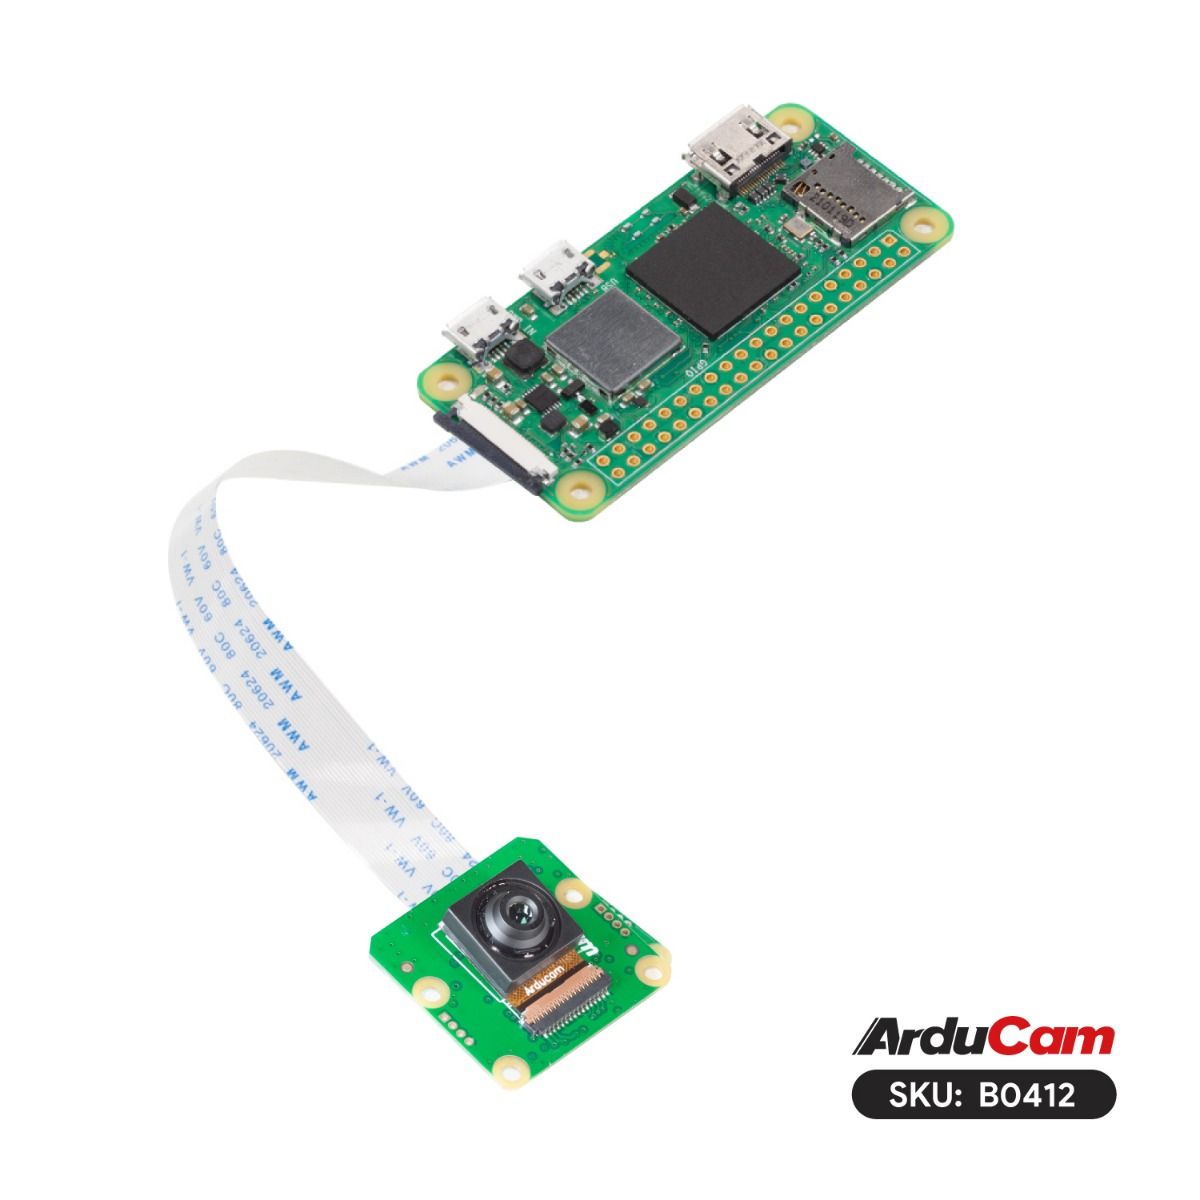
For Raspberry Pi Zero
Software
This section guides you through the necessary software configuration to enable your IMX378 camera, followed by instructions on how to use it. The process is divided into three main parts:
-
System Configuration: This is a required first step for the Raspberry Pi to recognize the camera. You need to reboot your Pi to take effect the changes.
-
Using the Camera: Commands to preview and capture images.
- Troubleshooting: Solutions for common display issues.
1. System Configuration
Before you begin, please identify your Raspberry Pi Model and your OS Version (Bookworm or Bullseye), as the instructions vary.
Raspberry Pi 5 & CM 5
The Pi 5 currently supports Bookworm OS only. Its configuration file is located at /boot/firmware/config.txt.
-
Open the configuration file for editing:
sudo nano /boot/firmware/config.txt -
Find the line
camera_auto_detect=1and change it to:camera_auto_detect=0 -
Locate the line
[all]and add the following line below it:dtoverlay=imx378 -
Save the changes and exit the editor (in nano, press
CTRL + X, thenY, andEnter). -
Reboot your Raspberry Pi to apply the changes:
sudo reboot
Note
The Pi 5 has two camera ports. If you have connected the camera to the port labeled CAM0, you must modify step 3. The line you add should be:
dtoverlay=imx378,cam0
Raspberry Pi 4
The Pi 4 supports both Bookworm and Bullseye OS. The configuration steps are the same, but the location of the config.txt file is different. Select your OS below to get the correct command.
On Bookworm, the file is at /boot/firmware/config.txt. Open it with:
sudo nano /boot/firmware/config.txt
On Bullseye, the file is at /boot/config.txt. Open it with:
sudo nano /boot/config.txt
Once the correct file is open, make these two edits:
- Find the line
camera_auto_detect=1and change it to0. - Find the
[all]section and adddtoverlay=imx378below it. - Save the changes and exit the editor (in nano, press
CTRL + X, thenY, andEnter). -
Reboot your Raspberry Pi to apply the changes:
sudo reboot
Raspberry Pi Zero to Pi 3
These models support both Bookworm and Bullseye OS. The setup process is significantly different for each, especially on Bullseye. Please select your OS below to get the correct instructions.
On Bookworm, the procedure is standard and straightforward. The configuration file is located at /boot/firmware/config.txt.
-
Open the configuration file for editing:
sudo nano /boot/firmware/config.txt -
Inside the file, find the line
camera_auto_detect=1and change it to0. - Locate the
[all]section and adddtoverlay=imx378on a new line directly underneath it. - Save the file and reboot your Raspberry Pi.
On Bullseye, the setup is a two-part process. You must first edit the config.txt file and then enable a special graphics setting in raspi-config. Both parts are required for the camera to work correctly.
Step 1: Edit config.txt
The configuration file is located at /boot/config.txt.
-
Open the file for editing:
sudo nano /boot/config.txt -
Find
camera_auto_detect=1and change it to0. - Add
dtoverlay=imx378under the[all]section. - Save the file but do not reboot yet! Proceed directly to Step 2.
Step 2: Enable Glamor Graphic Acceleration
This setting is required for proper camera operation on these models with Bullseye OS.
-
Open the Raspberry Pi Configuration tool in your terminal:
sudo raspi-config -
Navigate to
6 Advanced Options. - Select
A3 Glamor. - Choose
<Yes>at the prompt to enable Glamor graphic acceleration. - Select
<Finish>in the main menu, and now choose<Yes>to reboot the Raspberry Pi.
Raspberry Pi Compute Module 3 & 4 (CM3/CM4)
The CM3 and CM4 support both operating systems and have two camera ports (cam0, cam1). Select your OS below to find the correct config.txt path.
The configuration file is at /boot/firmware/config.txt. Open it with:
sudo nano /boot/firmware/config.txt
The configuration file is at /boot/config.txt. Open it with:
sudo nano /boot/config.txt
After opening the correct file, apply the standard edits (camera_auto_detect=0 and dtoverlay=imx378) and then save and reboot.
Note
If you wish to use the CAM0 interface, append ,cam0 to the overlay line, making it dtoverlay=imx378,cam0. This applies to both Bookworm and Bullseye.
2. Camera Usage
After completing the system configuration and rebooting, your camera is ready to use. The command you need to execute depends on your operating system version. Please select your OS from the tabs below to view the correct instructions.
On Bookworm, the rpicam-apps suite is used, and the primary command is rpicam-still.
-
Confirm camera detection by listing available cameras:
rpicam-still --list-cameras -
Start a live preview to see the camera feed (Press
Ctrl+Cto exit):rpicam-still -t 0 -
Capture an image named
test.jpgafter a 5-second preview:rpicam-still -t 5000 -o test.jpg
On the older Bullseye system, the libcamera-apps are used, and the primary command is libcamera-still.
-
Confirm camera detection by listing available cameras:
libcamera-still --list-cameras -
Start a live preview to see the camera feed (Press
Ctrl+Cto exit):libcamera-still -t 0 -
Capture an image named
test.jpgafter a 5-second preview: ```bash libcamera-still -t 5000 -o test.jpg
For more details, you can refer to the following guide: Getting Started with Raspberry Pi
3. Display Issues
If you encounter a black screen or other display issues, it may be due to the camera not being recognized by the system. Here are some troubleshooting steps:
If the issue persists, please reach out to our support team for further assistance.